When last we left our hero, he had made sizable progress on his robot, only to be stumbled by it’s devious brain!!!
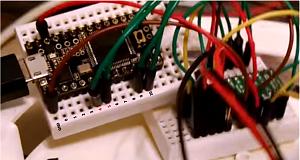
The Teensy 3.x is my Go-to embedded platform these days. I learned most of my embedded stuff by using an Arduino, and the Teensy is like an Arduino without any of the limitations.
As I was building, I was contemplating concepts for my project. Every year as I start to work on my project, I tend to oscillate on whether or not the project is good enough or interesting enough for MakerFaire. I like to get kids interested, and I came up with what I thought was a pretty good idea: Program a robot with candy.
The Premise was simple: A person would place colored candy (M&Ms) in front of the robot. The Robot would drive over them and a color sensor on the bottom of the robot would detect the color. Each color would represent a different command. Green, Go Forward. Red, Stop. Blue, Turn Left. Yellow, Turn Right.
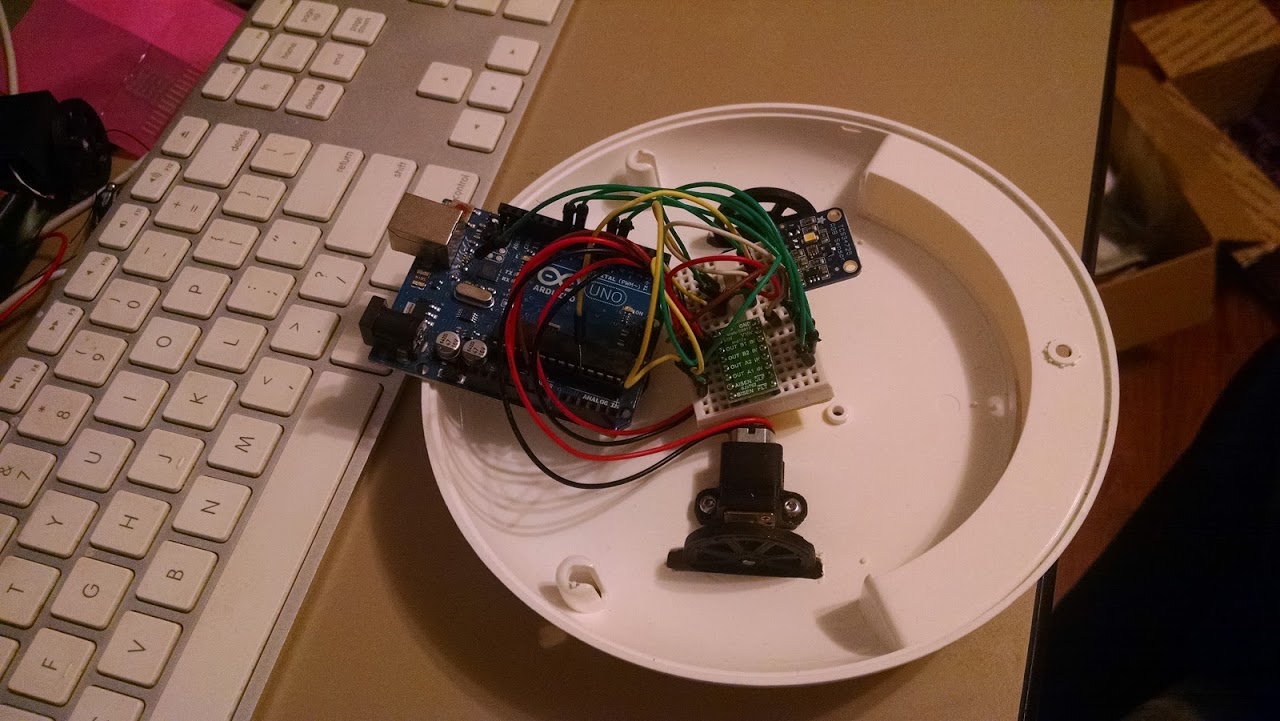
First I had to take care of the driving, so I could do something once I had commands to go through. When I wired up my Teensy to my robot, I ran into a major problem. Going forward, both motors ran. Going backward, only one would turn. I tried replacing the Teensy with an Arduino, replacing the Motor controller, swapping pins, Everything I could think of. After a few days of failure, I posted to the Teensy forum – Code, and a video of the problem. The first response I got was that my pins were wrong. I double checked and replied they were right. Other responses came with screenshots.
As it turned out, my pins were wrong. I had started on the upper-left corner of my Teensy as pin 0, not gnd. The one motor worked, because I’d counted pins from the other direction. I felt like a fool, and would like to thank those in the forum for their help (and tolerance when I dismissed their correct diagnosis). I next added motor encoders from Pololu. I was fortunately able to utilize the Teensy encoder library to easily work read motor position.
Next – the actual goal of the project. I needed to read the color of an M&M. I cut a hole into the bottom of my case and mounted a color sensor I’d bought from Adafruit in it. I immediately realized there was a real problem with making sure the M&M was in the right position. 3D printing to the rescue!
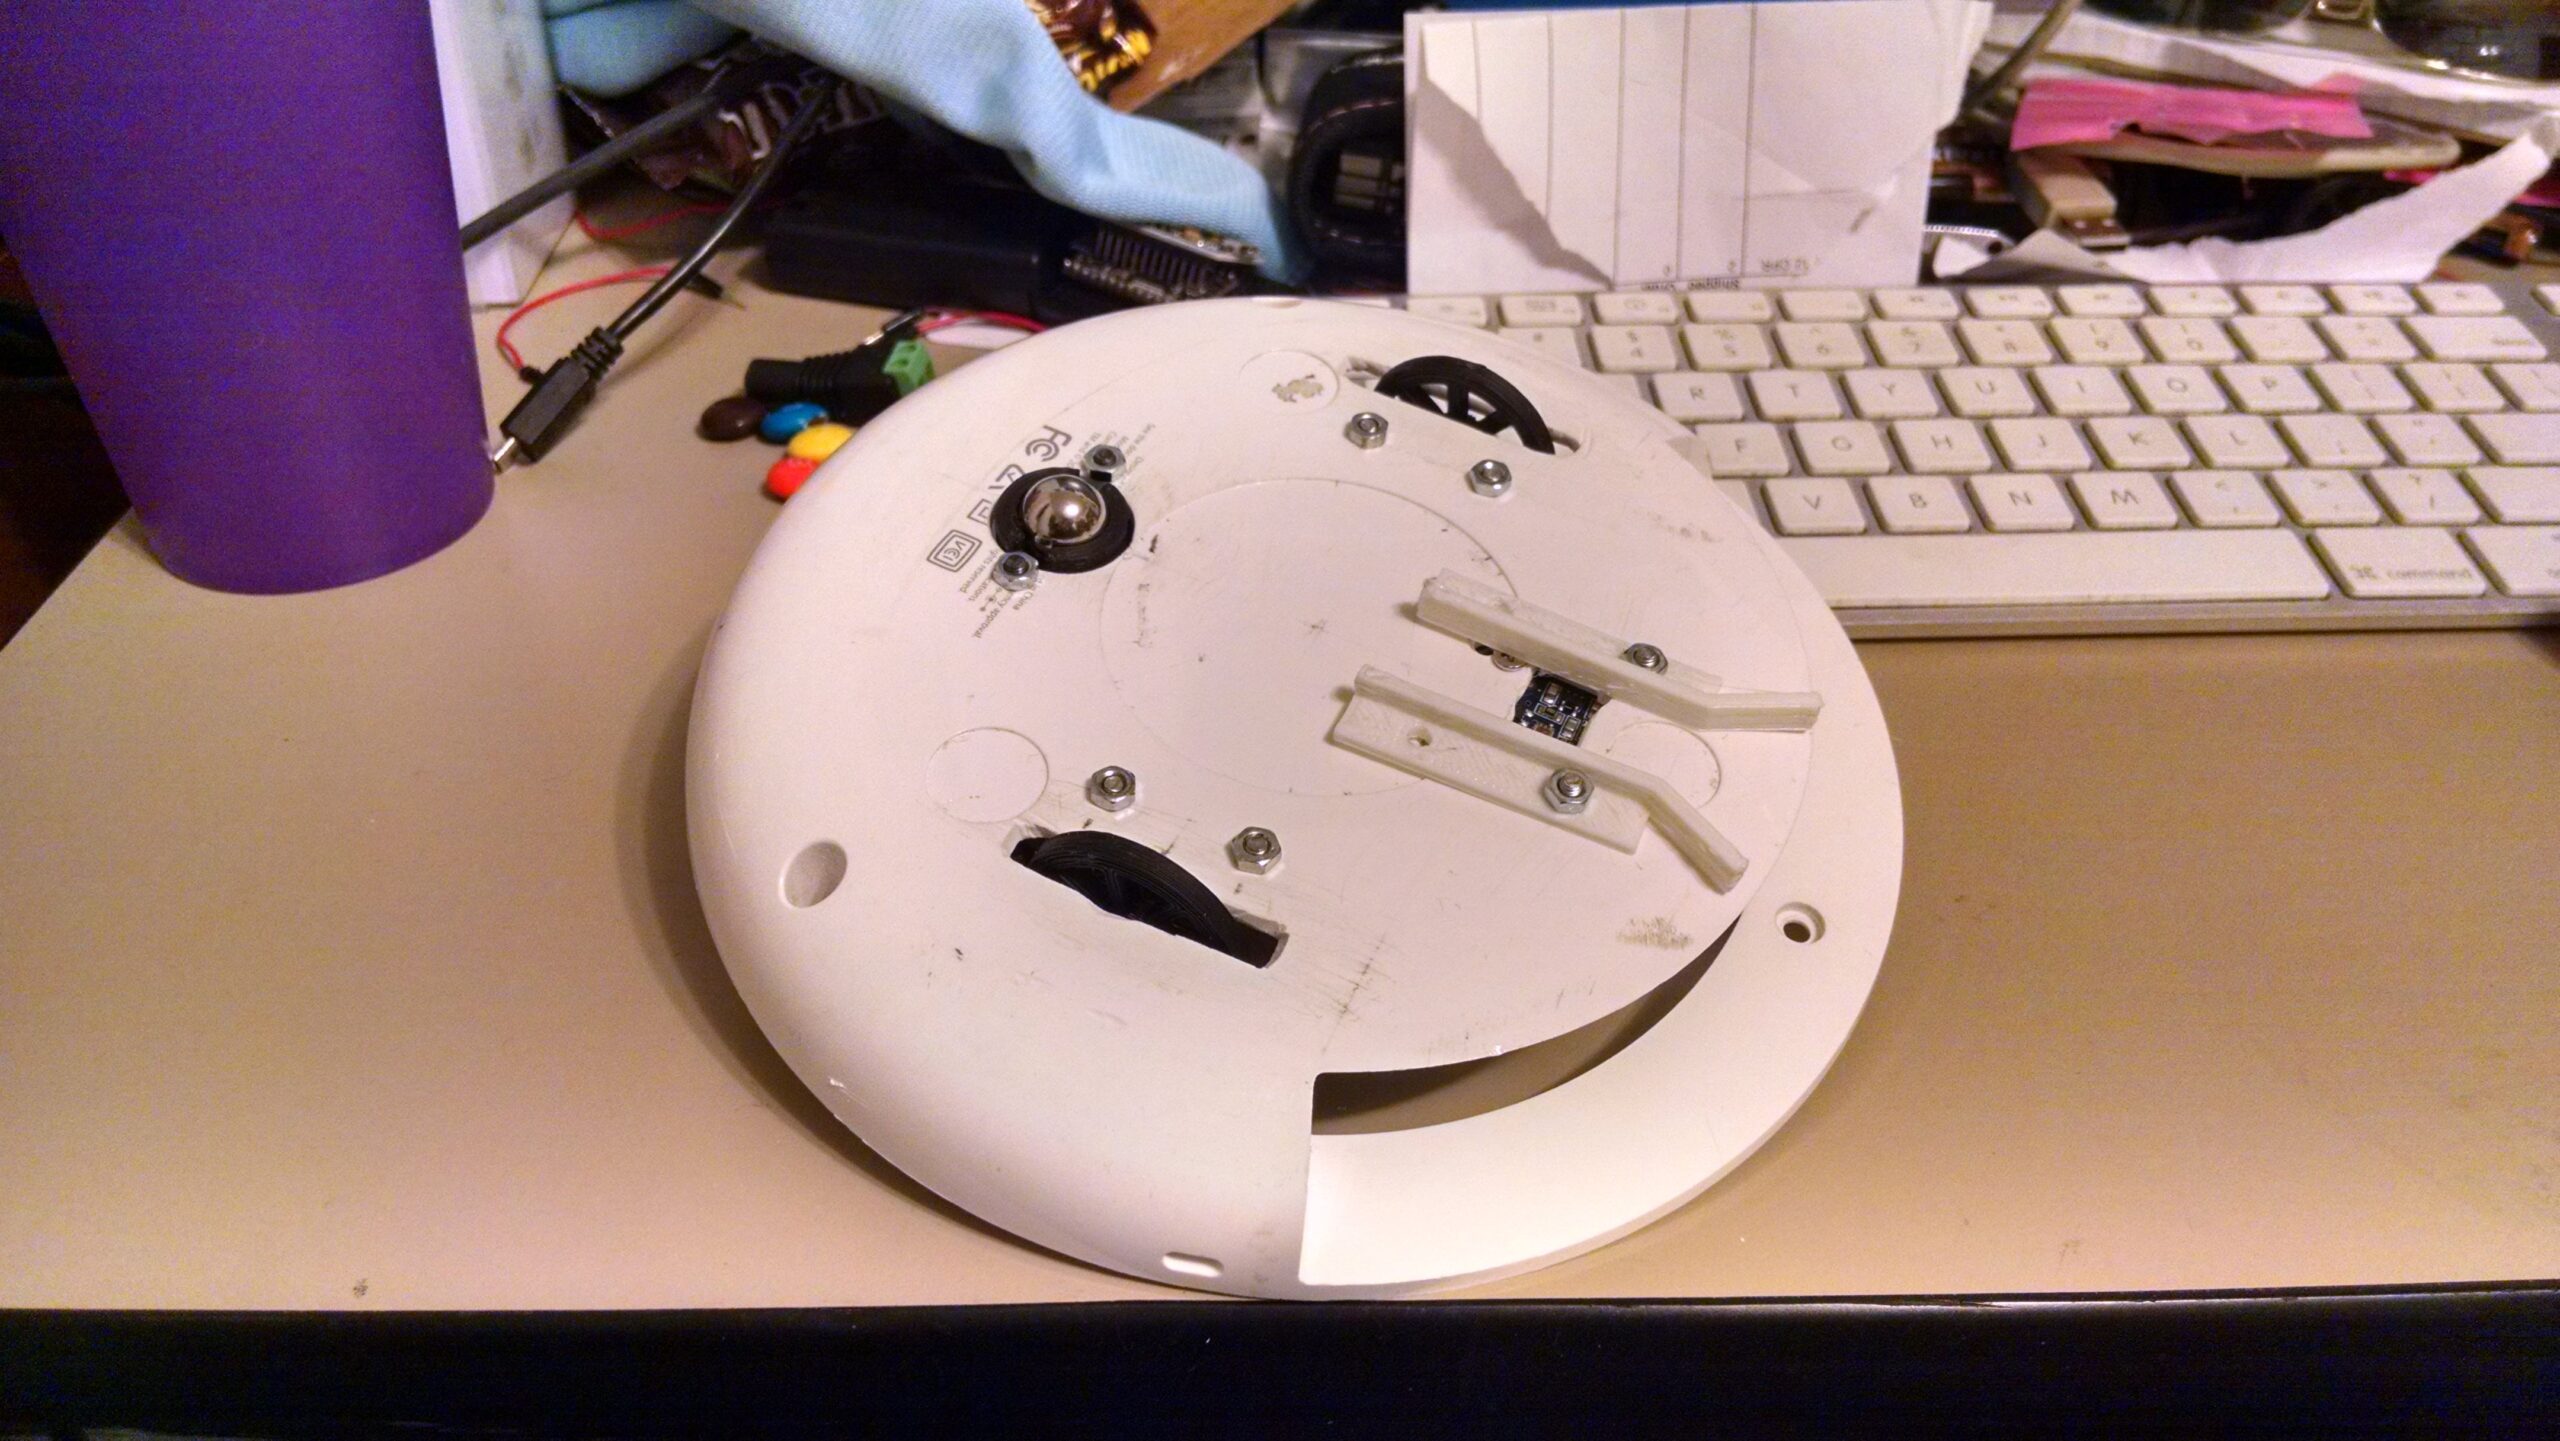
I modeled a couple of pieces that would act as a guide to channel the M&M into the correct position. After this I started running the robot over M&Ms and getting color samples. Getting reliable results was a bit tricky. Every instance I could find of using this sensor was a fixed-reading of a color – basically a person would decide when the color was done reading. The sensor requires 50ms to read a color. Attached to a robot, it has to decide when a color is detected or not. For my initial approach, this ended up just being a matter of accepting a given range of RGB values as a given color. There were probably better ways to handle this, but I didn’t quite have enough time.
I took my robot out to the Portland Mini MakerFaire. More to come in this exciting tale!