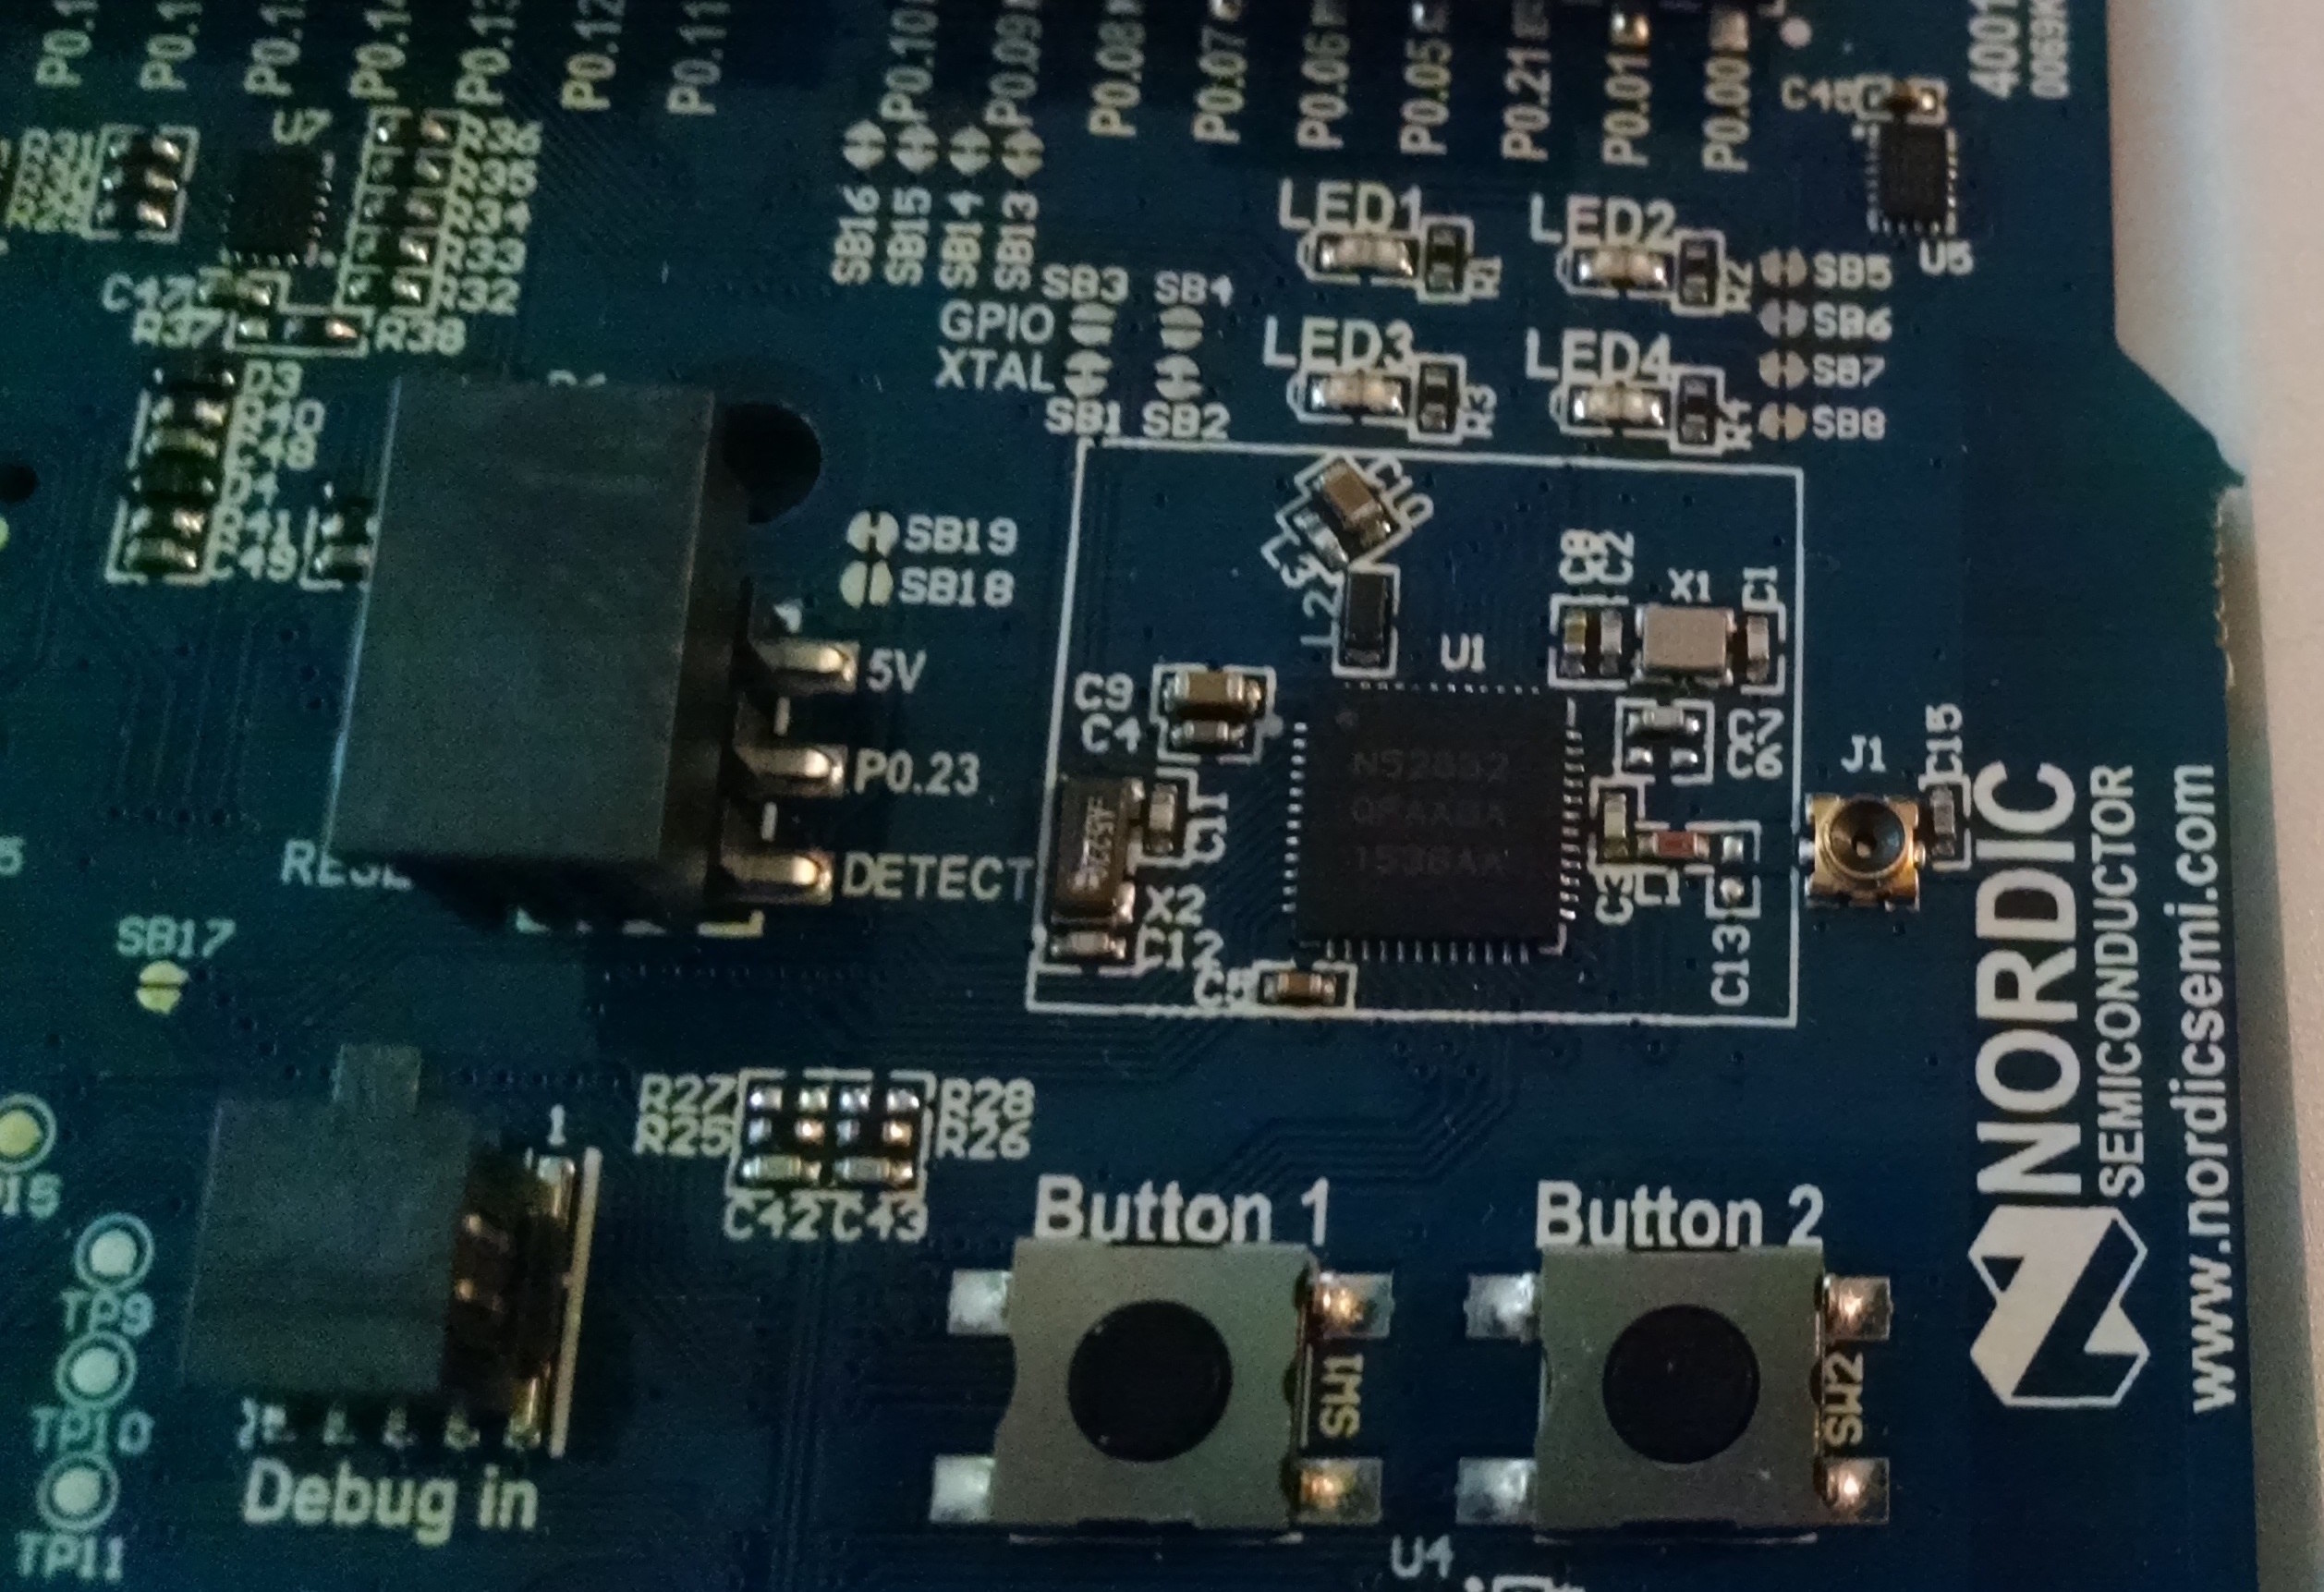
Several months ago, I went to promotional conference for a microcontroller on a whim. I’d heard about it the night before, and after some investigation I found out I could get a free development board out of it. Did somebody say free??? Yeah, that’s me. So I got the board and promptly did nothing with it, because electronics development chains are still the apple of Windows’ eye (see what I did there?)
Anyway, if you want to develop for a Nordic nRF52 Dev Kit on a Mac, I’m going to show you how to setup your machine, how to start a quick project, and load it onto the board.
There are 3 steps we’re going to go through:
- Getting the development tools installed
- Getting and updating the SDK
- Building and installing an example project.
My hope is that this is enough to get anyone developing for the board. I won’t be covering debug tools (because I haven’t figured out how to yet) or more general programming things like How do I write a Makefile?, or How do I utilize the SoftDevice to get Bluetooth? I probably don’t know the answers to these questions, but this is what’s worked for me*.
1. Getting the Development tools installed
The nRF52832 (that’s the chip we’re working with) is made by a company called Nordic Semiconductor. It’s an ARM CoreM4f. That’s a type of ARM processor. That means that the tools we use to make programs for our computers (which are mostly x86) won’t work. Nordic’s first choice is Keil, which is an ARM compiler that’s REALLY expensive and doesn’t run on a Mac (two strikes)
Instead, we’re going to use GCC, a reliable, open source compiler. There are lots of pages about installing ARM-GCC on Macs, even via Homebrew (which is awesome), but they’re all pretty far out of date, so we’ll have to do it by hand:
First, download the most recent gcc-arm-none-eabi. For me it was the release from May 3rd, 2016. Once you have it, extract it out into a directory in /usr/local (You don’t actually have to put the compiler here, but it seemed the most appropriate place to me.)
aeiche $ mkdir /usr/local/gcc-arm

aeiche $ tar -xjf gcc-arm-none-eabi-5_3-2016q1-20160330-mac.tar.bz2 -C /usr/local/gcc-arm
Beyond the compiler, we need a tool to get the compiled program onto the chip itself. Nordic has a download for this one as well. The program is called nrfjprog, and you can download it here (look for the nRF5x Command Line Tools – OS X link.)†
After you download that, expand the zip file and inside you’ll find the nrfjprog directory. Move that directory into that same /usr/local directory you made earlier. This is for convenience, you can put it wherever you want.
Lastly, you’ll want to add the nrfjprog program to your path. This will allow you to use it from anywhere. We do this by adding it to a .bash_profile file. If you don’t already have one, make one in with any plain text editor. Be sure to include the . at the front.
We need a line that will add nrfjprog to our path. We do this (in bash) by exporting the PATH variable and adding on our directory. If our .bash_profile already looks like this:
export PATH=/usr/local/bin:/usr/local/sbin:$PATH
Then we just need to add the directory path
export PATH=/usr/local/bin:/usr/local/sbin:/usr/local/nrfjprog:$PATH
Be sure to separate each path with a colon :. Now you should be able to close your
Next (I know, why is there so much!?) We need to install the appropriate drivers for the NRF52 Dev Kit. This one is easy though (especially on a Mac)
Go to https://www.segger.com/jlink-software.html, and download the Software and documentation pack for Mac OS X. It’s a pkg file, open it, install, and you’re done!
Now, as a sanity-check, open a terminal and type nrfjprog --version
If you’ve done everything right, you should see the following (or something similar):
aeiche $ nrfjprog --version
nrfjprog version: 8.5.0
JLinkARM.dll version: 5.12g
Congratulations! You have the compiler and flasher installed. That was pretty easy, right?
2. Installing the SDK
The nRF5x chips have an SDK that makes developing for them much much easier. Instead of having to slog through a lot of setup, Nordic has already done that work for you so you can do the fun stuff. The current SDK is the nRF5 SDK. This applies to the 52 series as well as the older 51 chips. You can find it here under the downloads tab. Download that. As of this writing, the SDK is version 11.
You can put the SDK where-ever you like. I keep mine in a directory off my home called Development/nRF52/ When I expanded the download, the name was nRF5_SDK_11.0.0_89a8197, I just renamed it SDK. It shouldn’t make a difference.
Once you have it where you want it, we’re going to make a couple of simple changes. In the SDK you should be able to find the file components/toolchain/gcc/Makefile.posix. This file is going to tell the SDK where to find a couple of components.
Now, in your terminal get the version of arm-gcc:
aeiche $ /usr/local/gcc_arm/gcc-arm-none-eabi-5_3-2016q1/bin/arm-none-eabi-gcc --version

arm-none-eabi-gcc (GNU Tools for ARM Embedded Processors) 5.3.1 20160307 (release) [ARM/embedded-5-branch revision 234589]
Copyright (C) 2015 Free Software Foundation, Inc.
This is free software; see the source for copying conditions. There is NO warranty; not even for MERCHANTABILITY or FITNESS FOR A PARTICULAR PURPOSE.
Now open the Makefile.posix you saw earlier. Here, we’ll want to update the GNU_INSTALL_ROOT and the GNU_VERSION to whatever we just got. My SDKs file said this:
GNU_INSTALL_ROOT := /usr/local/gcc-arm-none-eabi-4_9-2015q1
GNU_VERSION := 4.9.3
GNU_PREFIX := arm-none-eabi
and I changed it to this:
GNU_INSTALL_ROOT := /usr/local/gcc_arm/gcc-arm-none-eabi-5_3-2016q1/
GNU_VERSION := 5.3.1
GNU_PREFIX := arm-none-eabi
Boom! That’s 2 steps down! You’re making real progress now! Well done!
3. Building and flashing an example project.
You made it to the fun stuff! This one is going to be quick, because all we’re going to do is compile and install something that already exists.
There are lots and lots of example applications included in the SDK. It’s really great. My preferred starter app is blinky. In the SDK, you should be able to find it at examples/peripheral/blinky. It’s a simple application that will blink all four LEDs on the nRF52 board in sequence. In this directory you’ll find the source, license, an already compiled hex file, and several directories that begin with pca. The pca directories are board configurations. My Dev Kit has a sticker on it that kindly tells me which board I’m looking it.

If we dive further into the board directories, we find the following:
aeiche $ ls pca10040

blank s132
These two directories are virtually identical. The difference is that that s132 version is meant to be compiled and flashed alongside a SoftDevice, which is a really cool way Nordic uses to provide bluetooth for your application while letting you have more fun. We’re going to ignore it however, and just go the old fashioned route, choosing blank. Navigate down to blinky/pca10040/blank/armgcc/
Here is where the magic happens. Time to make our app! Type:
aeiche $ make
You should get something like:
aeiche$ make
rm -rf _build
echo Makefile
Makefile
mkdir _build
Compiling file: system_nrf52.c
Compiling file: main.c
Compiling file: nrf_delay.c
Assembly file: gcc_startup_nrf52.s
Linking target: nrf52832_xxaa.out
Preparing: nrf52832_xxaa.bin
Preparing: nrf52832_xxaa.hex

text data bss dec hex filename
2408 112 28 2548 9f4 _build/nrf52832_xxaa.out
It built! Now lets install it.
aeiche $ make flash
Now you should get soemthing like:
aeiche$ make flash
Linking target: nrf52832_xxaa.out
Preparing: nrf52832_xxaa.bin
Preparing: nrf52832_xxaa.hex

text data bss dec hex filename
2408 112 28 2548 9f4 _build/nrf52832_xxaa.out

Flashing: _build/nrf52832_xxaa.hex
nrfjprog --program _build/nrf52832_xxaa.hex -f nrf52 --chiperase
Parsing hex file.
Erasing code and UICR flash areas.
Applying system reset.
Checking that the area to write is not protected.
Programing device.
nrfjprog --reset -f nrf52
Applying system reset.
Run.
And if everything worked, you should be looking at BLINKING LEDS, OH MY GOSH, THIS IS THE BEST DAY EVAR!
Next Steps
At some point in the future, I intend to write a full article on how to write a custom program to get people started. In the meantime, here’s a helpful hint: In several of the subdirectories in examples you can find projects labeled template_project. These are basic projects that you can copy and start building. Start adding code to the main.c file and you’re off to the races
*As of this writing.
†According to the internet you can do this via homebrew in a more automated approach. I’d already written this when I discovered it. Either way should work.

Thanks for this fantastic setup guide! Exactly what I needed. Looking forward to your article about writing a custom program.
Thank you much,
You saved me 🙂
And please keep going, Awesome.
Thanks for the tutorial. I have followed your steps. Everything worked. But while flashing the blinky example, I am getting the following error. My Development kit is connected to USB port. Any help on how to debug this issue? Thanks. Babu
nrfjprog –program _build/nrf52832_xxaa.hex -f nrf52 –chiperase
ERROR: There is no debugger connected to the PC.
make: *** [flash] Error 41