You may recall last year I took my first step into Sequenced, animated Christmas lights with some arches and simple light strings. I had some grand plans this year to follow up, but as usual my plans came up against reality pretty rapidly. What I’ve learned from the past, is how to design a project in phases, in case you don’t have the time or the budget to pull everything off in one go. Here’s this year’s project:
The Vision
Having gotten the arches working last year, I was excited to expand my display into something entertaining with lights and sound. There’s a house about a mile away that has a delightful synchronized light show that brings us back every year. Having a local speaker (and not just radio broadcast) for our Halloween display was an idea I borrowed from that house.
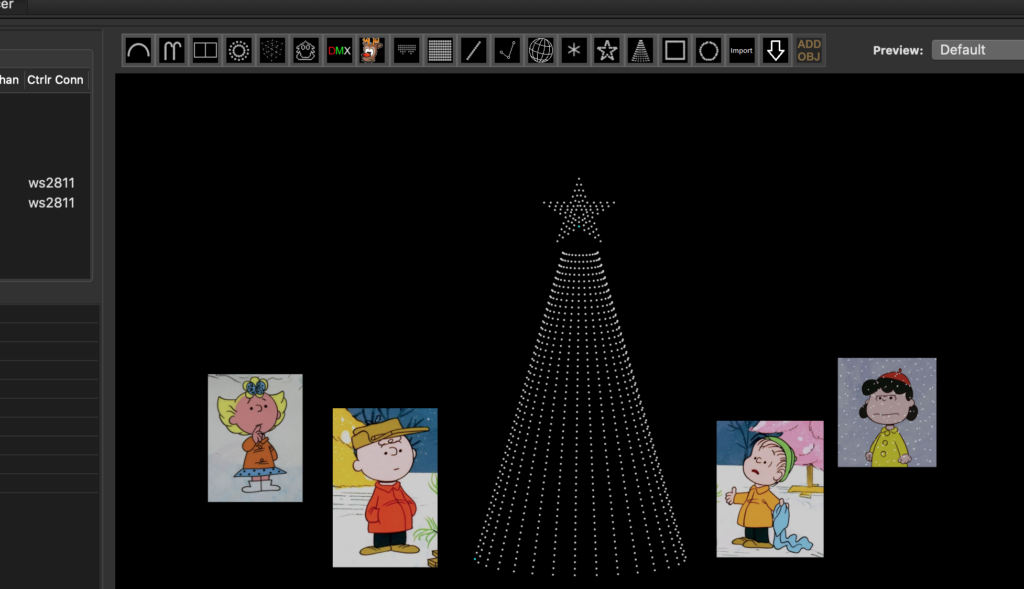
My plan this year was to have a lights and sound Charlie Brown Christmas. The centerpiece was going to be a 12 foot tall Megatree – a pole that has a number of light strings going from the top to the ground forming a cone. Around the tree would be four stand-up Peanuts characters: Charlie Brown, Linus, Lucy, and Sally. Beyond that some lights around trees and the arches from last year.
The plan was to have a spotlight light up each character while their dialog played, and to do a truncated version of A Charlie Brown Christmas – basically Charlie Brown struggling with the true meaning of Christmas culminating in Linus’ recitation of Luke II.
Trimming the Program
You may be able to guess from the picture at the top that my plan didn’t quite work out how I wanted. Problem one was the Peanuts characters. There are one or two commercially produced lawn standups available, but not of all the characters, and not quite in the outfits I like. There are a few people on Etsy that will paint and ship you a standup, but they are expensive (with good reason) and require a lot of lead time. I realized pretty late that I simply did not have the time to cut and paint them myself this year.
Second: Audio to go with the animations. One lesson learned from Halloweens’ display is that sequencing lights is time intensive. Even after I extracted a clean (music free) dialog track, any way you spin it sequencing lights is going to take a little while.
So with some regret, I decided that my setup was going to be no Peanuts characters, and more importantly, no audio.
Ordering and waiting…
I had figured out my lights requirements. After consulting a few forums, and I finally placed an order in late October. As I was discussing my plans in a forum, one user said “If you’re ordering for this year, you’re a little late.” I found this odd as the shipping was estimated to have it to me before Thanksgiving. I figured even with the work involved, I should be able to get everything setup just a few days after the start of the season.
For reasons I’m not entirely sure of, the everything took quite a bit longer than I expected to arrive. Once the lights were here I started working on the strands for the Mega Tree
The MegaTree
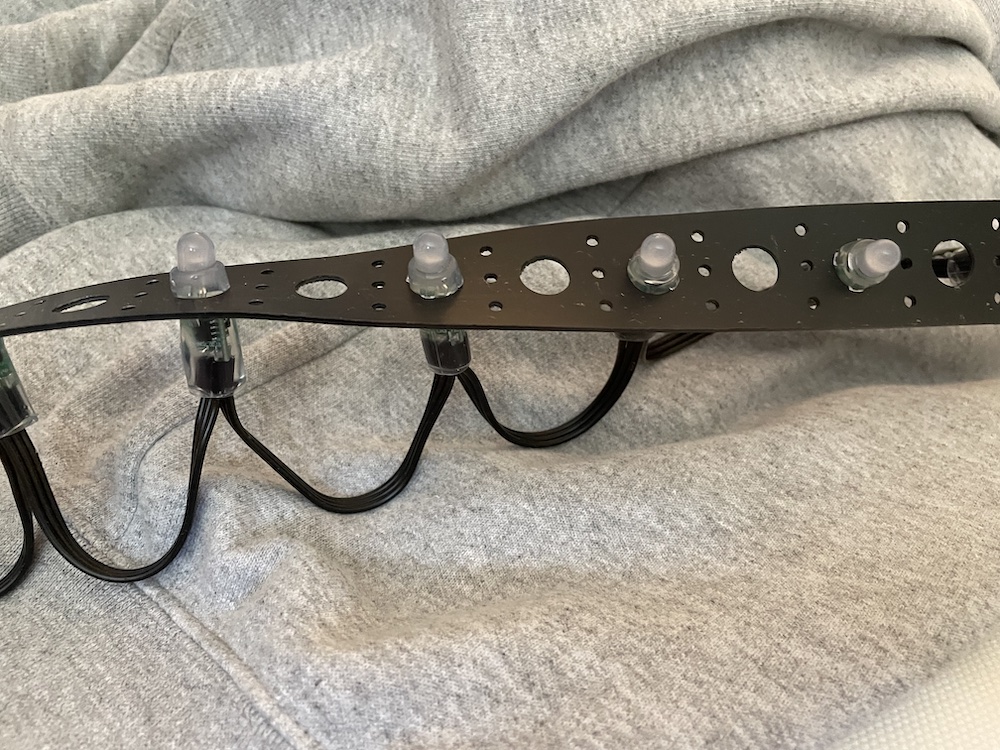
As noted above, my original plan was to make a 12ft mega tree. I started out by placing a couple of “bullets” into strips at 1 and 2 hole intervals to make sure I was happy with the end result. The trouble was that my calculations had all been built on 2 holes between each bullet (LED). When I looked at it, it was just a bit big of a gap. So I researched online what people were doing and one person said “If you do two holes, you’re gonna wish you’d done one.” So I gave it some thought, and decided that I’d prefer resolution over height. I started inserting the 800 LEDs into long strips of plastic. This is a very time consuming and unforgiving task. I mostly did this will playing Christmas movies or listening to podcasts.
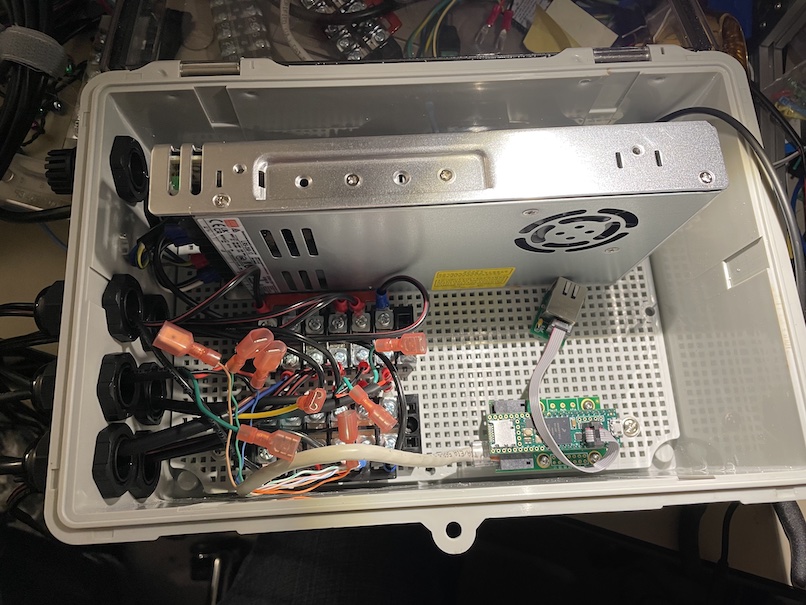
I also needed a means to drive all these LEDs – 800 of them. Fast enough to be able to do animations. And I wanted to understand how everything was working. After a lot of searching around and research about how everything comes together, I realized that I could run the MegaTree off of a single controller, built around a Teensy 4.1. The Teensy is a microcontroller that is tremendously capable. Apart from being able to send driving signals incredibly fast, it had built-in support for ethernet, with a simple adapter. To get the Teeny’s 3.3v up to the 5v safely, I also bought an OctoWS2811 adapter from PJRC. This just isolates and levels the signals from the teensy to the LED strands.
I am a competent software engineer, but the timeframe I was working in was too narrow for me to approach writing a driver with a protocol I wasn’t really familiar with. Fortunately someone on the internet had already dealt with this problem, and shared some firmware for driving all these lights. All I needed to do was adjust the ports the lights were driving out of, and some other basic configuration.
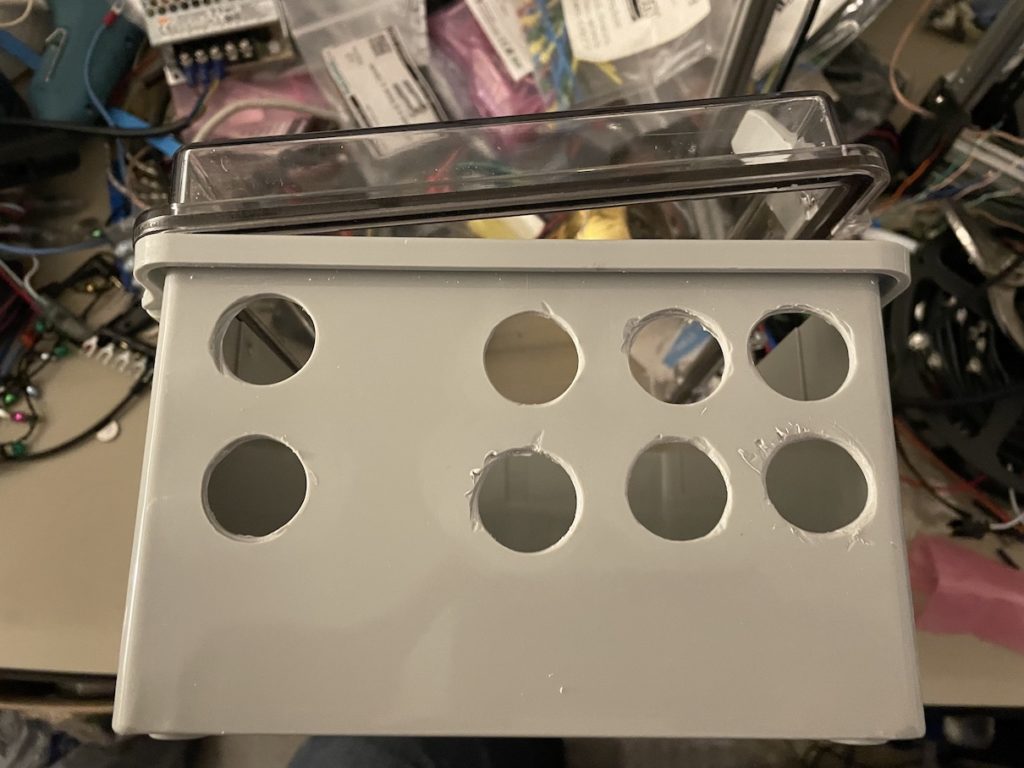
I got a waterproof electronics box and some cable glands to handle all the wires that I need to run into it. I was making this up all as I was going. The size of the glands made for a pretty tight arrangement. I borrowed an auger bit from a friend and drilled a bunch of holes in the box, and fitted all my glands. It made for some awkward wiring, but everything worked out. I’ll also note how nice it was to have the grid mounting plate to work with. I’d previously just used a piece of wood and some 3D printed mounting points, but cutting holes in this worked out really well.
Putting everything together
My show this year was substantially simplified by dropping the audio component. While I think the synchronized music is really fun, and makes for a great experience, it is super time-consuming, as I learned when I put together my Halloween display last year. So I had a simple repeating light display.
Most of the non-electronic components were purchased at a local Lowes. I had mixed success with Home depot, so I went a little out of the way. The supporting pole was made from 1″ black steel pipe. I had a 4-foot section, and a 6-foot section, connected with a small threaded coupler. The 6-foot section was put 2-feet into the ground for stability, leaving 8 feet above ground. At the top of the tree, I used a flange and some bolts to attach the pole to a 16-string QT-8 QuickTree topper. I had originally planned on cutting a small piece of plywood, mounting it to a flange, and screwing hooks into it. This had its own challenges, and time was short. I’m happy with the QuickTree topper. I have mixed feelings about buying from HolidayCoro because they add a surcharge to their products when the season hits, and that feels abusive.
I also bought a 3-row Star from HolidayCoro, and it was easy to assemble with a couple of extra strands of lights. That mounted onto a black steel pipe and screwed into another flange on the top
Lastly, sticking a pole in the ground doesn’t not invite stability, even if the pole has two feet in the ground itself. You need guywires to provide stability against wind and rain and shifts in the ground. My tree topper had mounting points for these, and I bought some stakes and nylon rope for the ground to tie off the other side.
Making a Show
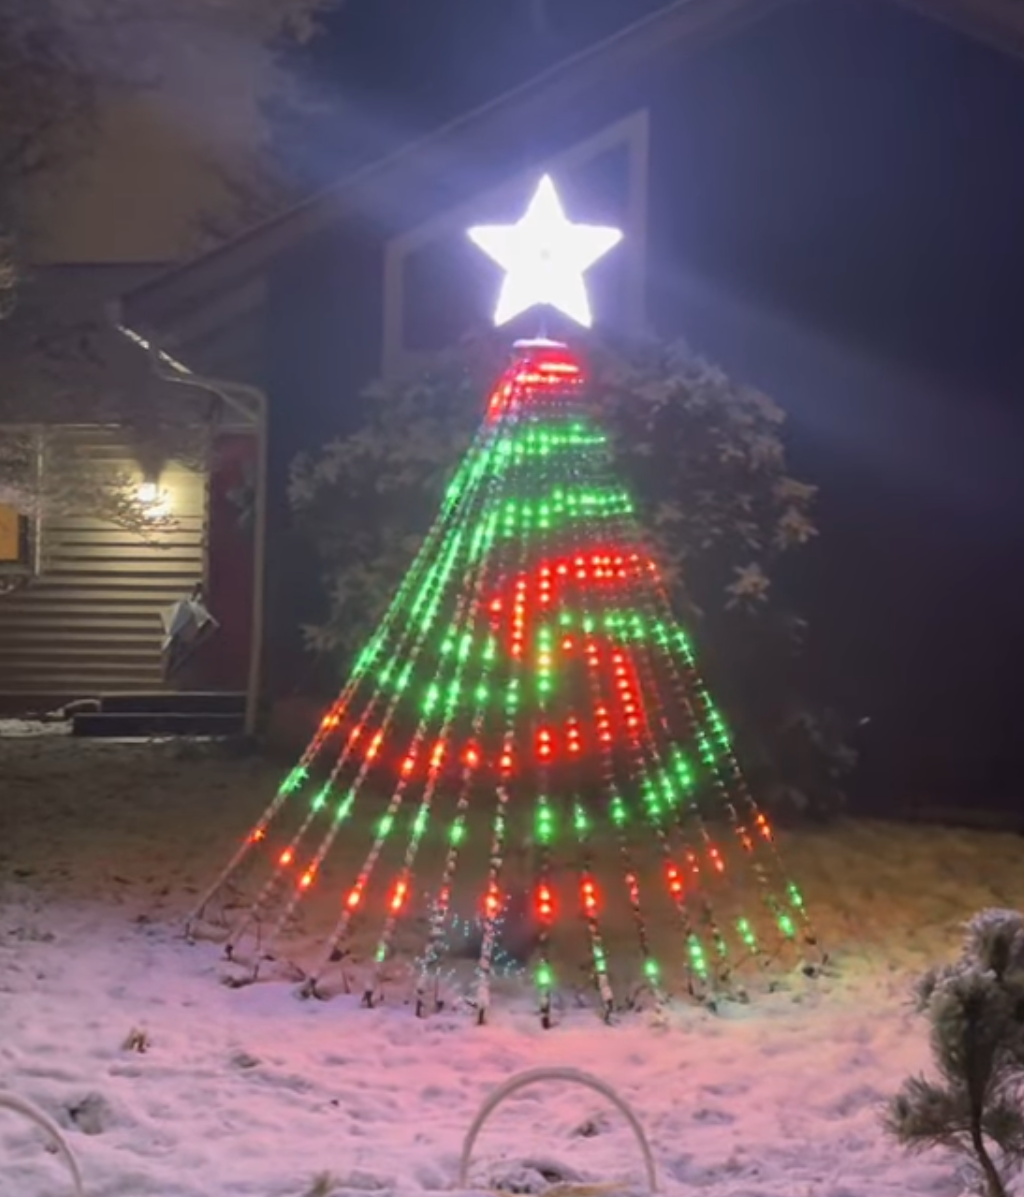
After getting everything up, and everything connected, I still had to make the lights… y’know do something… Fortunately I had built up a wealth of experience writing sequences for our Halloween pumpkins on Halloween. Because I didn’t have the added work of sequencing to sound, I really just needed to figure out what it was I wanted the tree to do. Because it was already pretty late in the year, I decided to just throw a couple of simple sequences together. A spiral, a curtain effect, snake around the star. I pulled out the arches from the pervious year’s display. 3 of them were broken for some reason, so I put the remaining two into the show. They were driven (as they were last year) directly off of my Raspberry Pi, while the Pi sent the tree signals over the ethernet cable, which were then interpreted by the Teensy.
After everything was hooked up and running for a while, I started to notice some odd discrepancies. There was a weird flashing red light on one strip in the middle, and if you looked closely, some of the lights didn’t line up. The former was a bad LED, the latter were cases of where I’d messed up the spacing! And I though I had been so careful. Still, it’s a beautiful display, and I hope to add to it this coming Christmas. Suggestions for what to add are welcome.
