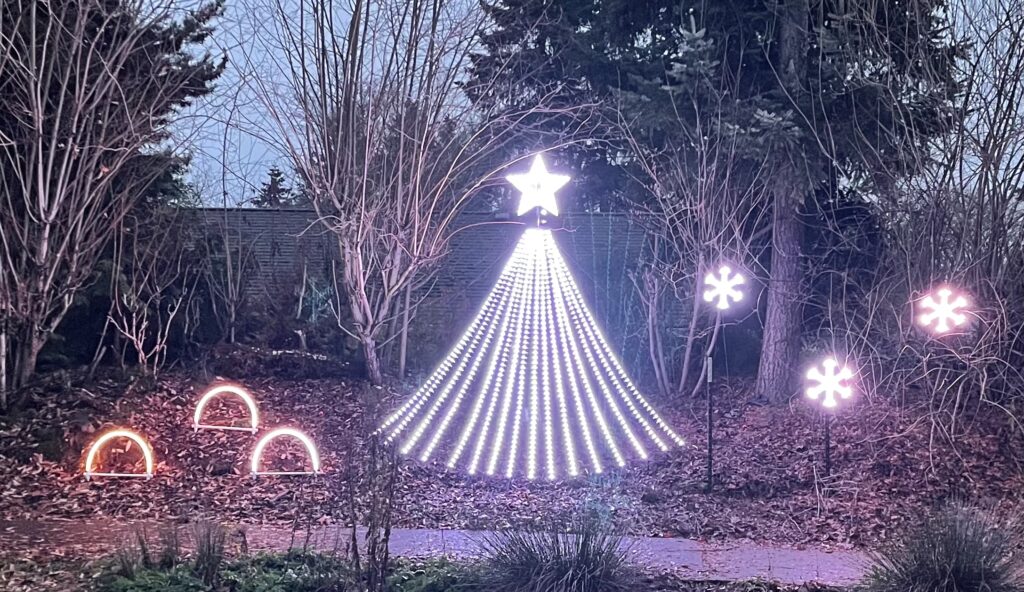
A few years back as I was starting to build out my Holiday light setup, I remember watching a video where the host said “3D printing is what really takes this hobby to the next level.” Up until last Christmas, I didn’t really have a 3D printer that I could rely upon, and I had a bunch of other stuff going on anyway. This year though, as I migrated my setup behind the house so it was more visible, I was thinking about what I could add – and how I could do it. I thought snowflakes would be pretty cool – and wondered if I could reasonably 3D-print them… (spoiler alert, the answer is yes)
There’s a company that sells Snowflake props for these LED “bullet” nodes. They’re between 2-3 feet in diameter. Obviously much larger than my printer. Also, this company charges an extra fee if you order during holiday time. So I set out to see if I could make a design that I could print inside my printer.
Version 1: The Hole-y Carrot
I wanted to make make a piece that could be printed several times and just assemble into a big, single snowflake shape. Ideally I wanted to fit 50 LED nodes into it, as that’s the most common length of strands I’ve got.
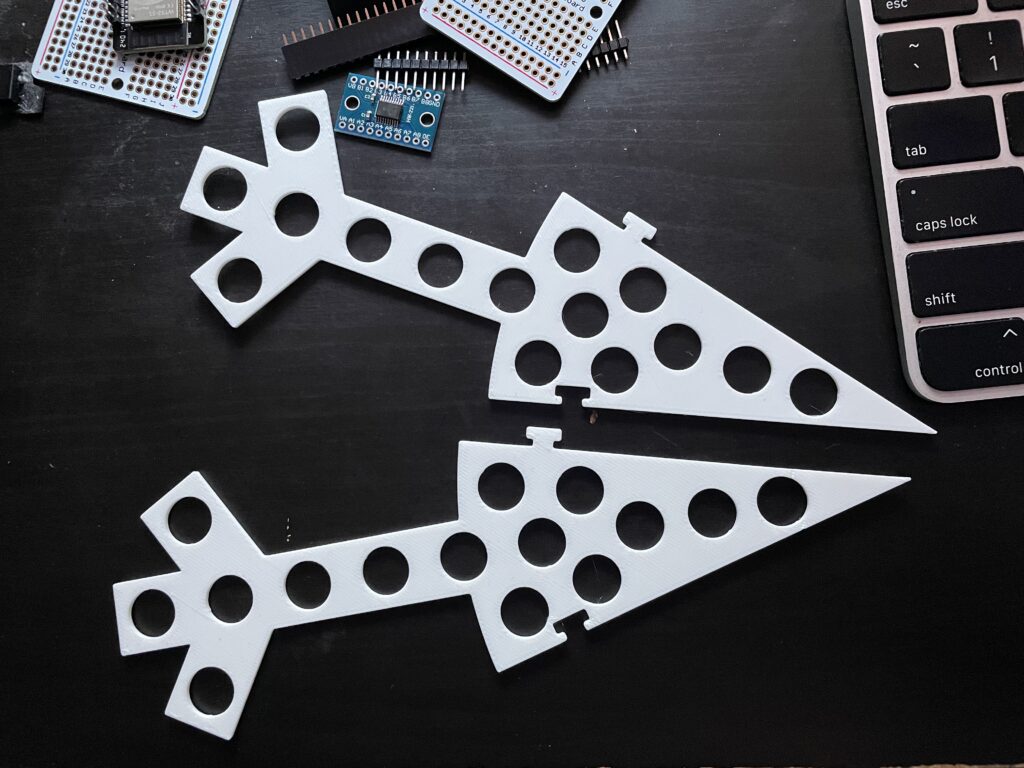
The simplest way to do this was to try and divide the snowflake up into a bunch of pie pieces and assemble them together. I first drew a few ideas for the snowflake points, and wasn’t entirely sure I knew what a snowflake looked like. Fortunately the internet provided a few idea. I popped open FreeCAD and started hacking away.
The first version, ended up looking a little like a carrot, with a bunch of holes in it. It was largely an experiment and helped me figure out some flaws in my design. These really tried to accommodate too many lights, were too small, and too thin. The surface can only be a couple of mm thick so the nodes fit.
Version 2.0: Fatter carrot
This version was a carrot with a wider wedge. It still distributed far too many LEDs per section to make sense. Ultimately I didn’t really like the circle shape as it was.
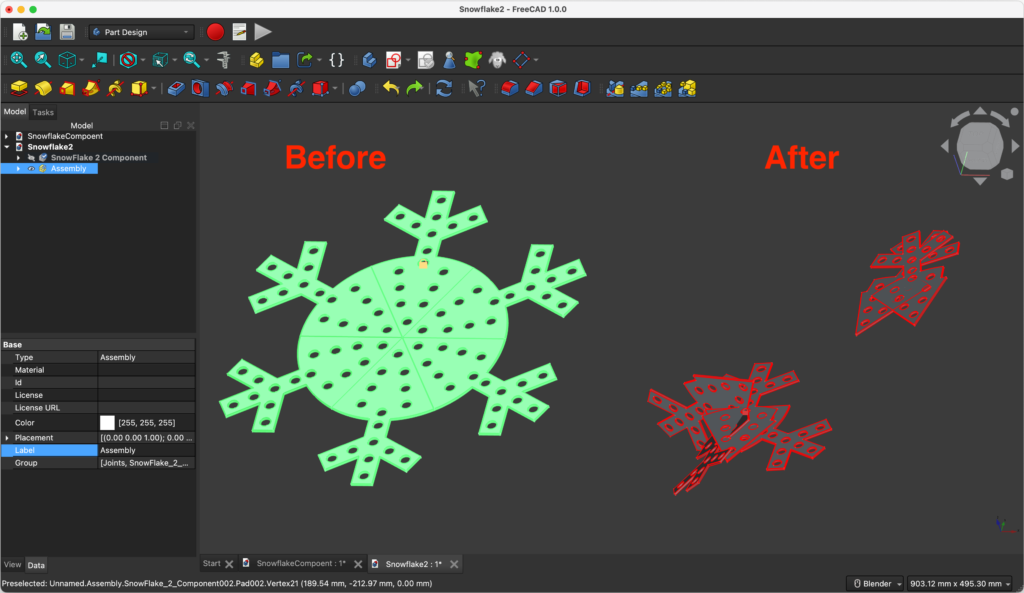
Here’s a funny aside: There’s the thing in CAD called the Topological Naming Problem. I am tempted to go into an explanation of what that is, but have decided its an exercise better left for the interested reader. Suffice it to say that the problem comes when you start changing the names of faces on 3D objects. I had assembled a digital version of my snowflake and then went back to make an edit. The results were disastrously hilarious:
Version 2.5: The candy-cane
Sadly I don’t have a picture of this – it looks a little like a Candy-cane because it wasn’t symmetric – It was an approach to having the LEDs laid out in a certain way, but it resulted in the snowflake’s arms going off in funny directions.
Version 3:
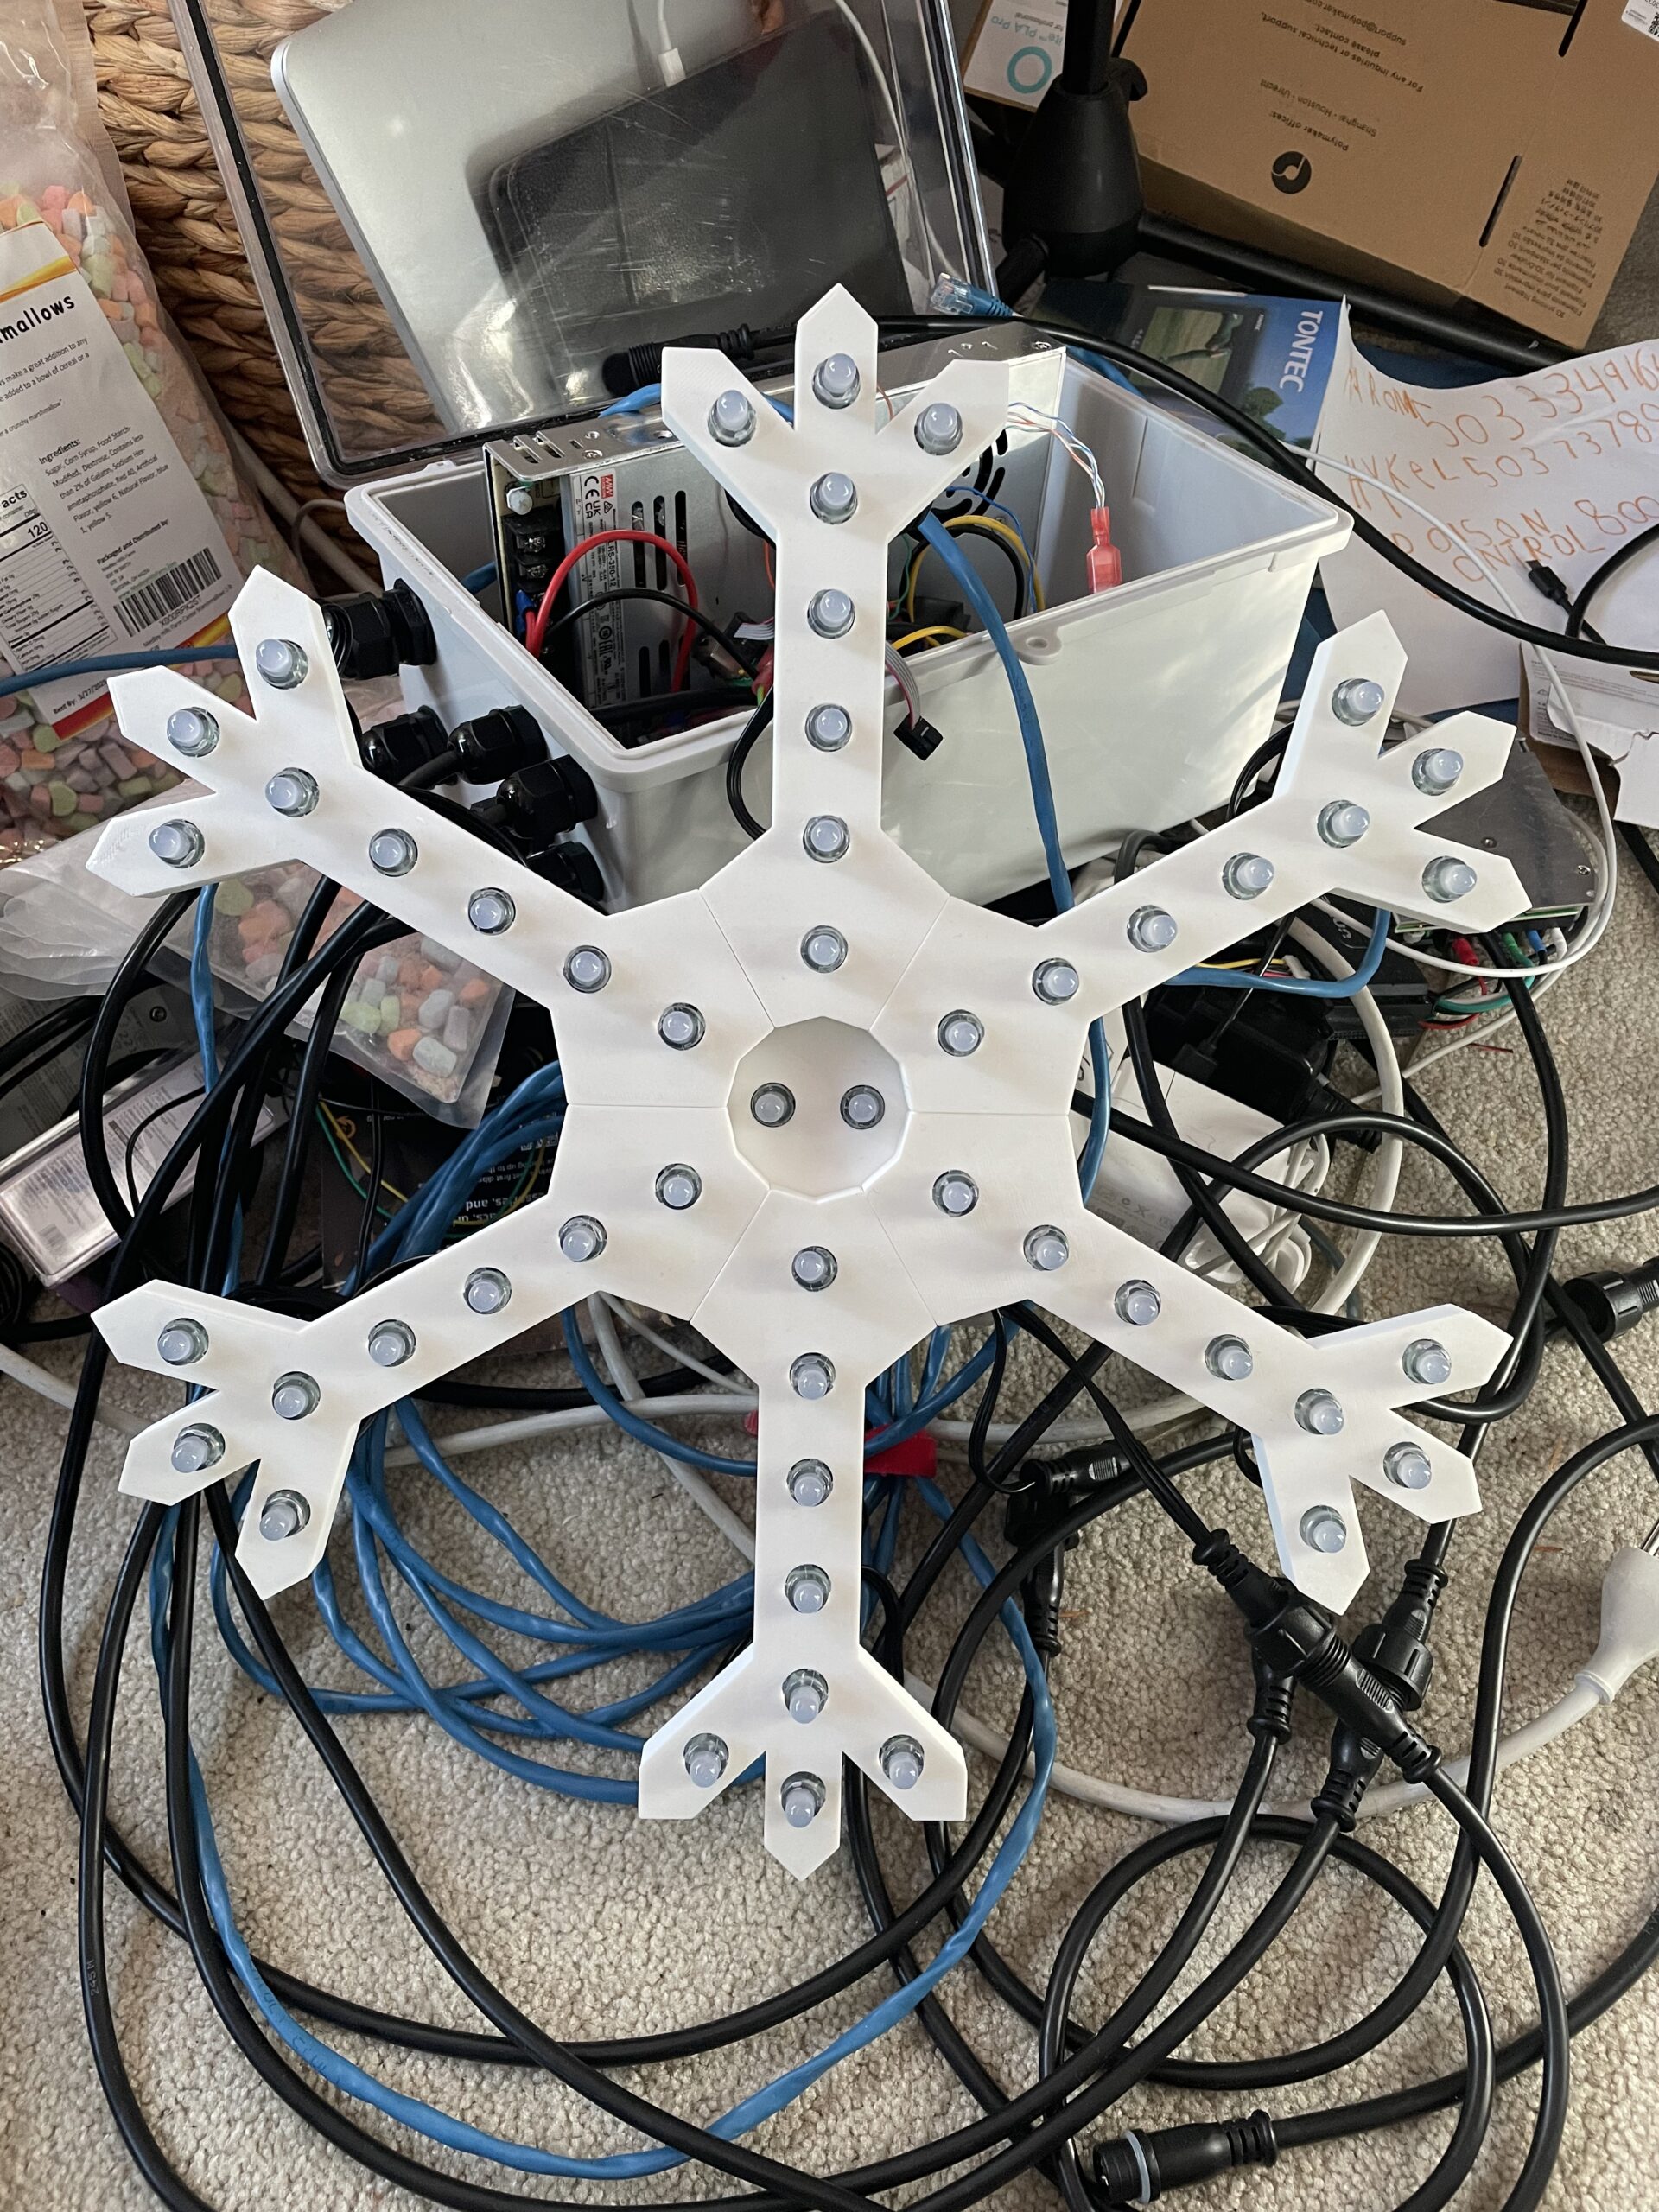
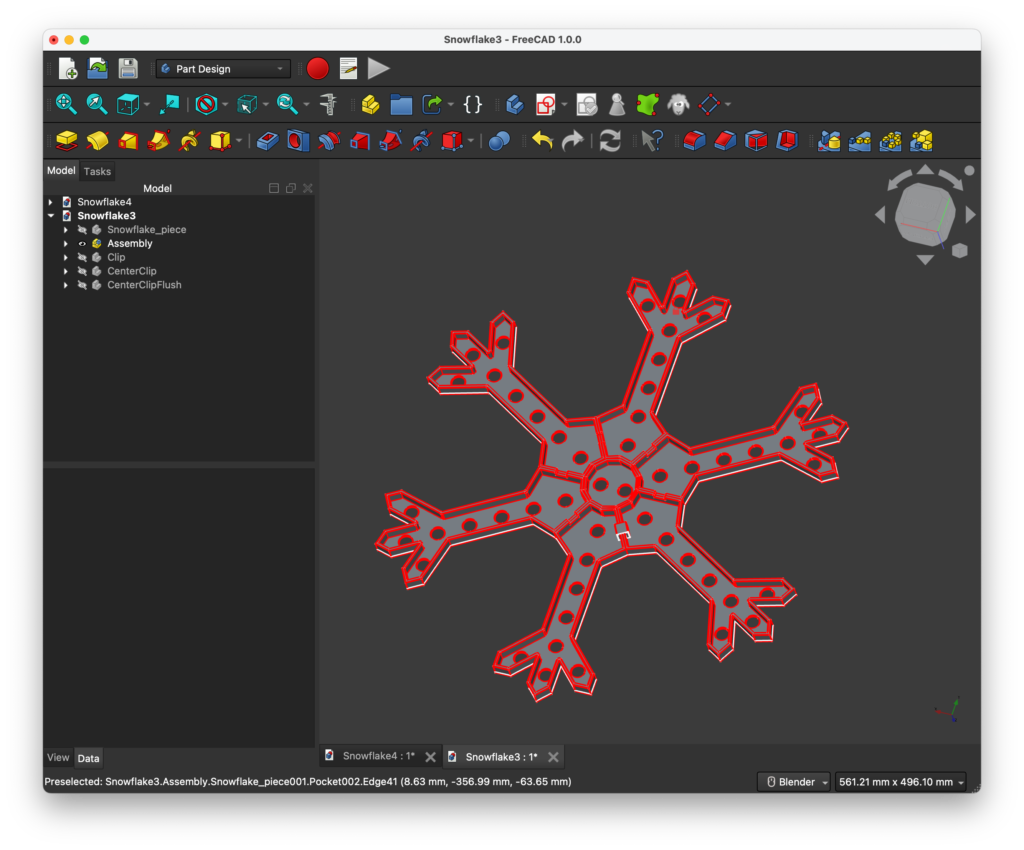
Version 3 is the version I settled on. This version abandoned the pie-shape and reduces the center down to just a simple wedge. I reigned in the LED count as well. Picking 6 ‘arms’, I had 48 pixels accounted for. Initially I left the last 2 out, but later added an insert to place them in the middle.
The arms are joined at their walls with small 3D-Printed clips. I wanted to avoid a bunch of screws and nuts because I didn’t want to deal with rust in the future.
For real life!
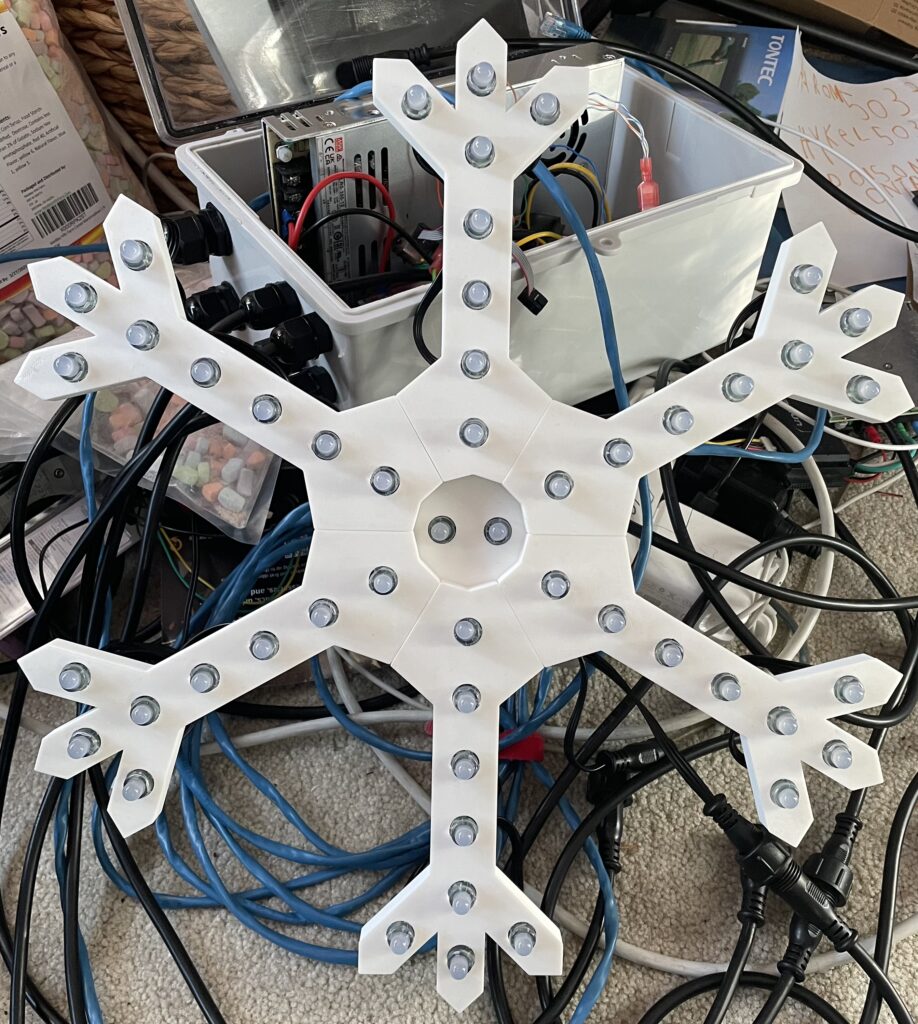
My very favorite thing about 3D Printing is the ability to make a thing on my computer, and then have it exist in the real world – often on the same day I’ve designed it. The snowflake pieces are too big to fit all on a single print plate of my Bambulab X1 carbon, but I can squeeze it onto two plates. Altogether probably 4 hours of printing.
Oops! Fried Controller
I spent a couple of days trying to get the lights turning on without much success. This was frustrating, as I was using the controller I’d setup last year to drive lights on a tree. It should have been really easy, but it wasn’t. While troubleshooting, I plugged in the controller wrong and tragically it no longer responds. I believe it to have released its magic smoke.
There is a silver lining to that though. Last year as I was reflecting on my setup, I came across a post about WT32-ETH01. This is an ESP32-S1 on a board with some Ethernet support. It supports a popular firmware called WLED. WLED drives LEDs just like the custom firmware I was running on the Teensy, but it also provides an interface for setup, and can drive the LEDs independent of system. You can’t load Sequences on it, but it does have a number of built-in patterns. With the ESP32-S1, it’s got Wifi on top of having Ethernet on the board.
After replacing the microcontroller and struggling mightily with getting the code to work, I managed to get the controller outputting the data I expected it to. I had recorded where I’d gotten the code that I based my controller off of, but not my actual code. Fortunately I had a left-over copy in a backup and when I got a look at that, it all started working.
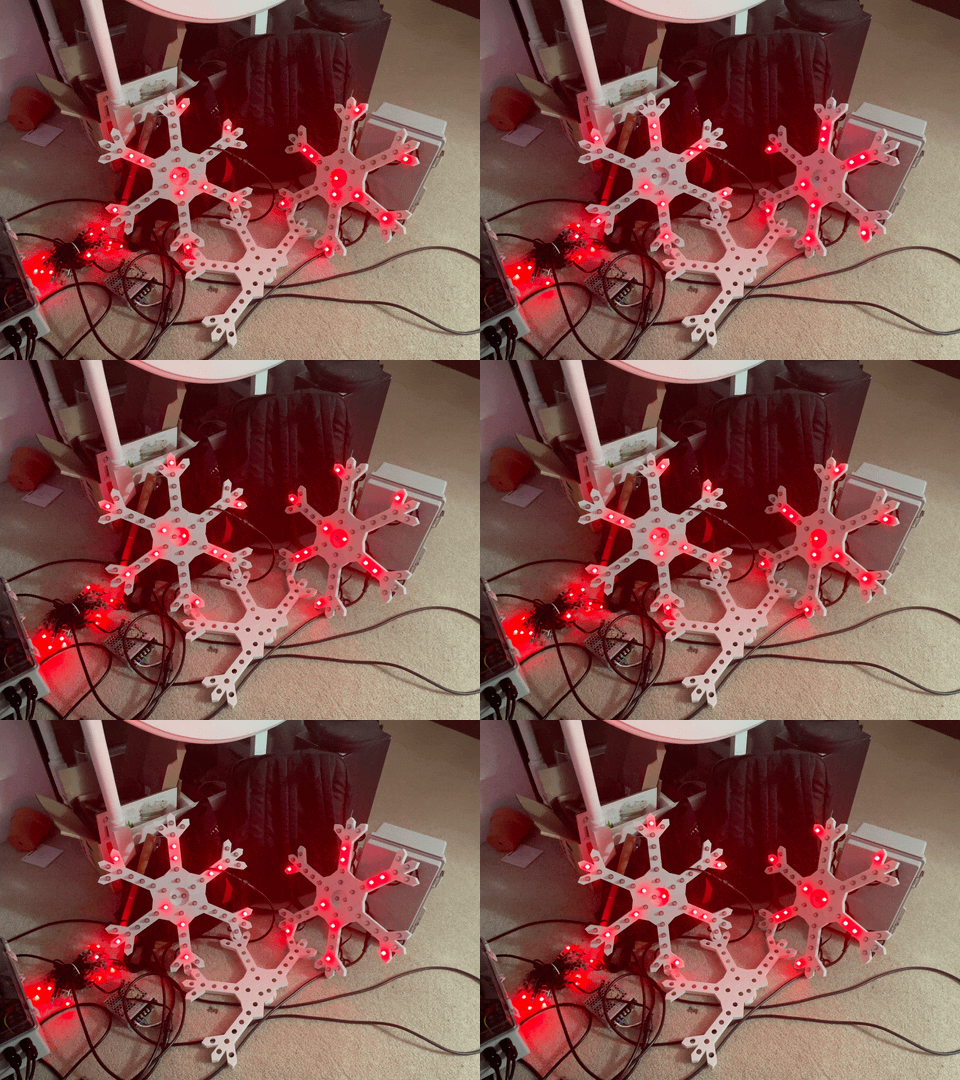
Having printed the last arms of the last snowflake (that being an more-improved version still) and testing everything, I’m pleased to say that everything is working and I’ve gotten them all hung up. This year’s Christmas display makes its triumphant return to the back of the house, where I hope it enjoys a little more visibility to the neighborhood alongside a relatively busy street.
