
We have several old Macs in the house. Although I am eager to replace them with modern Apple Silicon based systems, they’re still very usable computers. Or at least they should be. A year or so ago my wife’s 24″ iMac just stopped working one day. The machine that I bought to replace it for her, a 2017 13″ MacBook Pro works fine… as long as its plugged in. I’m fairly technically competent. I thought I could fix them…
Apple has not had a good reputation for computer repair in the last decade. In their designs they had definitely favored form over functionality. Still, I have opened many-a-computer before and I think its worth at least the exploration of trying to fix it.
The iMac
The iMac was my wife’s. It worked fine for a long time. One day however, it stopped booting. A little troubleshooting later and I figured that the hard disk in the machine had finally given up the ghost. It was a spinning hard disk from 2010. Thousands and thousands of hours of spinning, seeking, and storing. All mechanical disks are going to fail at some point.
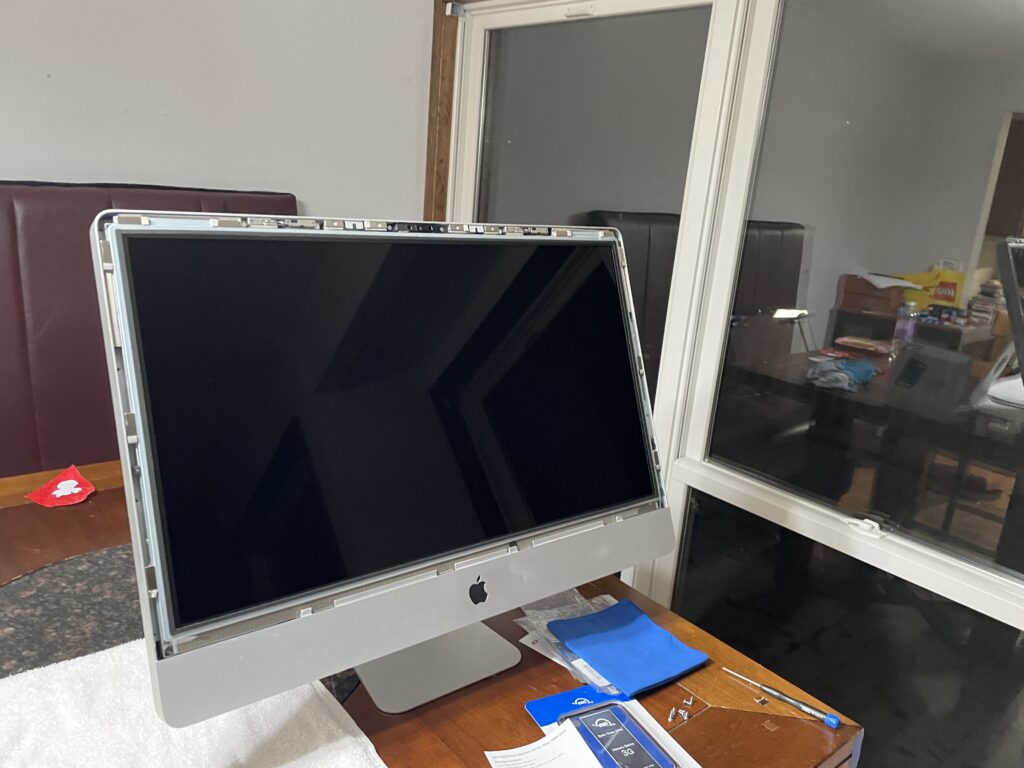
I have replaced the hard disk in this style of iMac before – my own 2008 iMac. So I wasn’t overly concerned about the process. One benefit of the intervening 13 years is that solid-state drives are cheaper and there are full kits available for the process. When I disassembled my 2008 iMac, you had to buy a hard disk, and all the relevant tools for pulling the display glass off and getting the pieces out. Now it’s one-stop shopping over at OWC.

The only tricky bit of the whole iMac process came down to the thermal fan management. The iMac has a sensor in it that pays attention to the heat coming from the Hard Disk to determine if it should turn on the fan, and how strong it should blow. A replacement sensor came with kit, but it was not clear where it should be placed. I hunted around a bit and found a reasonable answer in just sticking it on the SSD.

MacBook Pro
New Apple hardware is expensive, and at the time we didn’t have a sense of what Hykel’s computing needs were going to be, so I found a cheap 2017 MacBook Pro on eBay. It had a bit of cosmetic damage, but otherwise seemed to be working well. Unfortunately after charging it, resetting the SMA and trying all the troubleshooting steps, we found that the battery just was not reliable. If the laptop wasn’t plugged in, it could shut down at any time.
I decided to take a gamble on it and buy a replacement battery.

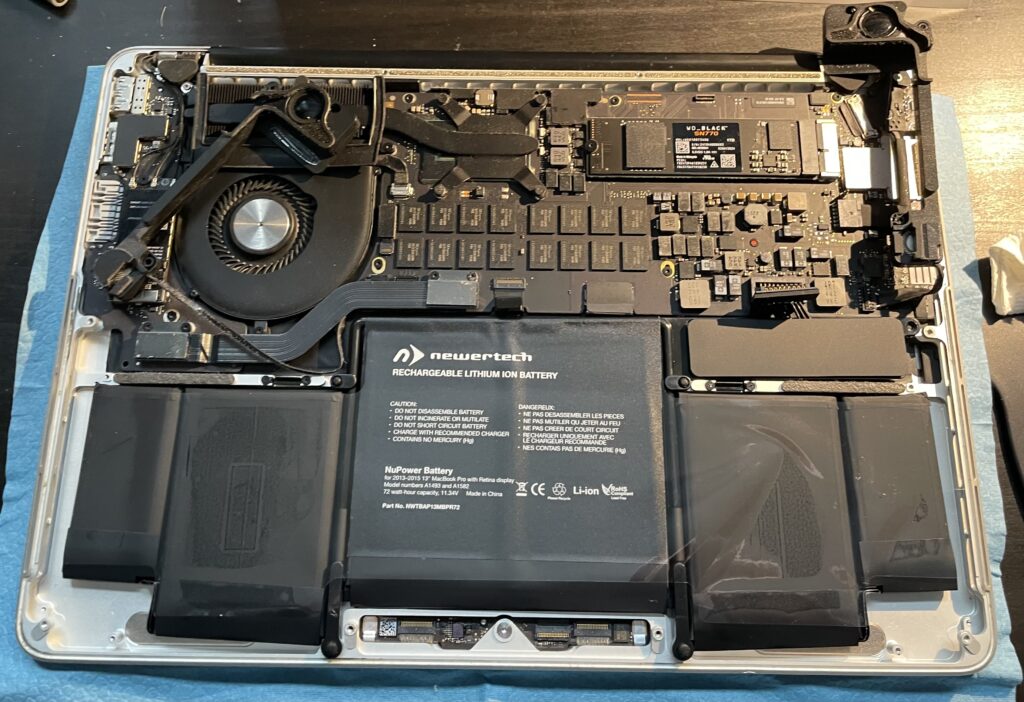
Peeling off the adhesive for the battery was a real pain. You have to apply acetone at an angle under the battery to get the adhesive to soften. Once the battery is out, it’s pretty straightforward from there. I don’t know if I’ll ever get the chance, but I would like to see the electrically-activated debonding adhesive Apple uses in their newer products.
The hardest part after that is the battery conditioning. You have “teach” the battery (more accurately, the system controller) what empty looks like, and what full looks like. Fortunately after running it through it’s paces I can confidently say that it’s fixed! The laptop now gets a solid day+ of battery life!
The other MacBook Pro
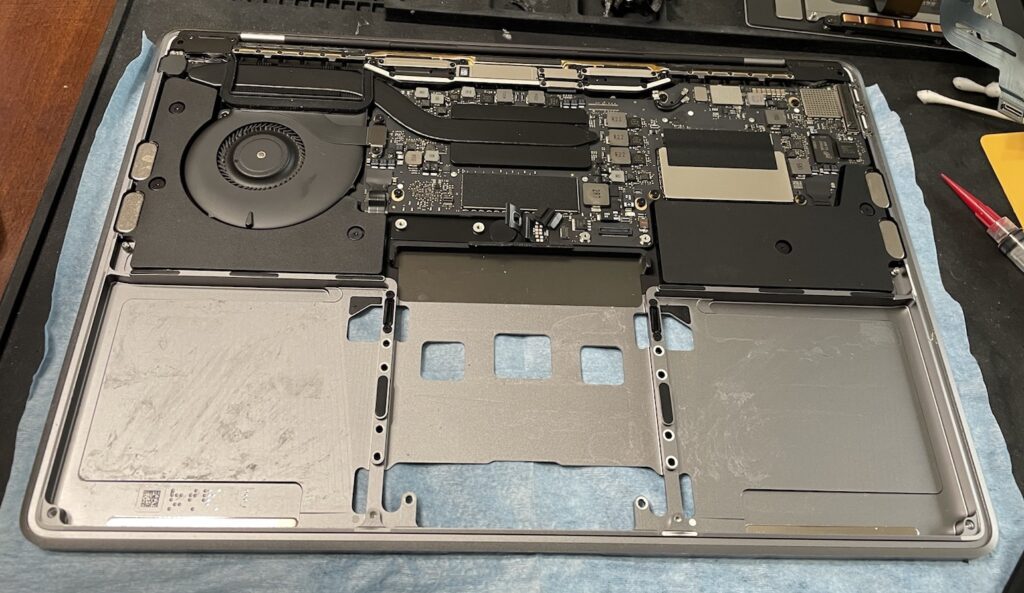
I’ve been living with my personal MacBook Pro for a while. It’s a 2014 13″ and Apple stopped offering new updates to it quite a while ago. Still, it is a great little laptop. Recently I got an SSD that was bigger than the one in the Mac – and I thought I would swap it out. Of course, back when Apple made this computer they decided to use a non-standard part. So I had to get an appropriate adapter.
I had some weird trouble with the adapter where the Mac’s disk utility was unable to see the drive internally unless it was formatted first by something else. Fortunately, I’d also gotten an external drive housing for the drive I pulled out of the computer. I put the new drive in there and formatted it.
While I was in the computer, I noticed the battery cells looking a little… bulbous. This is a bad sign. With LiIon batteries or LiPo batteries start to inflate, it means the battery is failing. Having just increased the life expectancy of the laptop, I decided to go all in and replace the battery.
Overall, this went pretty smoothly. When closing up I found that the alignment was a little off so I had to pull up the battery and put it back down in the right position. But other than that, it’s in there all set. As I mentioned, I recently switched to Linux on this computer – and I’m still figuring out how to get better battery performance out of it.
It’s nice to be able to open up your technology and update it. There is something powerful about self-repairing your stuff.