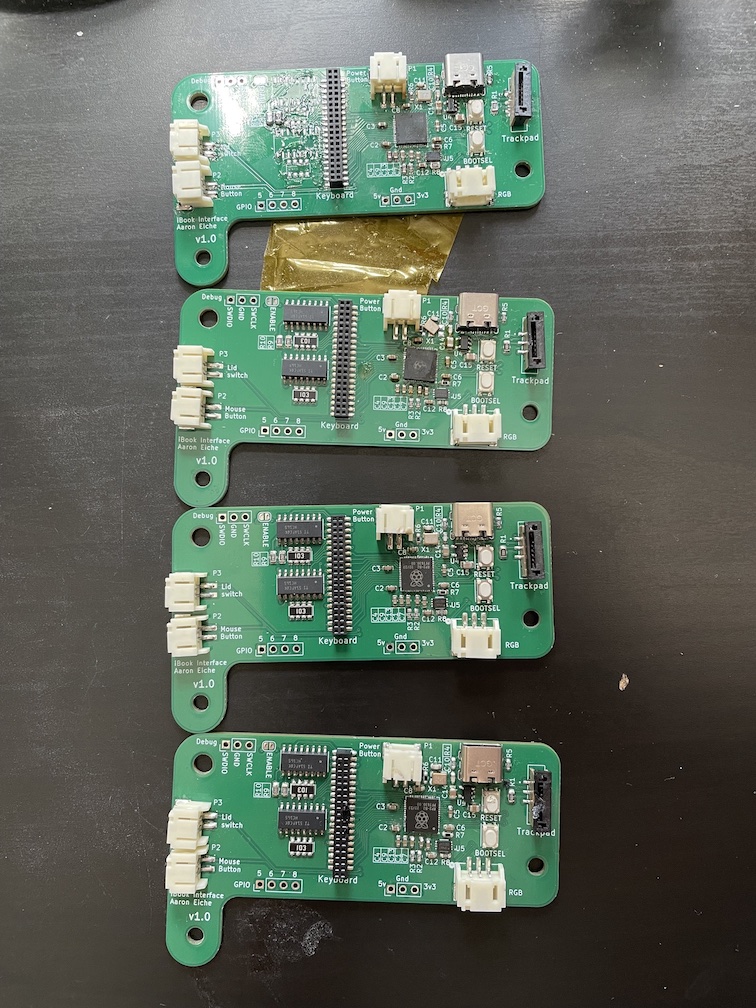
As mentioned in the previous log, I got the keyboard boards from JLCPCB. I have (unfortunately) not had success with reflowing them. More specifically my measure of success was plugging the board in and seeing it mount as a USB mass storage device. This is a feature of the RP2040, and seemed like the easiest way to determine that I’d made the board correctly. None of them have done this (yet) and while I wait for tools to try again, here’s a post-mortem on the experience.
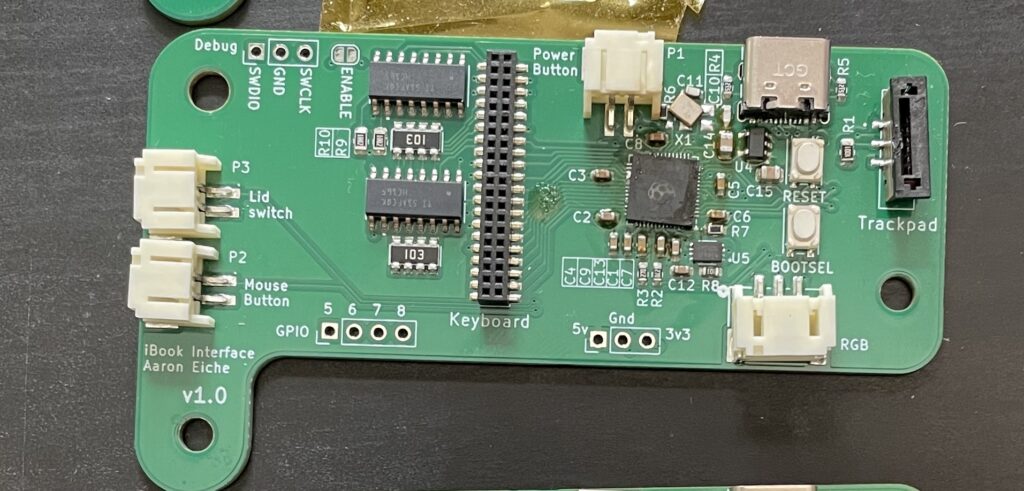
Board #1
I covered this in the last post, so I’m not really going to go over much of it again. There was way too much paste on it, and I was missing some parts. I have since cleaned up some of the excess paste, but need to reevaluate the board itself before trying to plug it in.
Board #2
This one was the first I did with the stencil that I ordered from OSHStencils. It turned out much better, but needed some cleanup. The chip ended up off kilter and I needed to correct it. When I was using Hot-Air to correct it, I accidentally reflowed some other components (the crystal, and a nearby resistor) at which point I threw my hands up in the air and gave up for the day.
I haven’t attempted to salvage it yet. The lesson here (which I should’ve learned by now) is to cover the parts you don’t want reflowed with Kapton tape. This won’t wholly prevent heat from getting on the parts, but it reduce direct heat applied from above.
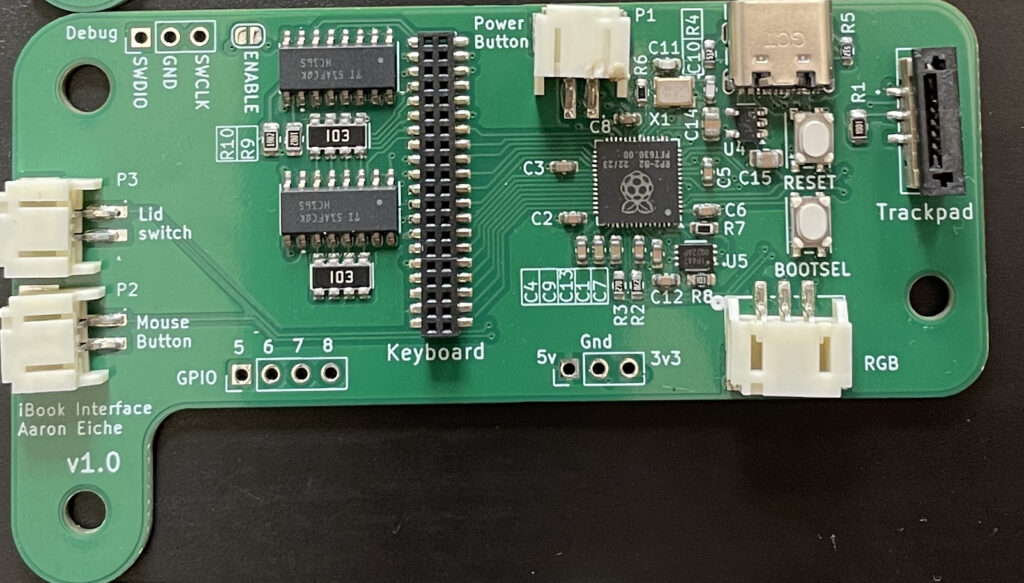
Board #3
This board is pretty clean, and had a few bridges that needed to be cleaned up, but the biggest problem was that the RP2040s internal regulator wasn’t generating the expected 1.1v that the IO pins use. This is a tell-tale sign that something isn’t working right.
Board #4
By far the cleanest board in terms of the reflow, there were a couple of small bridges that needed to be corrected.
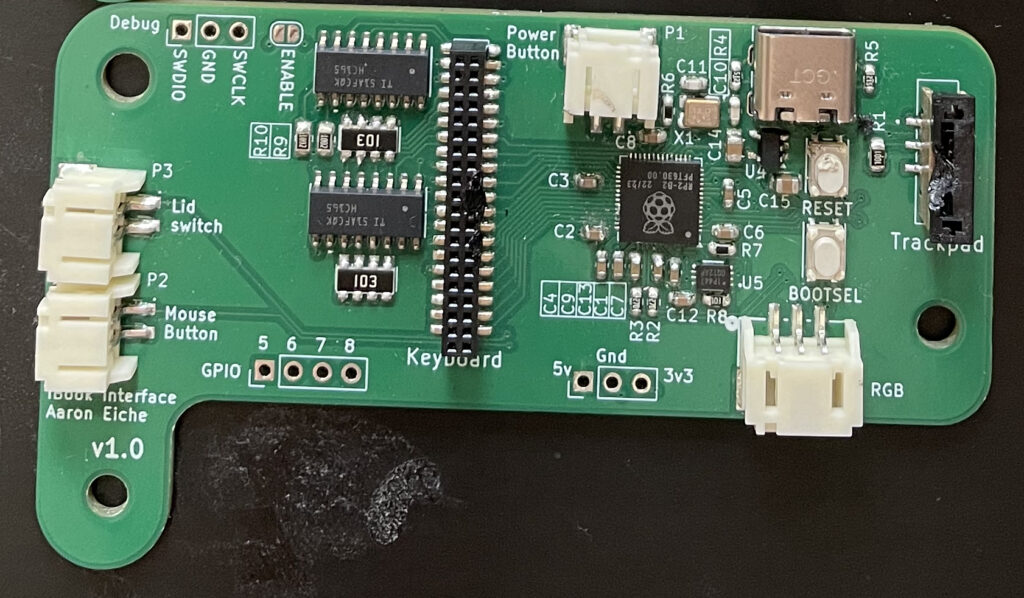
I got out my soldering iron and proceeded to fix them, but melted more plastic housings than I wanted to – damaging both the keyboard and trackpad connectors. The good news is that the 1.1v is clean on the chip. But it still won’t mount.
What now?
Now I am waiting. My currently regular-use soldering iron is a PINEcil v2. It’s a great iron, but both of the tips I have are much too big for any fine-pitch work. In an effort to not purchase things from Amazon I ordered the micro-soldering tip set directly from the Pine64. Pine64 is based out of Hong-Kong and has a fairly broad network for distribution. That said, its taking some time for the new tips to arrive. Once they’re here, I’m going to try to correct the issues on the boards and see if I have any better luck.
It’s possible that this is a design issue, but I consulted with some folks on the Hackaday Discord, and while the feedback said there was room for improvement, they didn’t think there was anything substantially wrong with the layout. Some have offered a deeper analysis, which I am waiting on.