 I should start out by warning you that this is not a build-log. My friend Isaac reminded me that before we started this project, this was blogging gold, and he didn’t have a blog. He was implying that I should be the one to write this all down. I didn’t, but this should be interesting anyway.
Several months back when SparkFun announced Free Day, a few friends of mine got a bit of a glimmer in our eyes. We’ve been intrigued by the premise of the RepRap printer for some time, but in generally felt out of reach. The distance was measured by a number of things, including money, and the theory was that we’d be able to get some free stuff out of SparkFun to help with the cost. We quickly realized that SparkFun didn’t sell much that we actually needed (and you know how it turned out anyway.) So we decided to embark on the journey anyway. Isaac decided to take on the electronics and the extruder, while I decided to handle the cartesian robot.
“What is a cartesian robot?” you say. Well, it’s a robot whose job is to move something around in three-dimensional space. In the case of the RepRap, it’s a device called and extruder that takes plastic filament and melts it down to a liquid form so it can be laid out in some manner kind of like a hot glue gun. So if you can lay down melted plastic, move around the source of that melted plastic, you can build an object layer by layer.
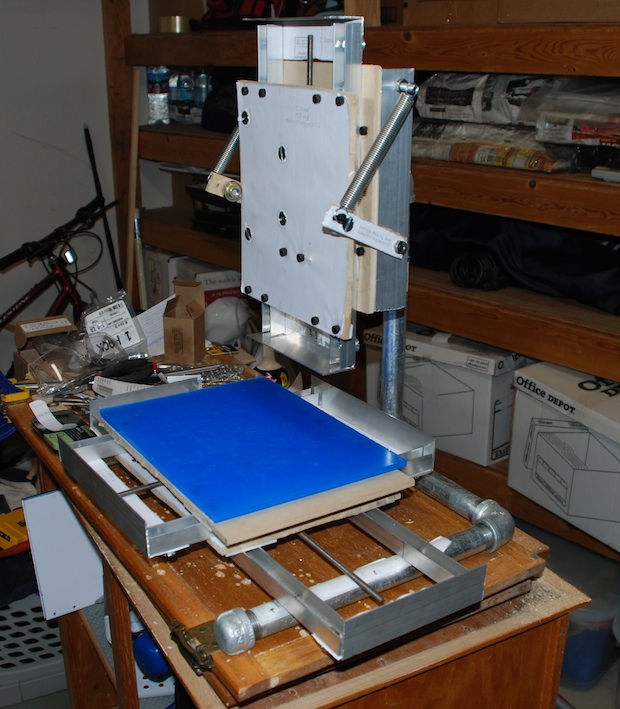
Enter the McWire Cartesian robot. A few years back a guy named Tom McWire came up with a pretty neat design for a 3-axis CNC machine. It was small, built on commonly available parts, and well documented. Then, a guy named Zach Smith adapted the design for use as a RepRap. A couple of months ago, I decided to build one.
And there it is! My biggest frustration I think was the lack of several things when it came down to the construction. A few of my complaints:
No measurements for the design anywhere.
Acrylic was recommended, but not easy to obtain or DIY.
The lead of the design has since abandoned it for greener pastures
The design is overly-complicated for what the project is trying to accomplish.
Some things about the design don’t make sense
A lot of these things are carryovers from Tom Mcwire’s original design. For him, as near as I can tell, the decisions were ones of “Well, I have this stuff….” which is very easy for a guy who has a shop full of materials to use. For a person who needs a parts list, this becomes a very bad idea. Mostly because a person who goes out an buys parts for a project expects the project to make sense from a purchasing standpoint. This is rarely the case where someone is making something from materials they have. Utility is more important than the material itself. Thus, the over complicated machine.
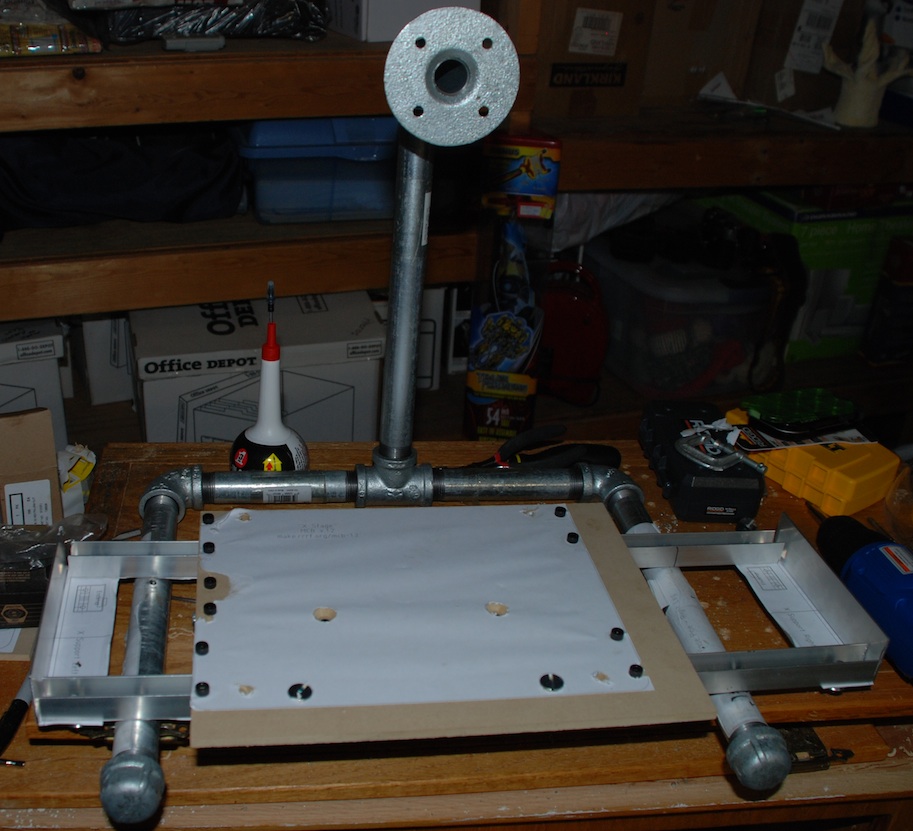
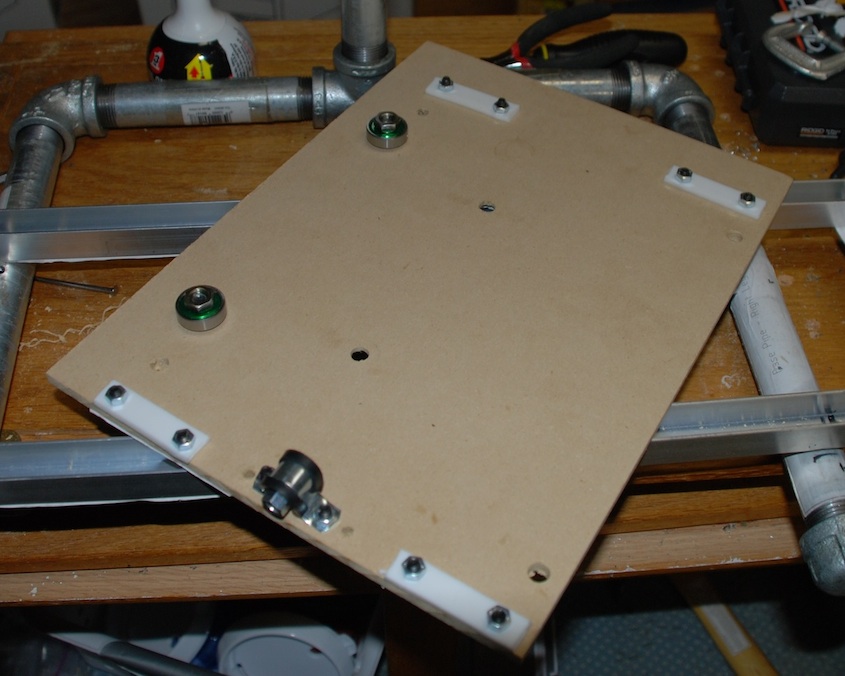
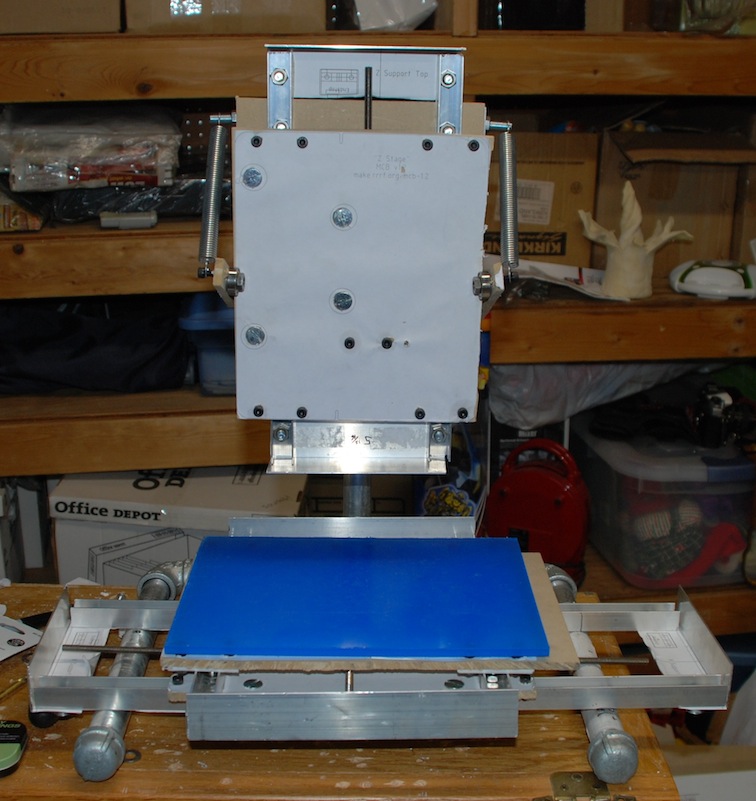
Early construction
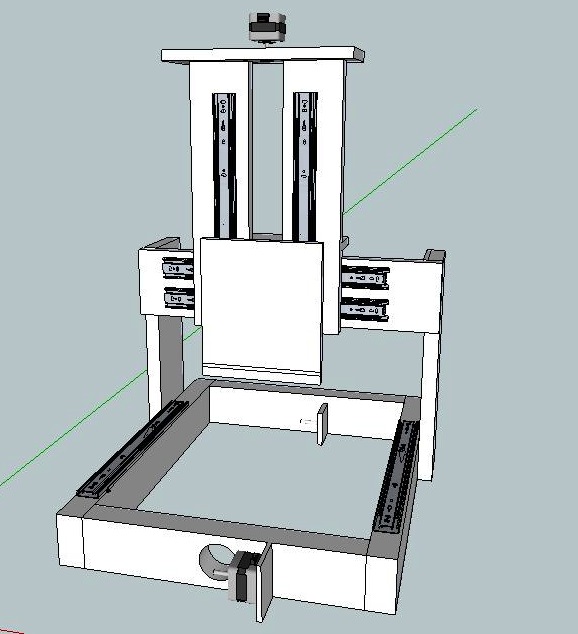
I’ve been working with others within the RepRap community to develop a good official replacement for the McWire. Right now we’re focusing on an easily-constructed design nicknamed “Wolfstrap” after it’s first builder who’s name is Wolfgang. This design hopes to take into account more common materials, simpler-design, and fewer proprietary concepts. Beyond the pictures you can find here, I’ve put together a model in SketchUp.
Was building the McWire fun? Sure. I had some fun, and I had some really irritating moments. I’m glad I did it, and I’m also glad I’m done with it.
We are finally cnmoig closer to 3d printing for everyone. The other side of the story is software. Google SketchUp is helping us change that. We are currently 3d printing models from 3ds files outputed by SketchUp, specifically for architecture. Currently our models have to be designed for 3d print where surfaces have to be closed off etc. in order to get clean 3d models. Not to mention intense post processing in some expensive programs to even be print ready. It feels a bit like Photoshop back in the 90 s. You can see some of our projects at 3dventures.com