This year for Halloween decorations, I built and sequenced a music and light show featuring Jack O’ Lanterns.
Last year as the Halloween season was winding down, My wife discovered electric Jack O’ Lanterns with a pretty nifty flame effect. What I noticed about them was that on the bottom there was a 2-pin header for the “Try Me” button. It occurred to me that I could turn the pumpkins on an off remotely, and never need to change the batteries. I also realized I could arbitrarily make them blink – and that meant I could synchronize them to sound!
I quickly became obsessed with this idea and approached it by trying to program a microcontroller with a set of timecodes to turn on and off at, which would run in parallel with an audio file playing on the controller. This might have worked but I didn’t have the time to implement it, and it was cumbersome. Additionally, we faced one major problem: The pumpkins weren’t weatherproof. Any rain storm would result in the pumpkins possibly being fried. That year we spent the rest of the season turning them on or off, or bringing them in when rain was threatening.
Fast-forward to August and my wife says I should start on Halloween Decorations so they’re done by the time the Halloween Season starts (rather than trying to do it all in October). This is some of the best advice I’ve ever received. After briefly considering my original idea, I decided I could save myself a lot of trouble by just going with some more versatile LEDs. Enter the Mighty WS2812B:
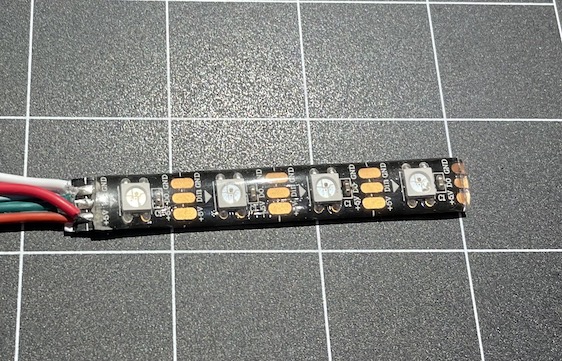
The WS2812B is a great LED chip. It can do Red, Green, and Blue, and any combination thereof. It’s easy to power and there are lots of tools for programming them to the right colors. I bought a strip that had been a coated in silicone, and some pigtails that were waterproof. From a physical standpoint, these would essentially be smaller versions of the arches I made last year.
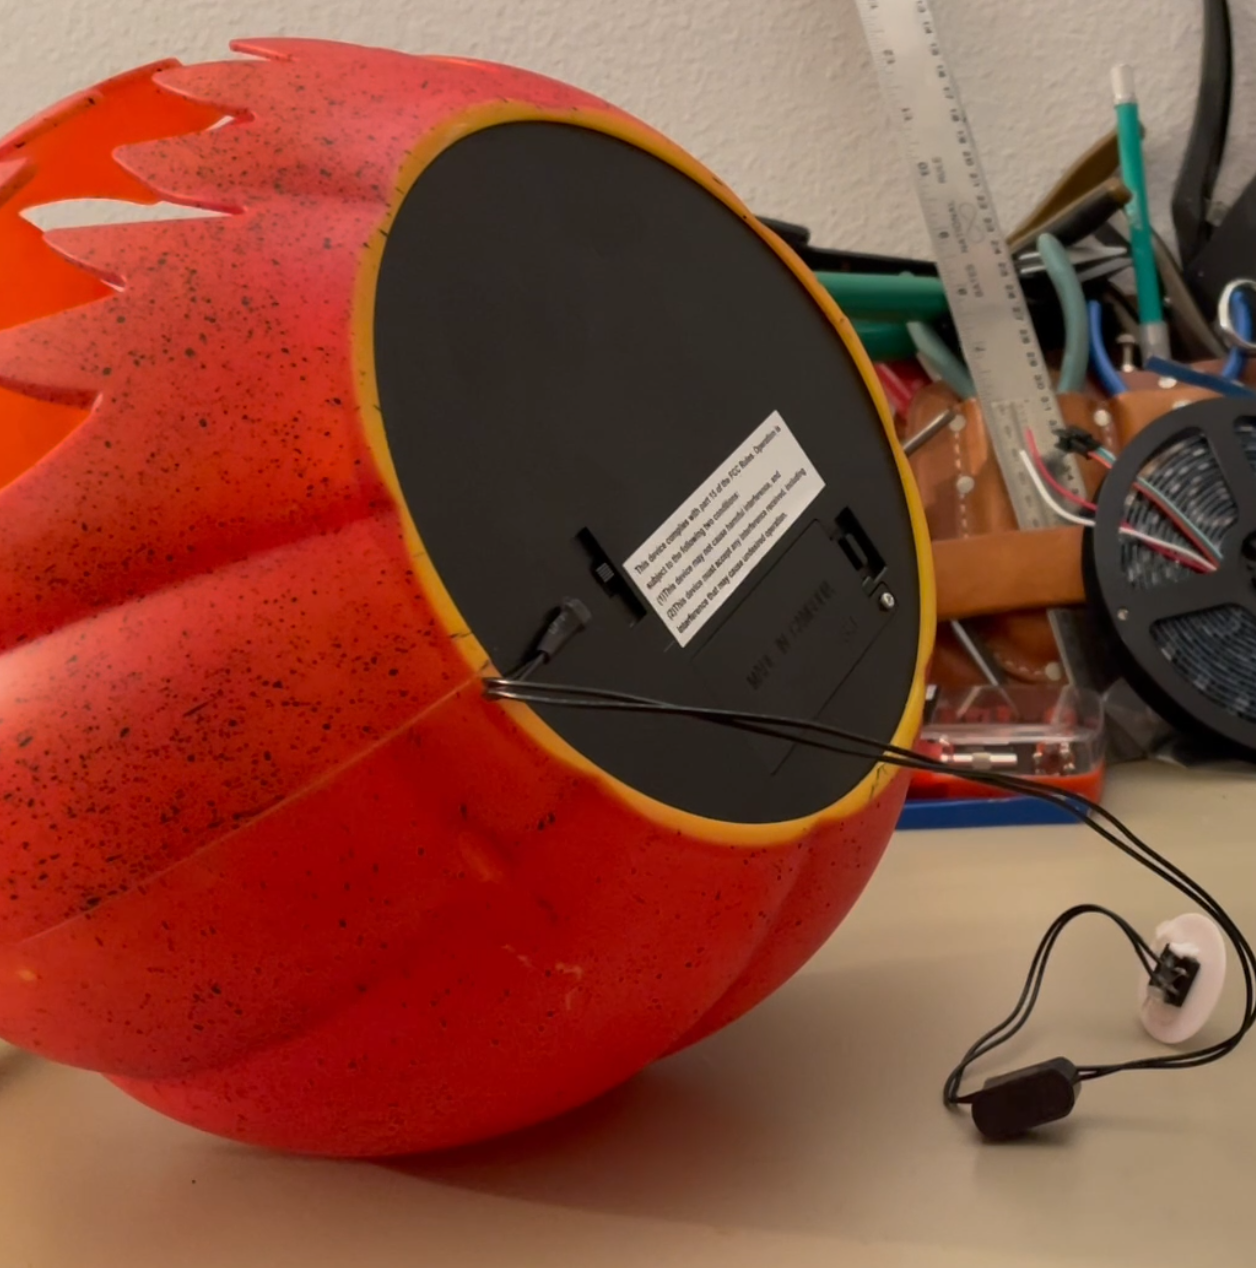
Since the pumpkins weren’t watertight, I needed to make sure that the connections were going to last through the season. After tearing out the guts of the pumpkins, I drilled two holes into the battery compartment – one for the plug coming in and the other for the plug going out.
I pushed the pigtails through the holes, and secured them with hot glue. I soldered together the wires from the pigtails to some ribbon cable, and then to the LEDs themselves. One of the tricks I picked up from the internet was a to encase solder splices in hotglue, and then heatshrink around that. It causes the glue to melt as your shrinking the insulation and ensures a really good waterproof connection. If you’re interested in seeing the process, I have a short edited version here and a Live-streamed, watch-as-I-do-it version here.
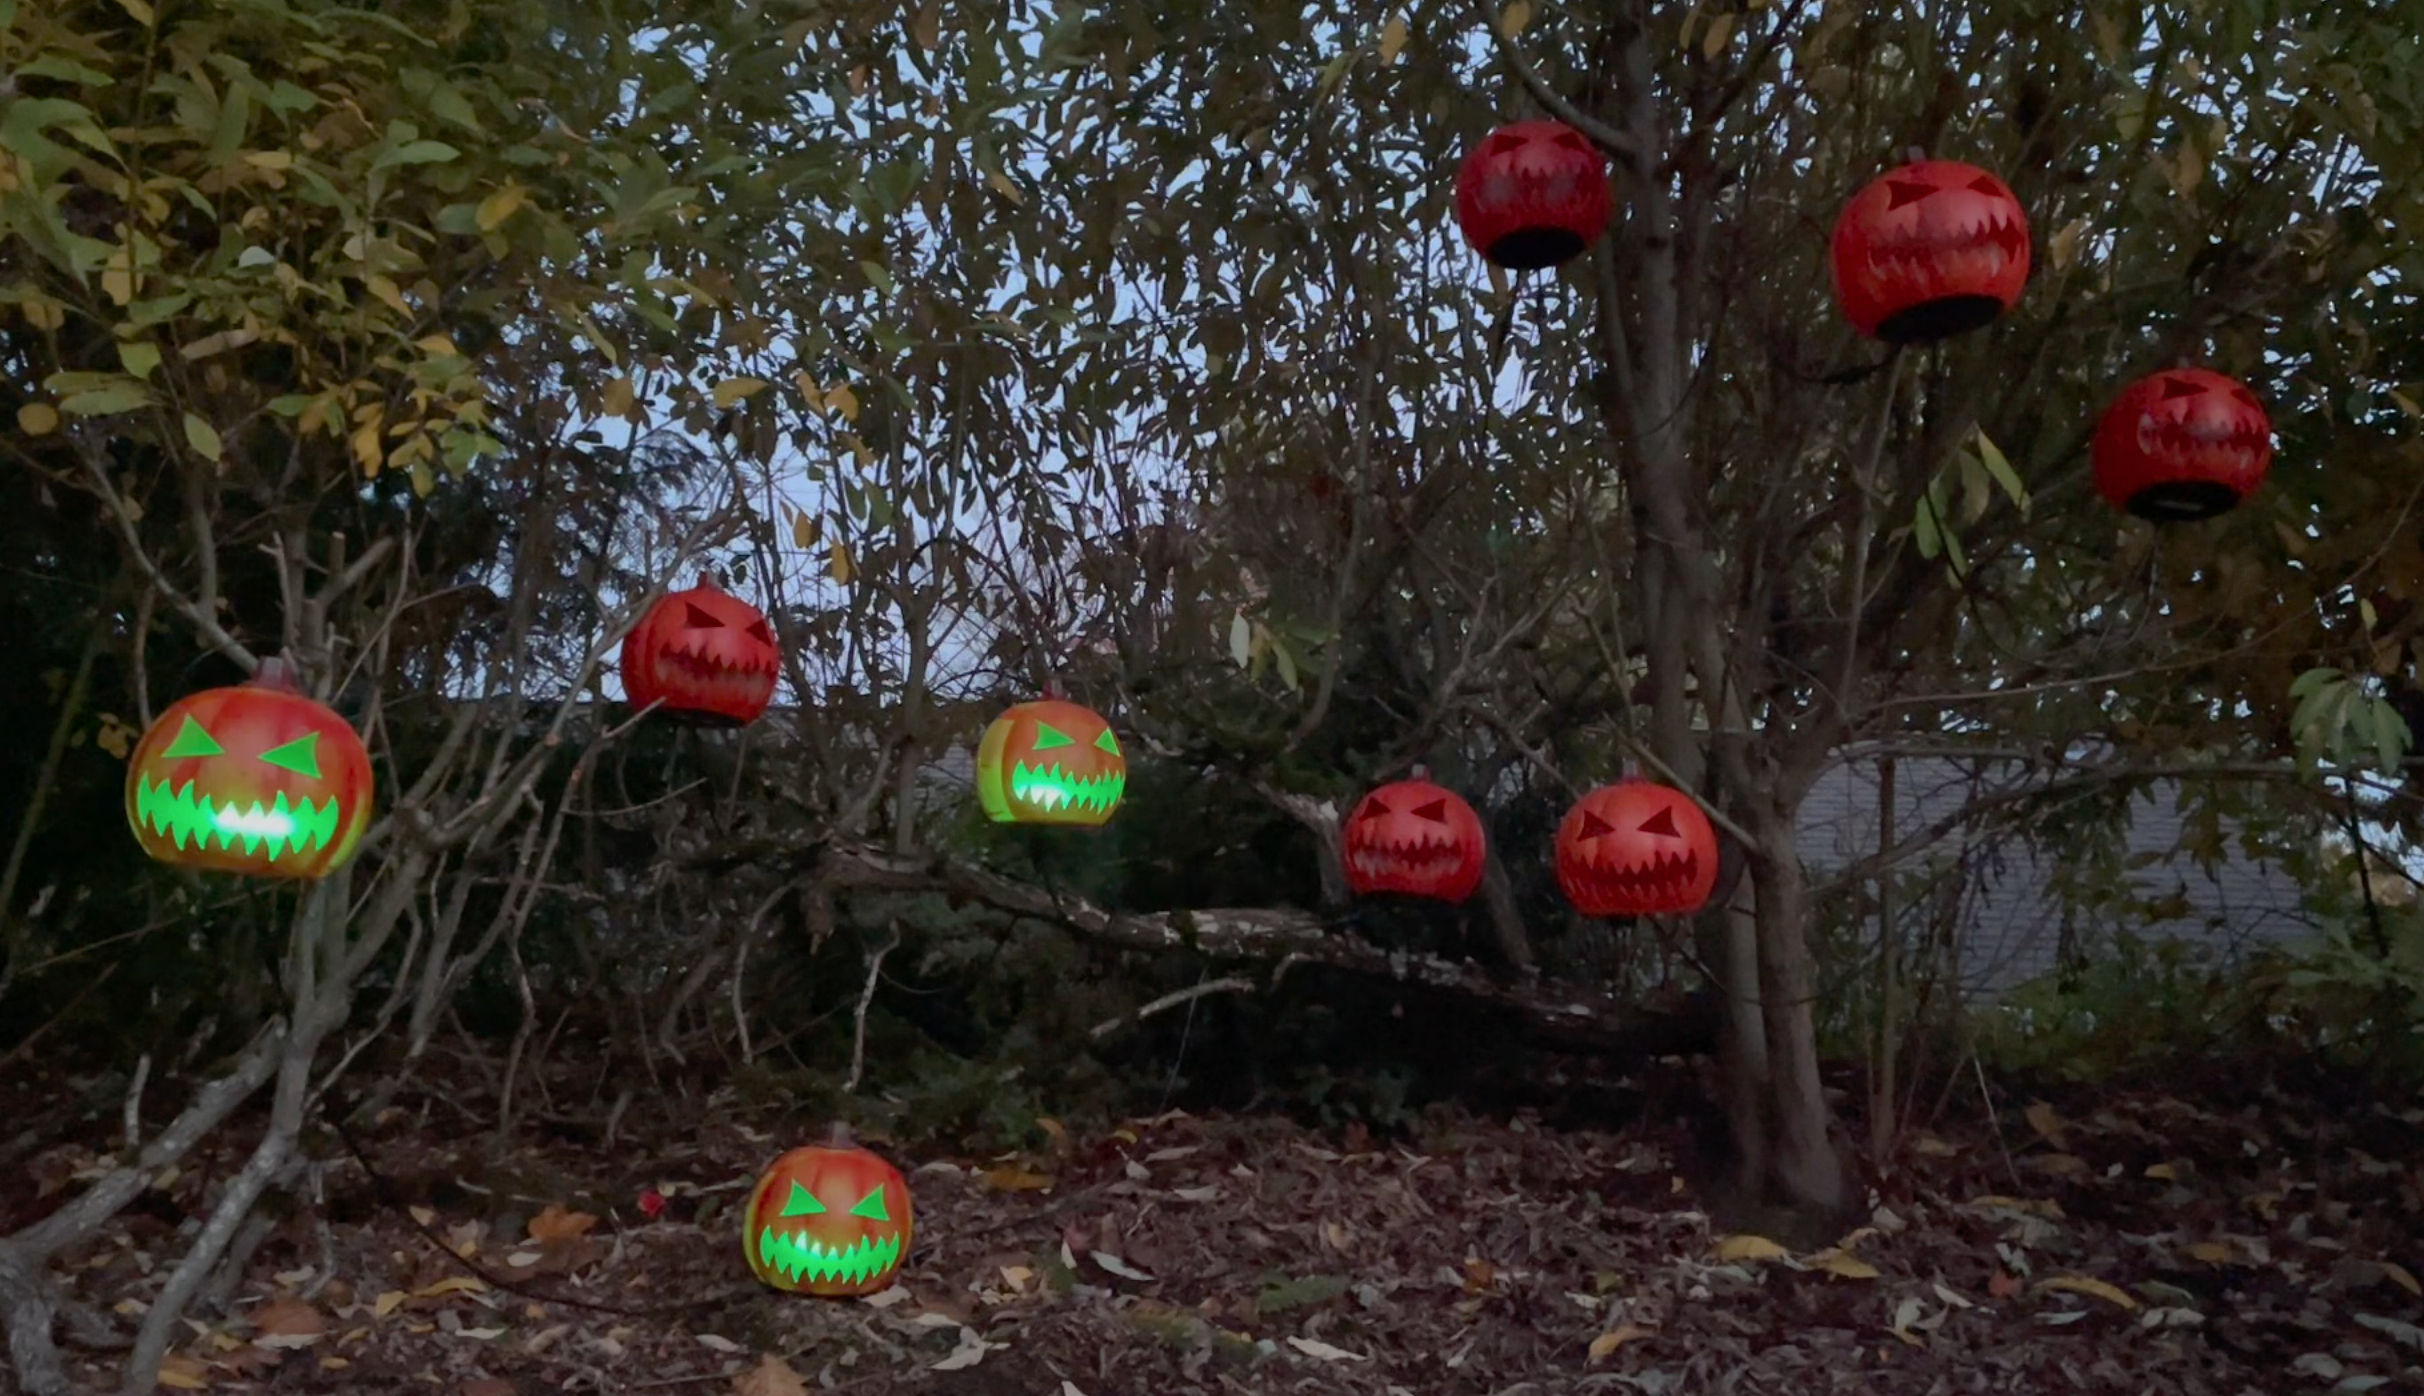
After getting 10 pumpkins completed, I forgot to take out an extension cable for one of them, and so only 9 ever made it into the show. It was a combination of failing to get it out there, and then sequencing with only 9 pumpkins setup. Before Hykel very kindly trimmed up the space this is what it looked like:
Running the show
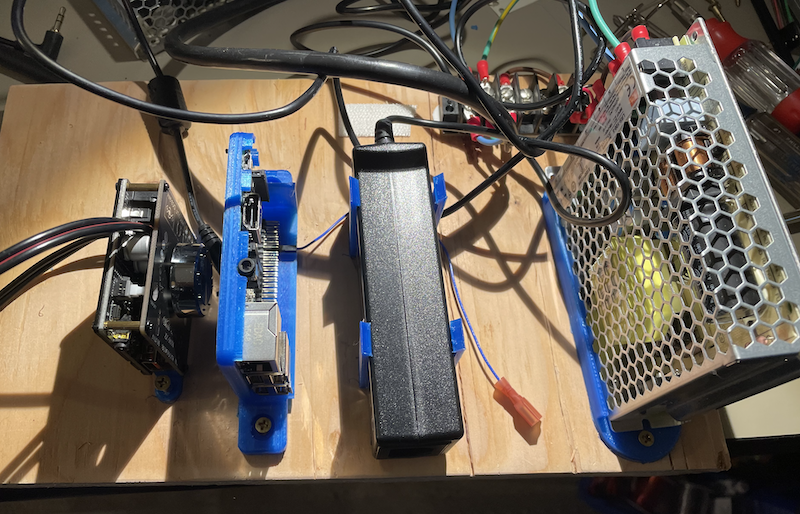
With the props finished, I still needed to be able to get the lights to turn on and off according to my whim. I had experience in this from my Christmas display last year, but I was adding sound this time around. I needed a handful of items: A power supply to drive the lights, a controller to tell the lights what to do, and an amplifier to get sound out of some speakers.
All said and done, I ended up putting this in my DriBox:
In addition to weatherproofing the pumpkins, I got a pair of outdoor speakers to provide music. Unfortunately the recommendations with these was to put them “under an eave” so that they’re not directly assaulted by heavy rain. This created a problem I needed to solve: Some sort of housing to keep the rain off my speaker. After looking for some solution, and contemplating building some sort of wooden box, the solution I came up with was this:
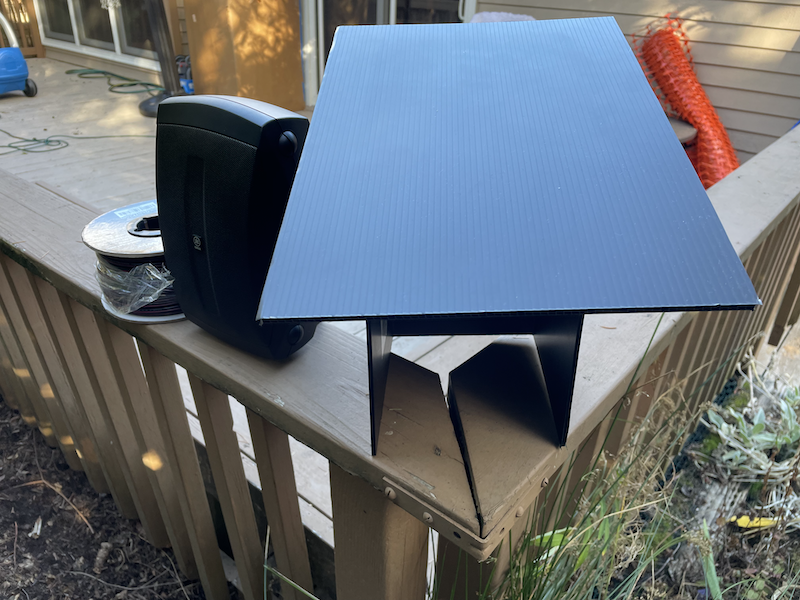
This speaker housing is made of 1/4″ corrugated plastic sheets that I bought at Michaels. I originally tried to do some fancy origami to fold it all out of one sheet. That mostly worked, but ultimately I needed better coverage so I glued a large piece of the plastic to the top to give it a broad roof to protect it. It was tucked under some branches so it was in a pretty safe spot. I probably should have locked it down somehow, but I didn’t. It was barely visible so I left it to good will and security-through-obscurity.
Sequencing!
When I started this whole adventure, I thought the sequencing part would be the easiest. I was wrong. Sequencing turned out to be the biggest challenge. I had initially hoped to do three songs, and add some jokes that my family and I would record (our 3-year-old has a great Ghost/Panda joke).
I started out with the song that I’d been working on last season, This is Halloween from The Nightmare Before Christmas. This one was relatively easy to do because the lyrics were pretty pointed. Because of what I was sequencing I had a relatively narrow space to work in. A lot of Light displays will have long strands of lights, cones/trees, rings, etc to work with. My pumpkins were essentially on or off in any color I chose.
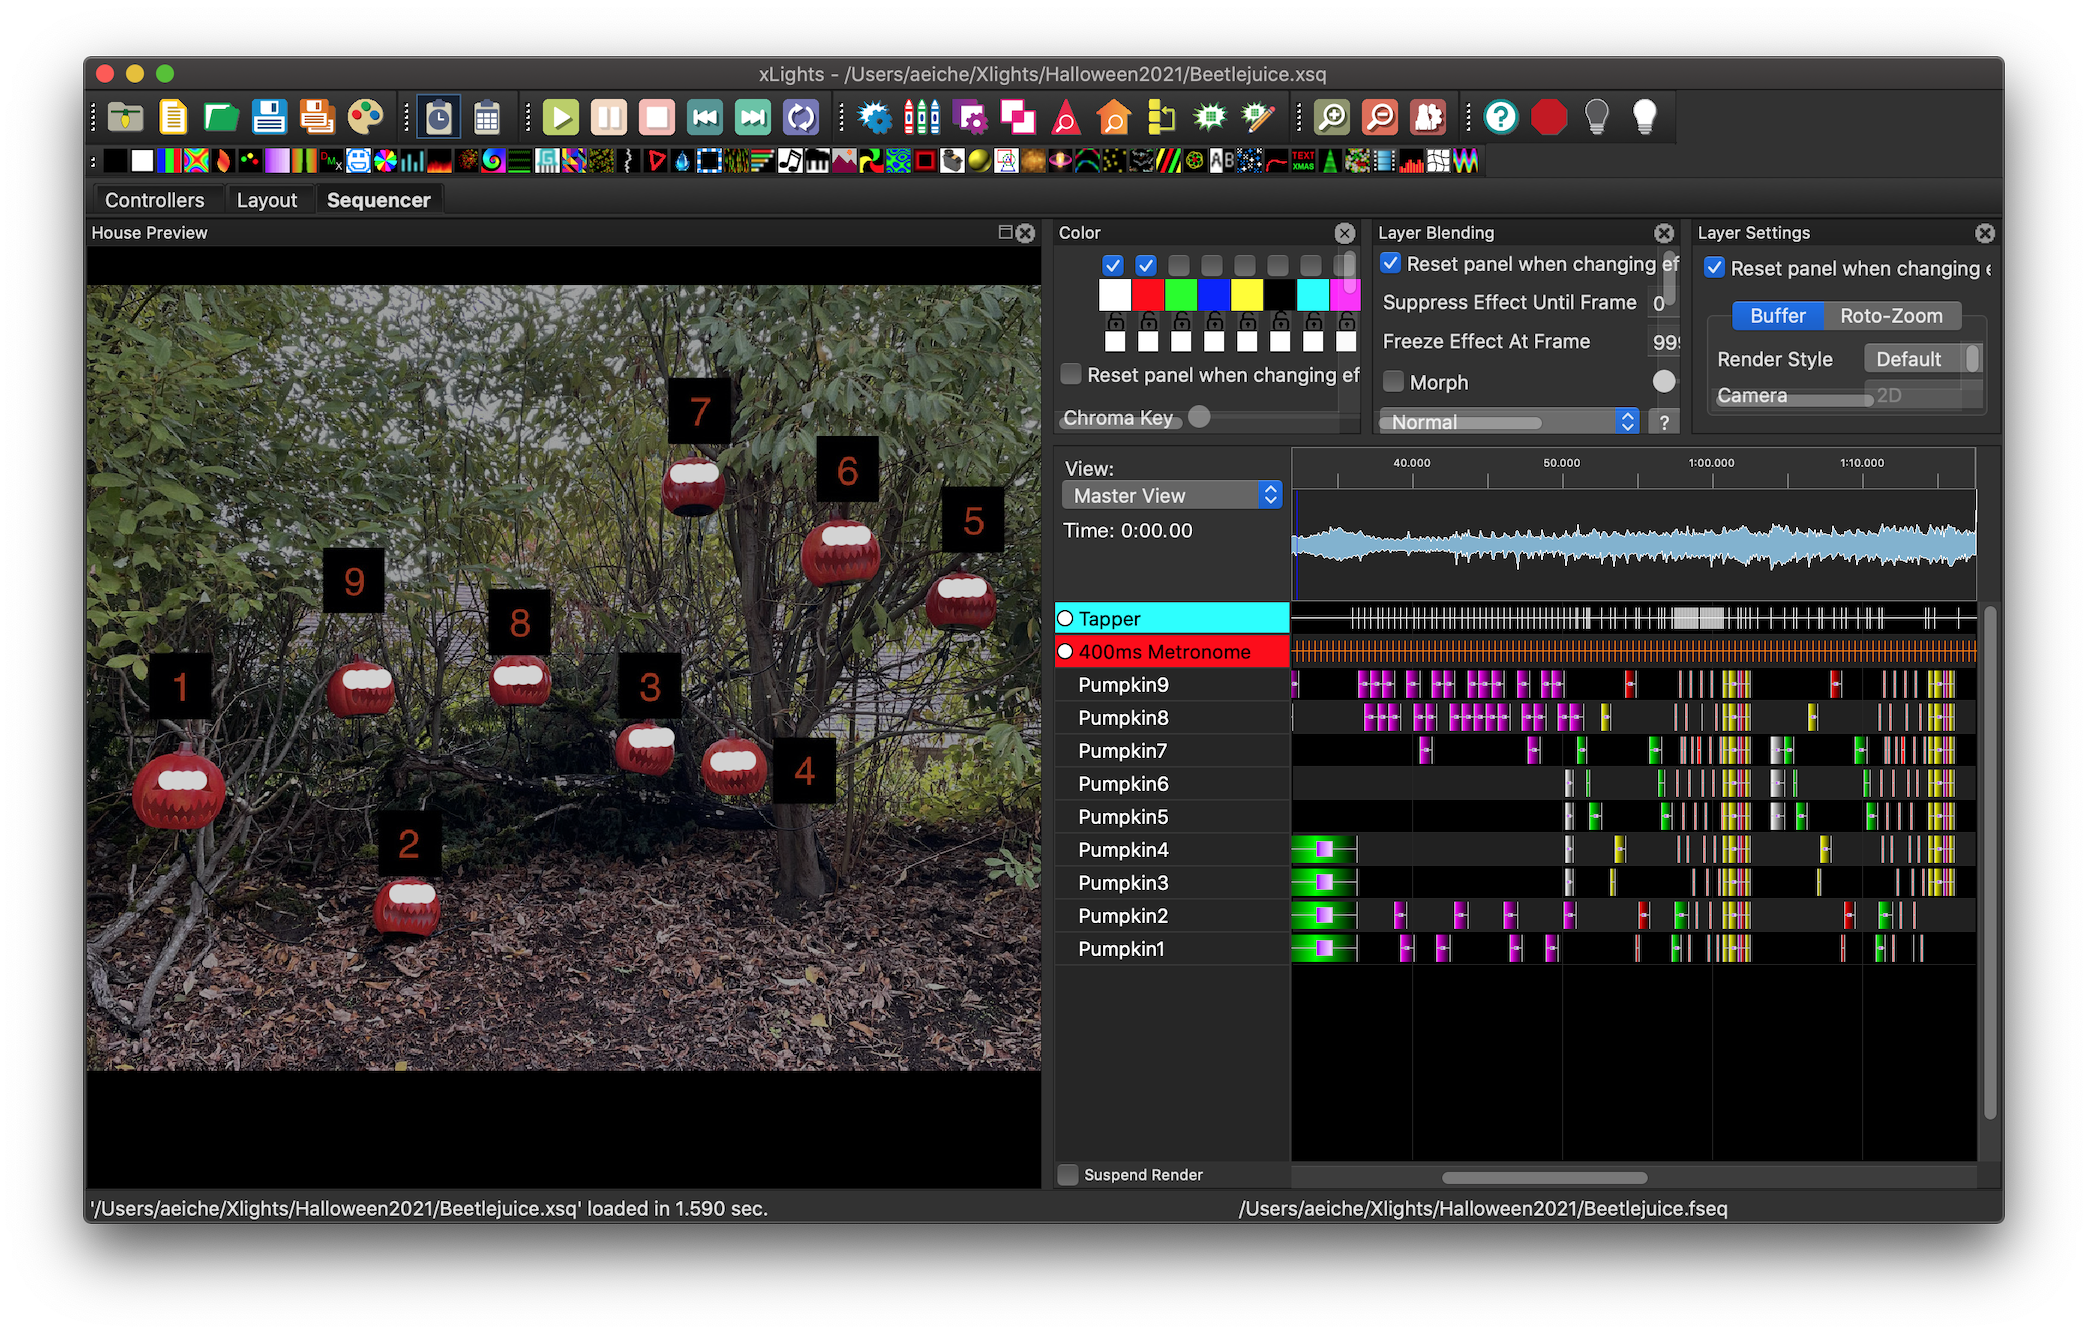
About halfway through the sequencing I pivoted and started working on the Main Theme from Beetlejuice. This is a delightful song which evokes a lot of feeling so I was really excited about it. I learned quickly though that sequencing a song without lyrics is substantially more difficult than sequencing. A lyric could be on or off, or fading, but trying to decide what to do with various musical effects became challenging very quickly.
One delightful moment after I’d gotten the two songs out was the day before Halloween when my wife Hykel expressed interest in trying to sequence. I showed her the basics of what I’d learned, and gave her a song that I’d begun to work on but had run out of steam with: Grim Grinning Ghosts from The Haunted Mansion at Disneyland. She cranked out the sequence for the song in a couple of hours and it turned out beautifully. She really has a talent for sequencing.
FPP – Falcon Pi Player
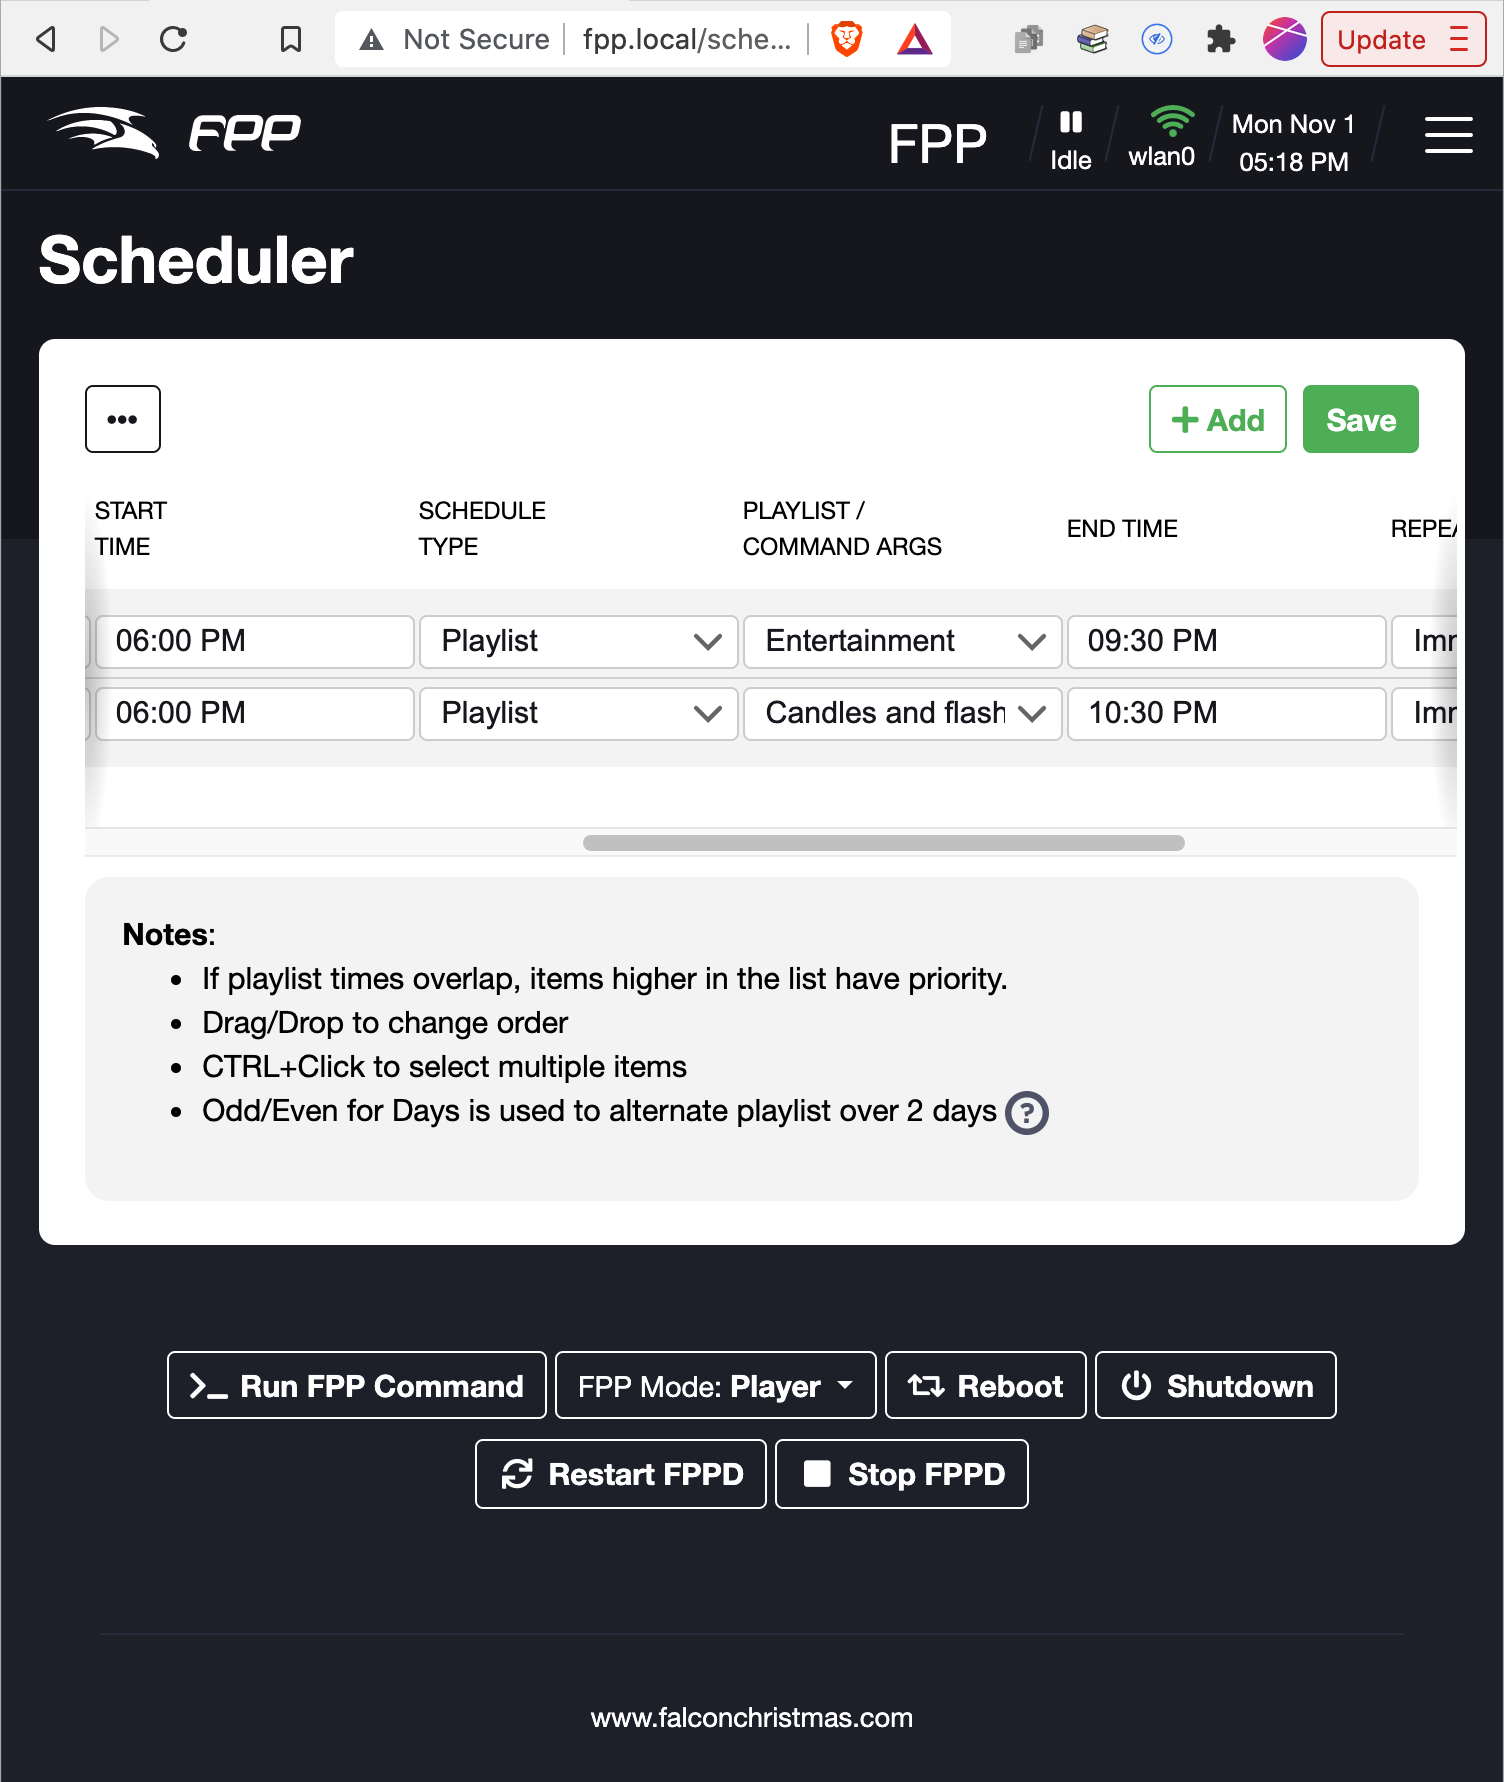
Every orchestra needs a conductor. In our case, the conductor is a piece of software that runs on the Raspberry Pi in the box. FPP, or Falcon Pi Player is software that manages all the details of the show. When to play, what to play, where to send data. Conductor is probably less accurate than Air-traffic controller. For my show I had my LEDs connected directly to the Raspberry Pi. The Pi is capable of driving two separate strings of LEDs. That is potentially a lot of LEDs, but in my case it’s just 4 per pumpkin – 36 in total. In FPP you map the LED channels to the actual hardware you’re running. You can schedule your sequences to run at certain times, or in certain situations. You can even setup triggers to start sequences when someone walks past, or presses a button.
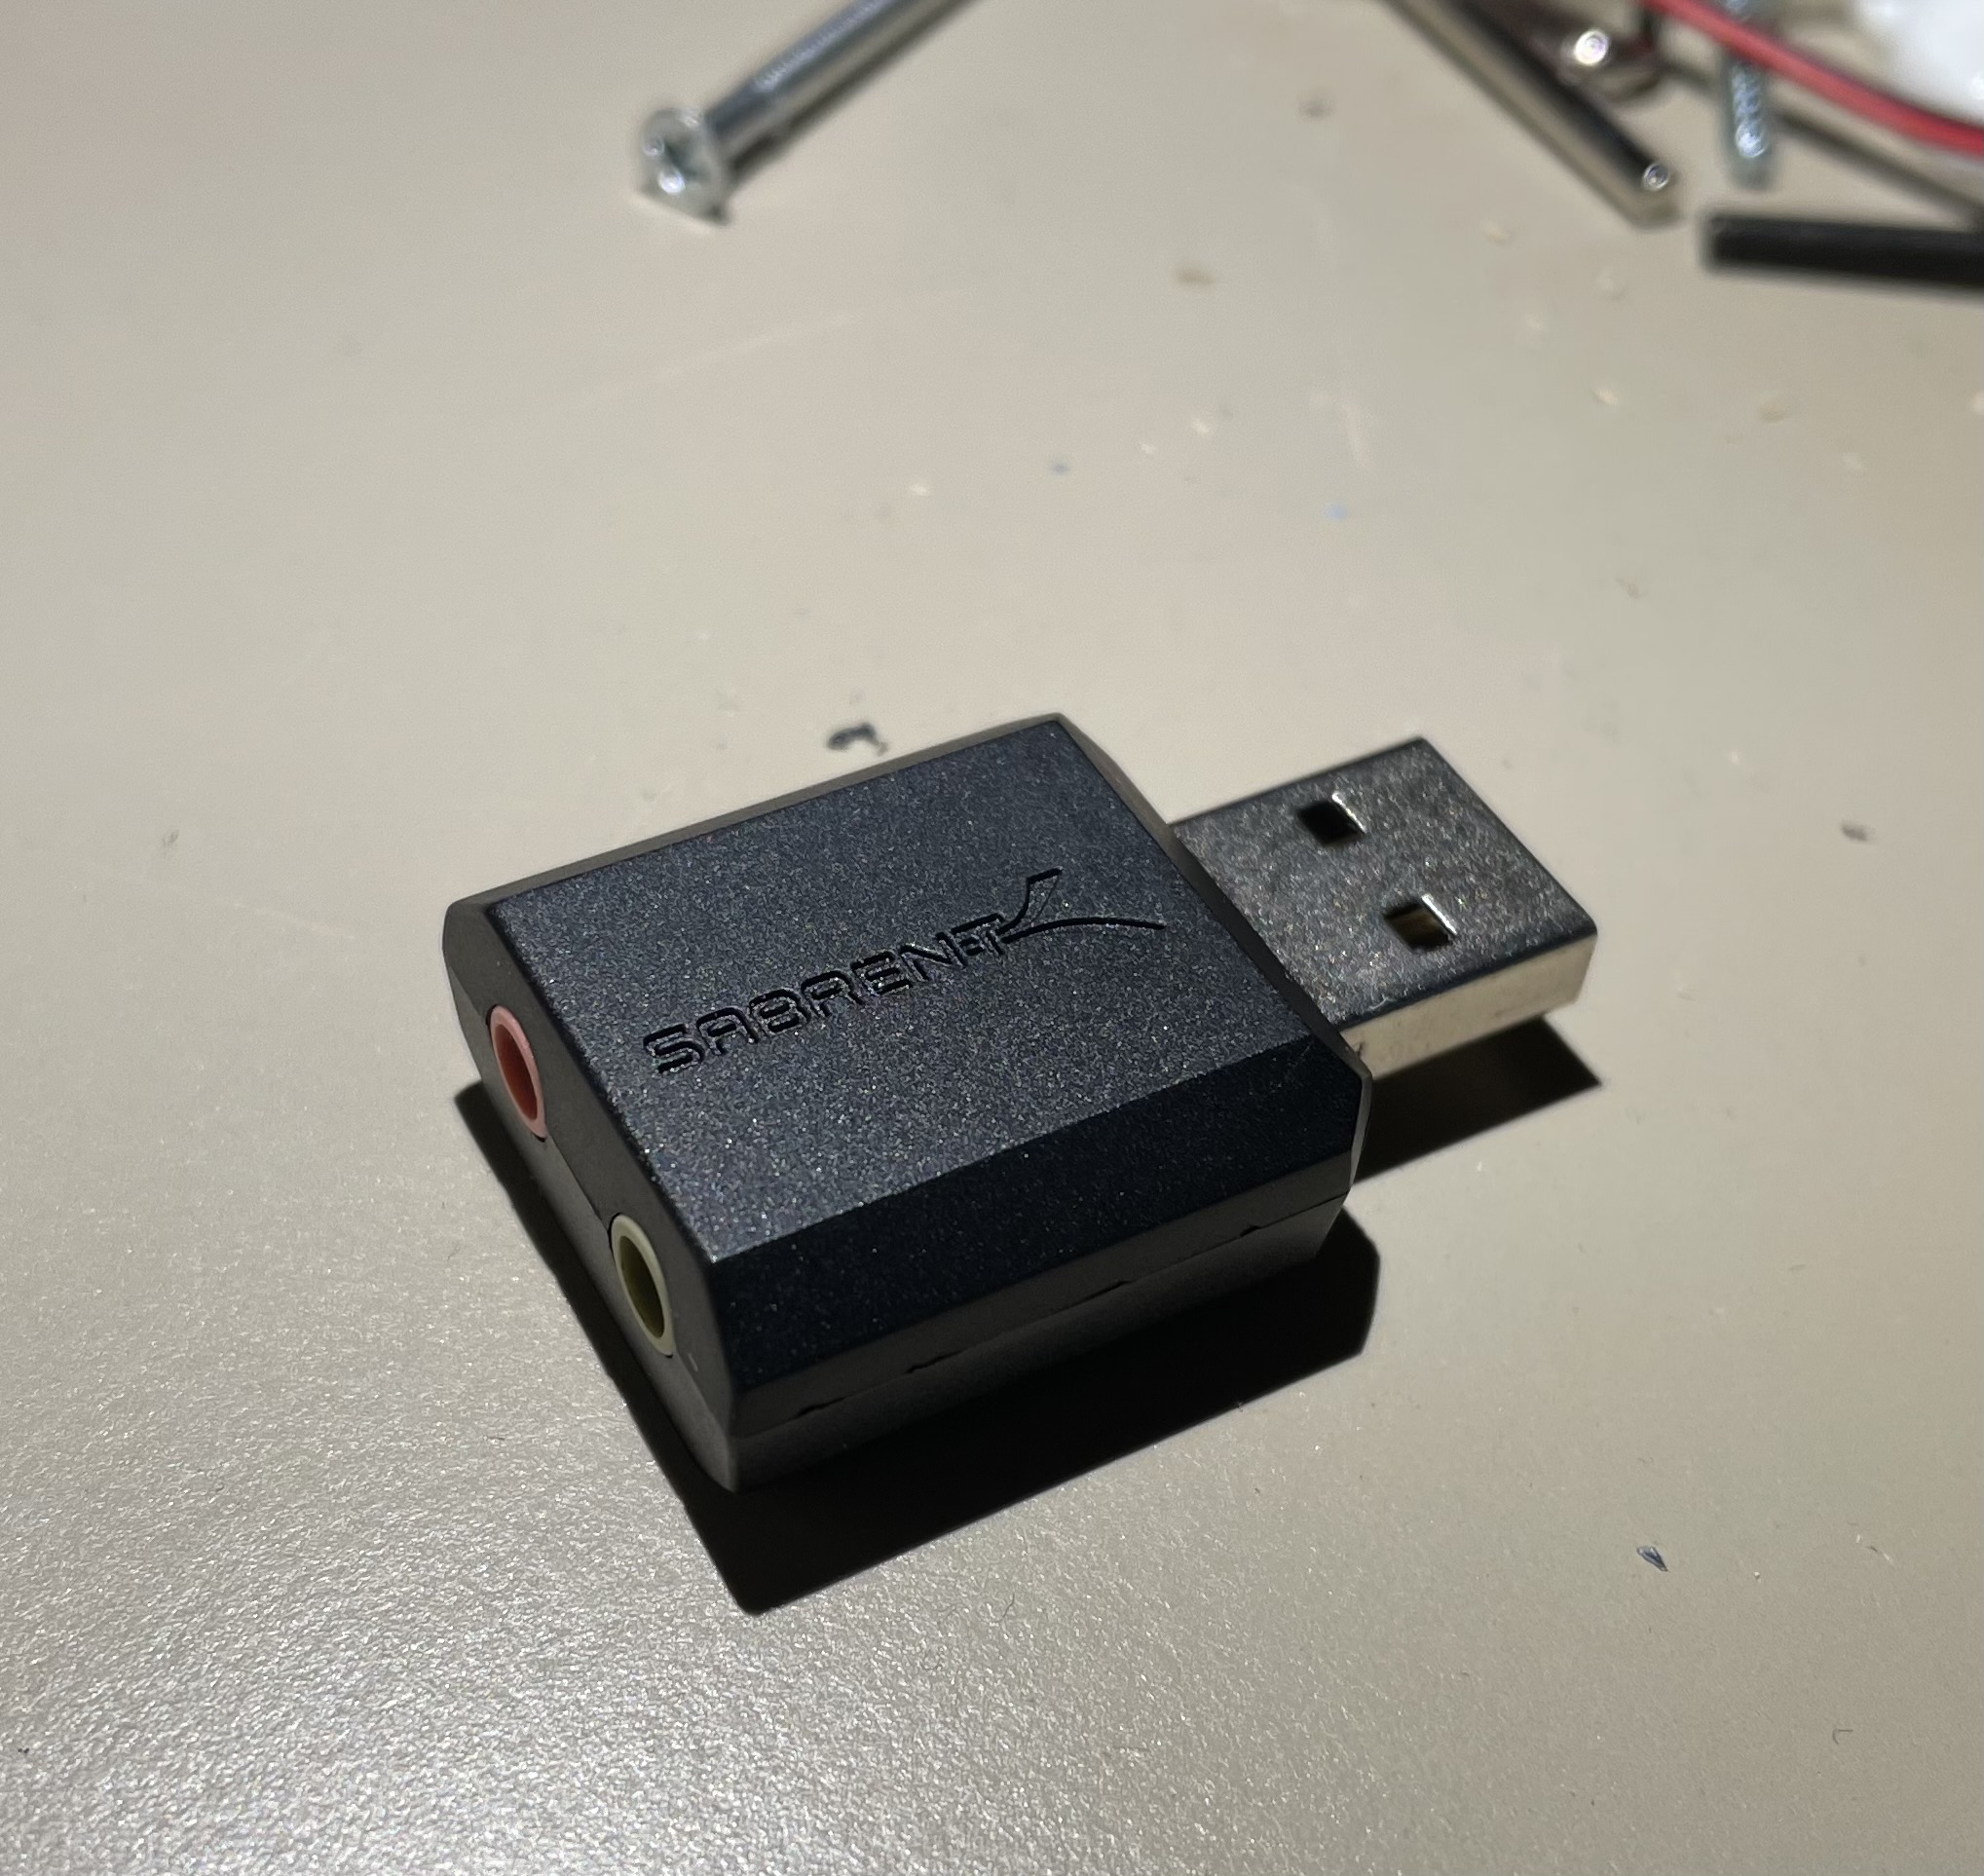
One issue I ran into came while I was setting up the show: It turns out that you can either run pixels off your Pi or run sound. You can’t do both simultaneously because both use the pulse width modulation timer on the Pi to time LED signals or audio signals. The solution to this was an inexpensive USB “Sound card” which actually just turned out to be a little dongle with a 1/8″ stereo port.
FPP recently had a substantial UI overhaul. The elements are the same, but it looks so much nicer. So if you look around on the web, you’re likely to find examples of the older interface.
Showtime!
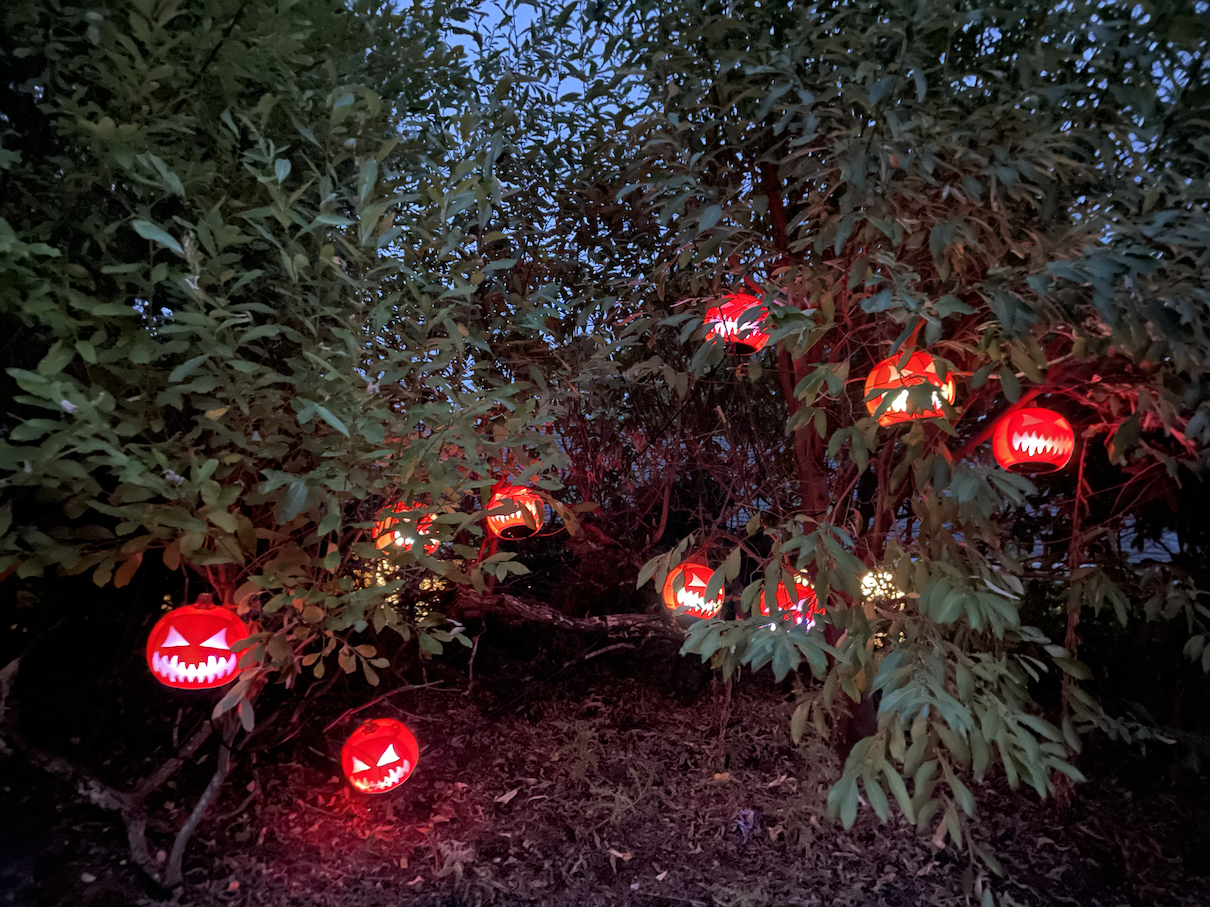
Now the moment that you’ve (probably) been waiting for. First, This is Halloween and Main Theme from Beetlejuice.
And Grim Grinning Ghosts.
I have to tell you that these videos really don’t do the experience justice. The show is absolutely delightful in the dark, in person. The show is down for the year – but I hope it will make a return for many years to come.
The section about Falcon Pi Player was added after my friend Brad asked about how Xlights communicated with the LEDs – thanks Brad!
I absolutely loved this write-up! The journey from “Hey! I can turn the pumpkins on an off remotely” to a full-color RGB Raspberry Pi-controlled musical light show was great to follow. It’s always so inspiring to read about someone else’s thought process and trial and error.
I think it’s high time for me to do something similar.
Thanks!