 I’ve always been very taken with Halloween setups. The orchestration, the excitement, and creativity all lead to a fun expression of the holiday. Halloween has taken it’s place among this generation as the time to do really really cool stuff. Every Halloween for the last 5 or 10 years, I’ve wanted to do something creative. A costume, a theme, anything interesting. Money and time always seemed to get in my way. This year I said “to heck with it” and at 3:30 on Sunday afternoon, I decided to make an animatronic display.
What can you make for a Halloween setup in 2 hours? Not a lot, but it can be a lot of fun if you have a couple of simple tools, and some willingness to transform whatever you can find into what you want.
The Ghosts
My primary goal was to get a couple of animatronic ghosts which would float up and down. I realized late the day before that I had everything I need to perform this simple action. Some thread for a pulley, a couple of servos, and an Arduino to drive them. While I admit that an Arduino isn’t the best solution for everything in all places, it was perfect here. I kicked out a simple program for moving the two servos based purely off of the Servo “Sweep” example. It took me all of 2 minutes to write and test. (You can download this code on my Downloads page.)
I ended up using an early version of a Prototyping shield (with servo connections) I’d designed to connect the servos. It would have been only slightly more difficult to wire it up from the pin headers directly.

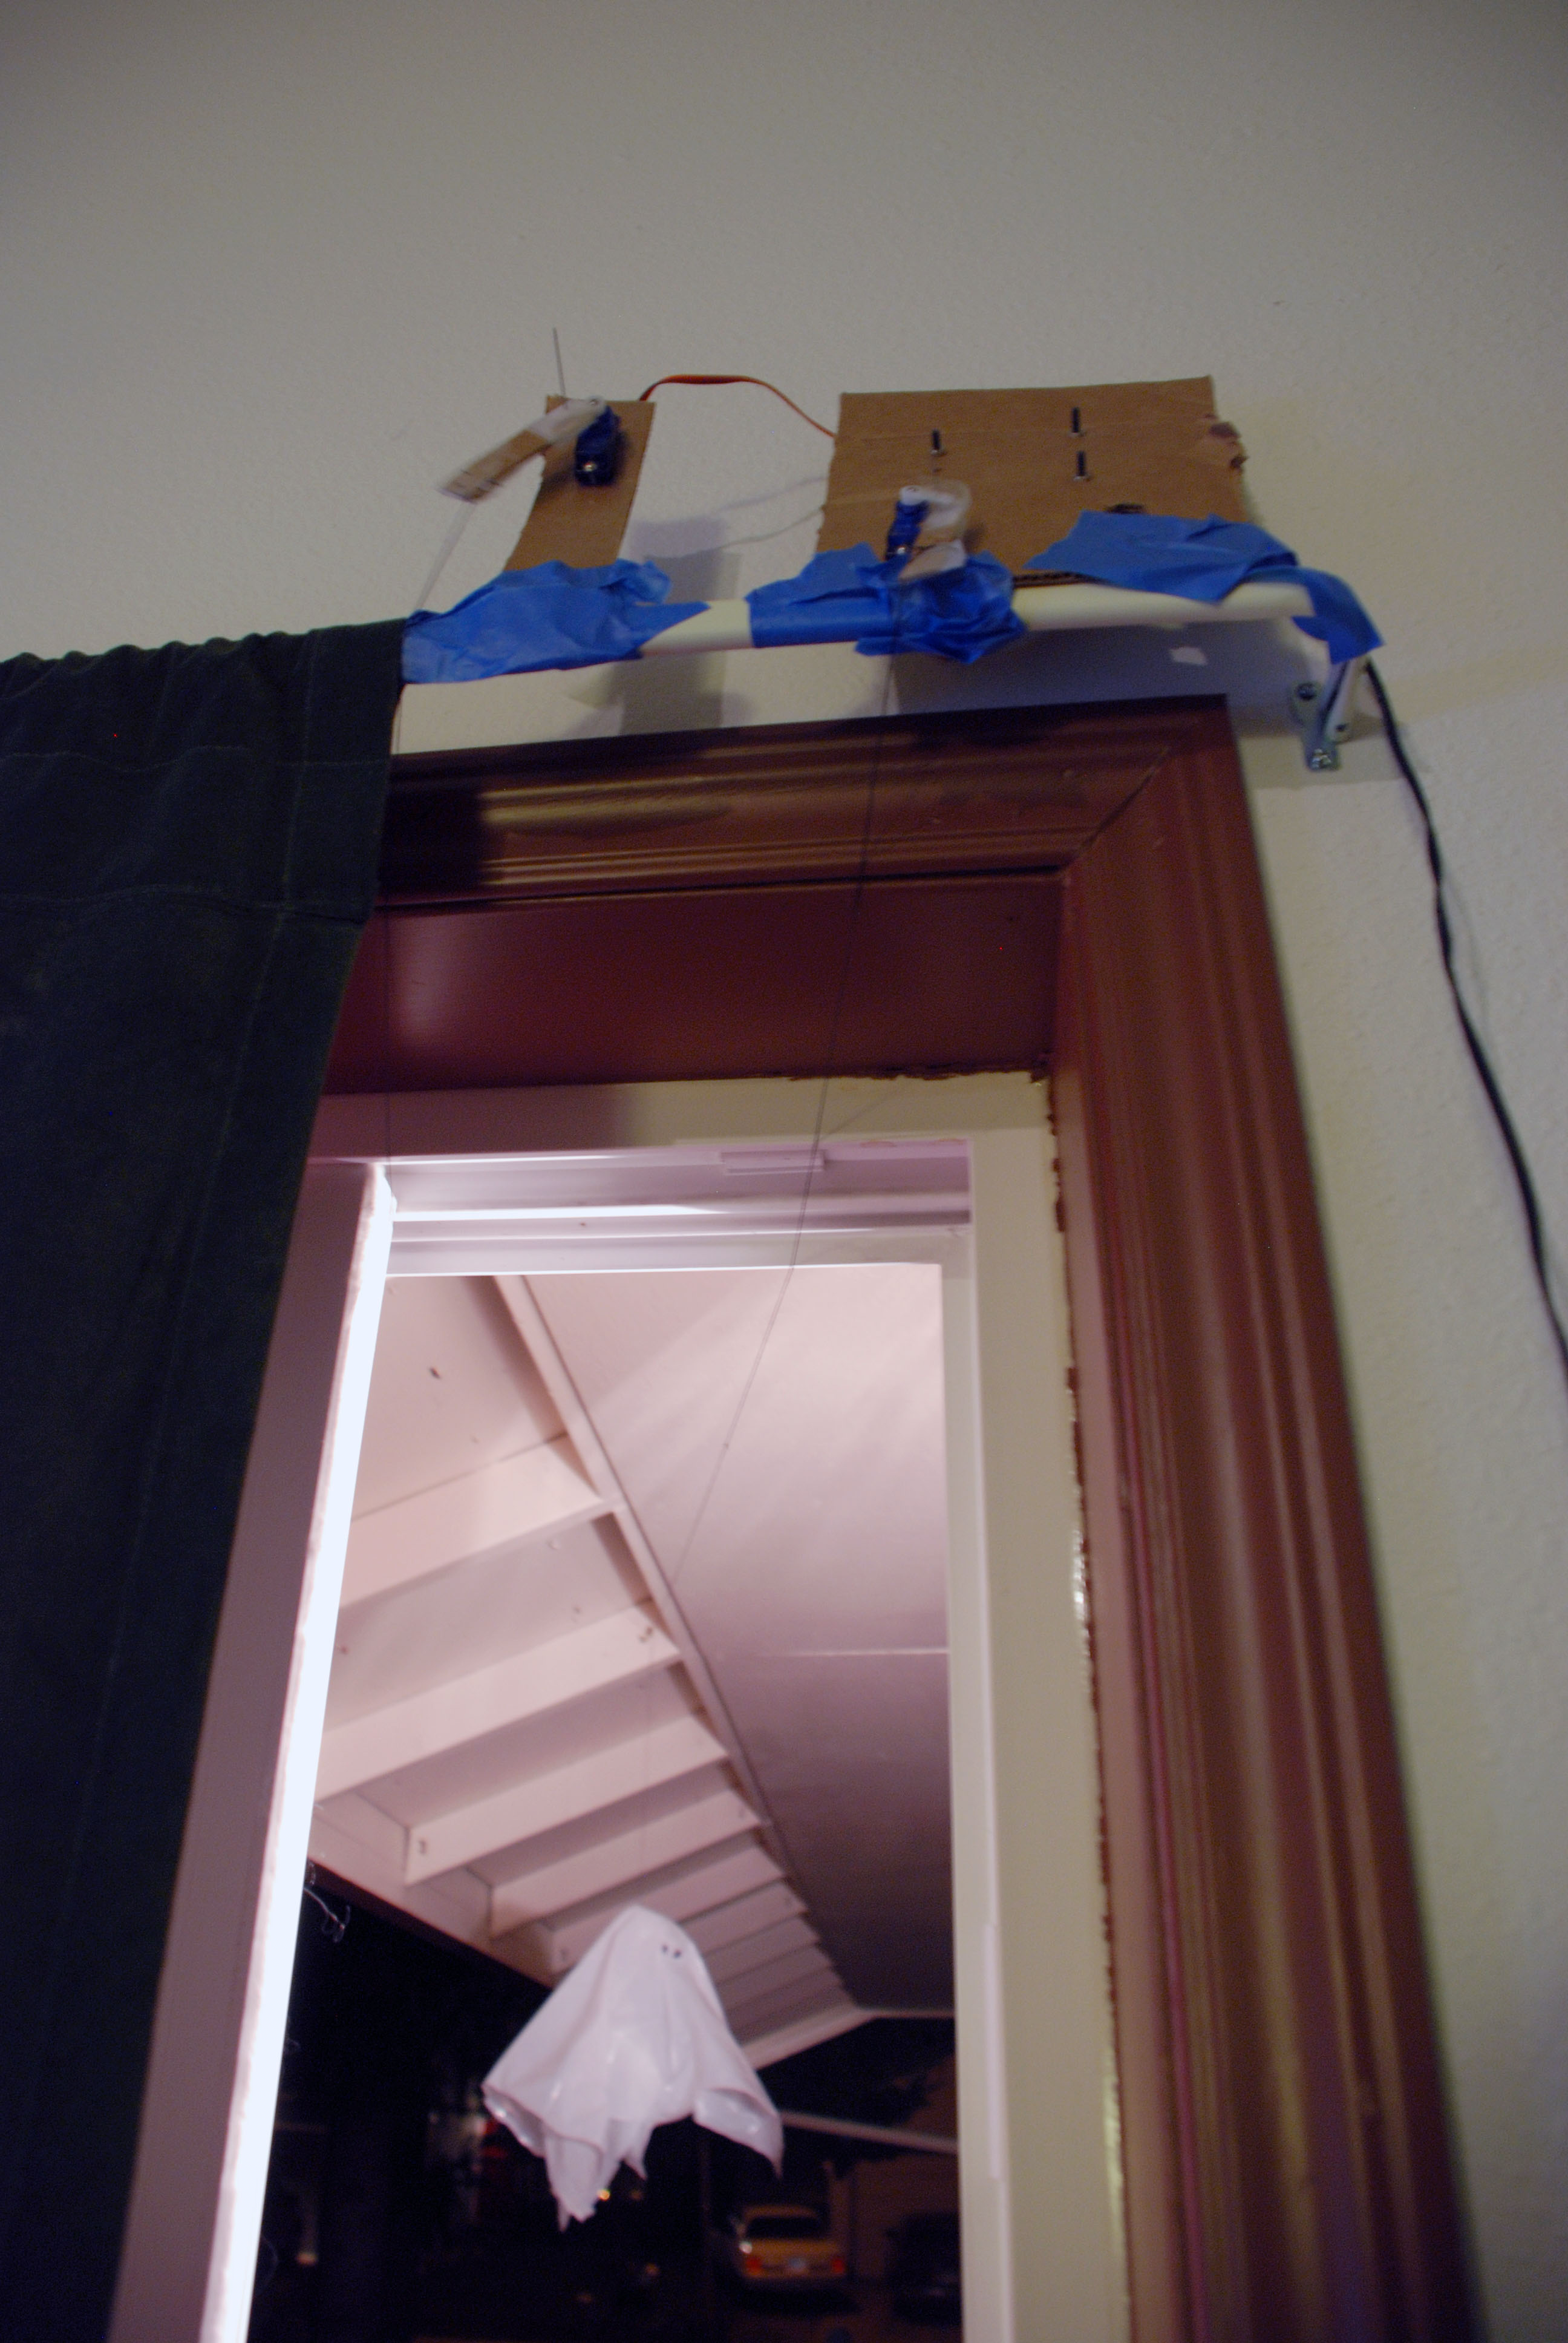
I ended up mounting the Arduino and the servos on a piece of cardboard. It was convenient and easy to take care of. Not good as a permanent solution, but this was going to be running a maximum of 3 or 4 hours. I traced around the servos and actually screwed them into place with the included mounting screws. The Arduino was as easily placed. I poked holes in the cardboard where the screw mounts landed, and used a set of screws and nuts I had laying around.
I had the animatronic part figured out, but what about the actual ghosts?! Tissues didn’t fit the bill, and sacrificing one of our pillowcases didn’t seem to be the best idea. My wife suggested that I use the white trashbags we have. I found cutting them made a perfect “sheet”.
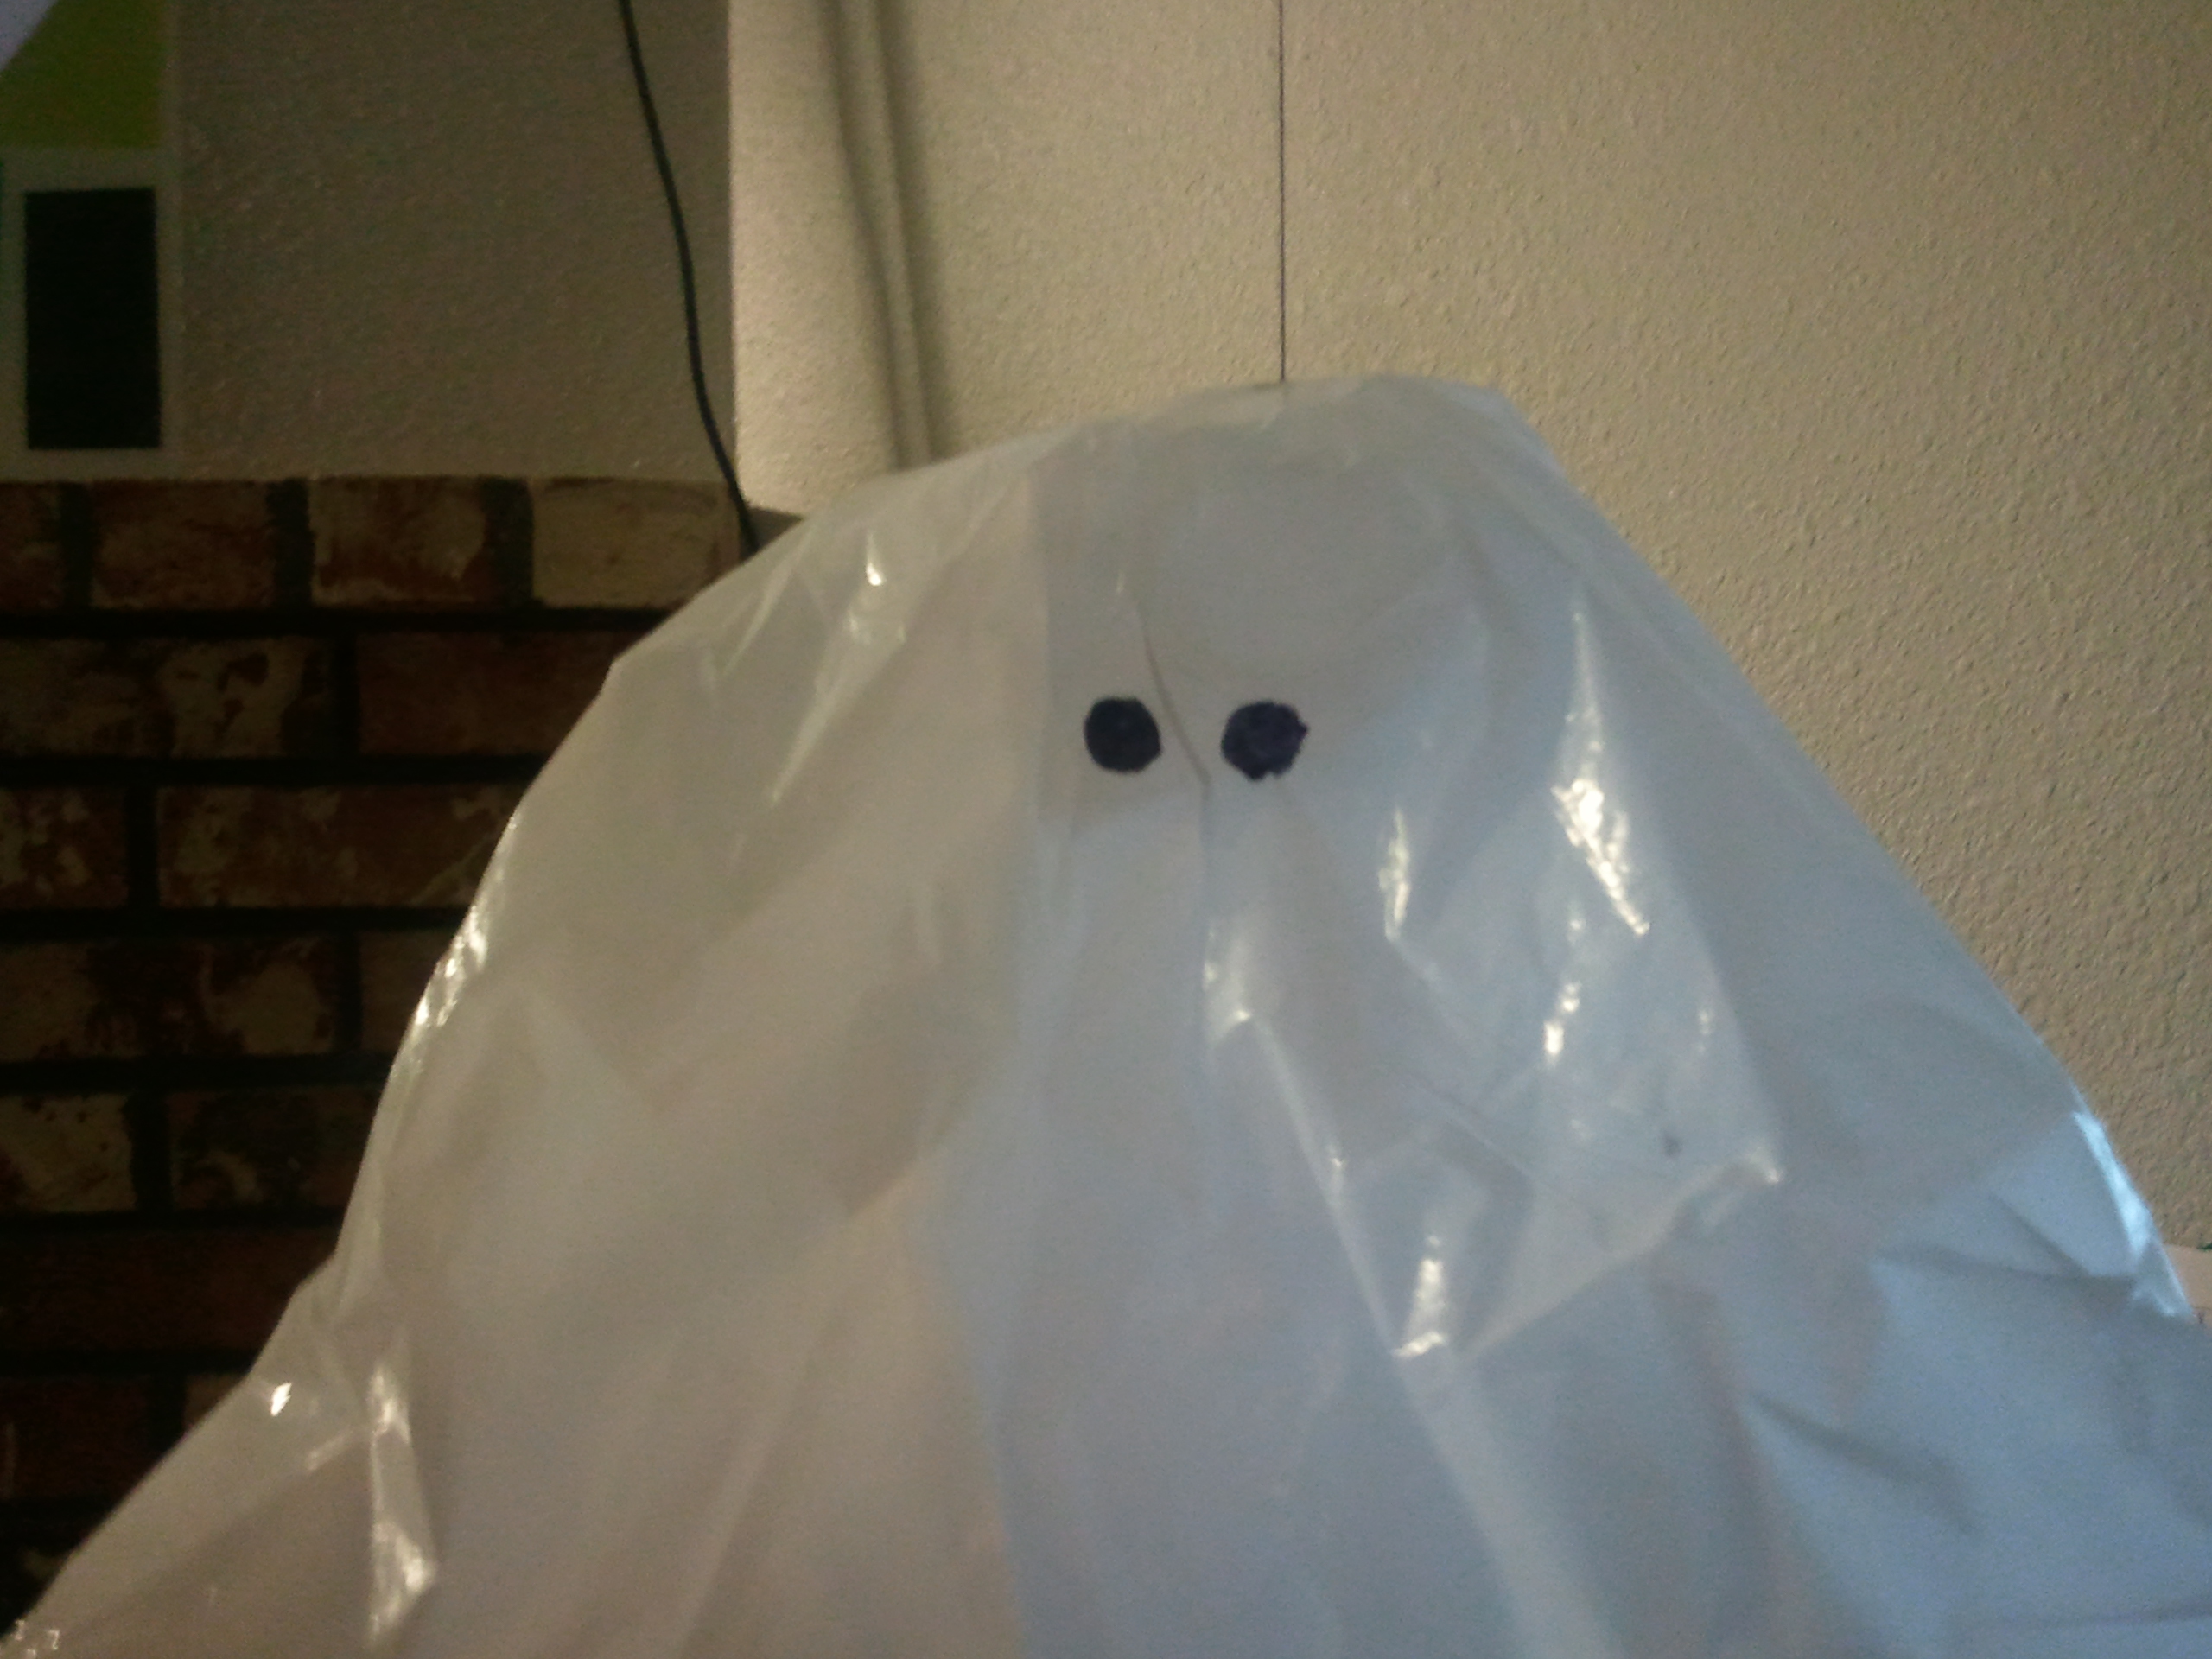
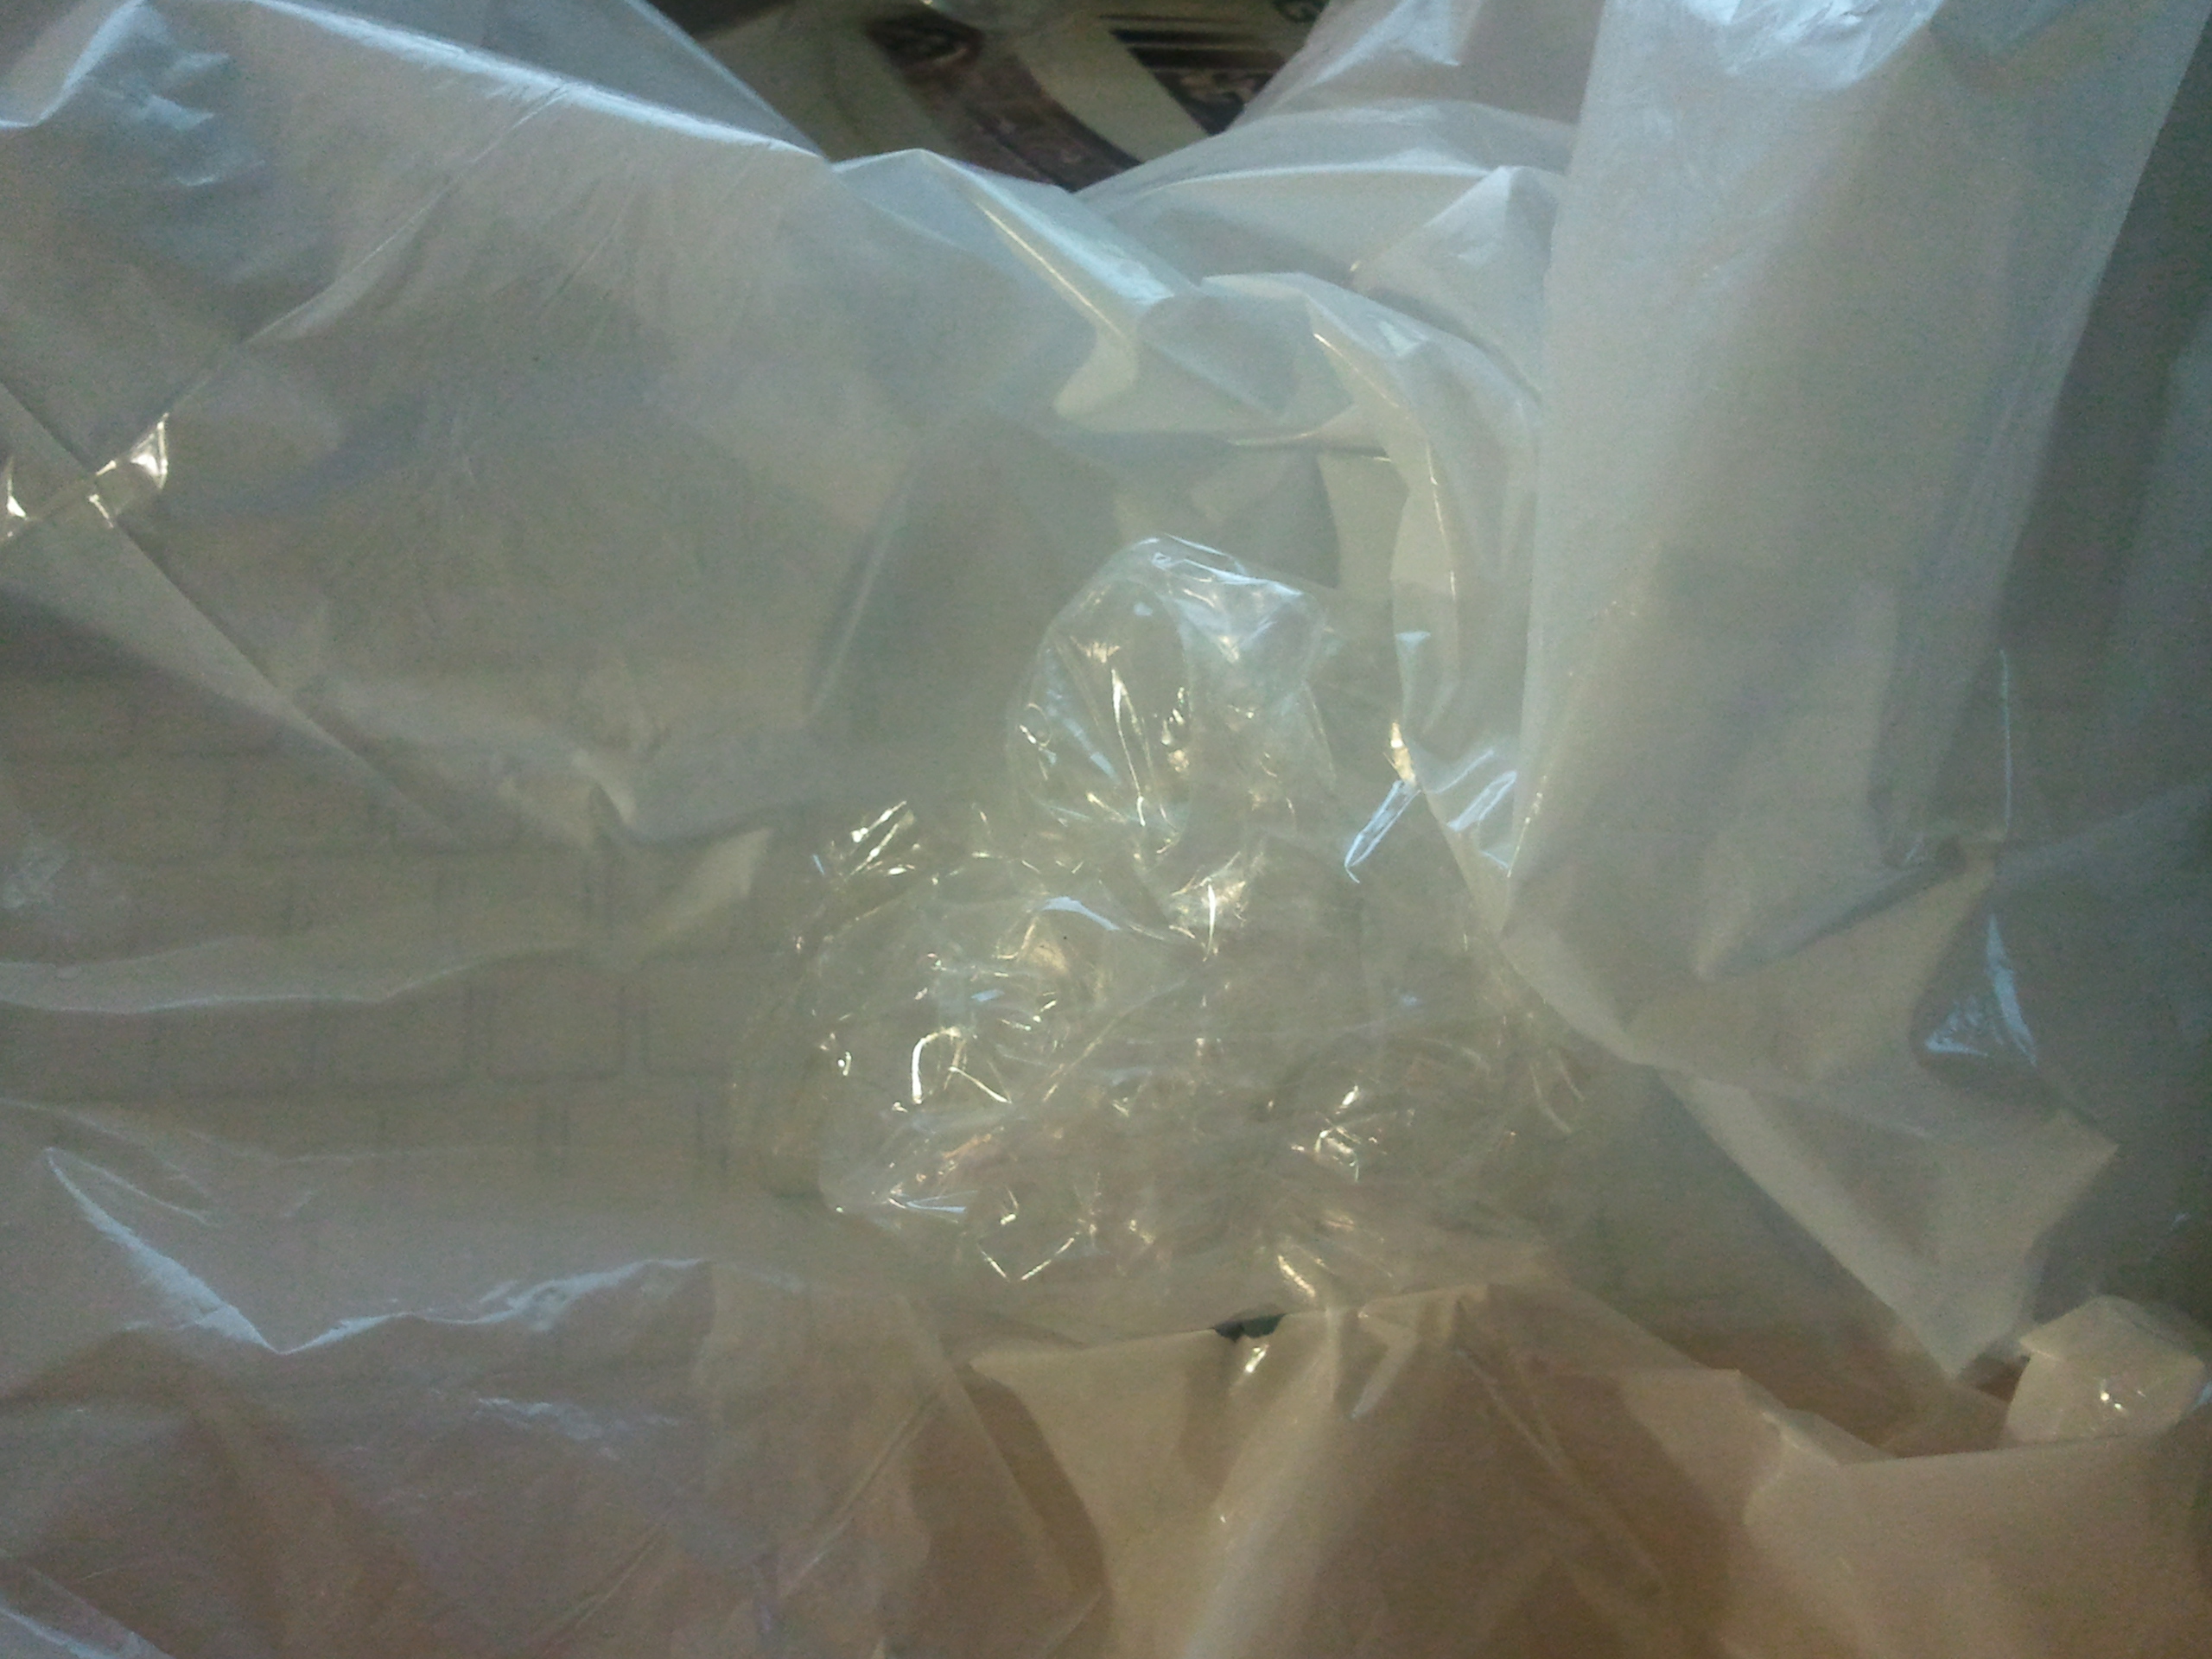
The other problem was that of shape. Any flat form wouldn’t hang right from a thread. My solution: A ball of bubblewrap, taped on the bottom. My wife’s tremendous craft skills came into use here as she assembled the ghosts and made them look nice.
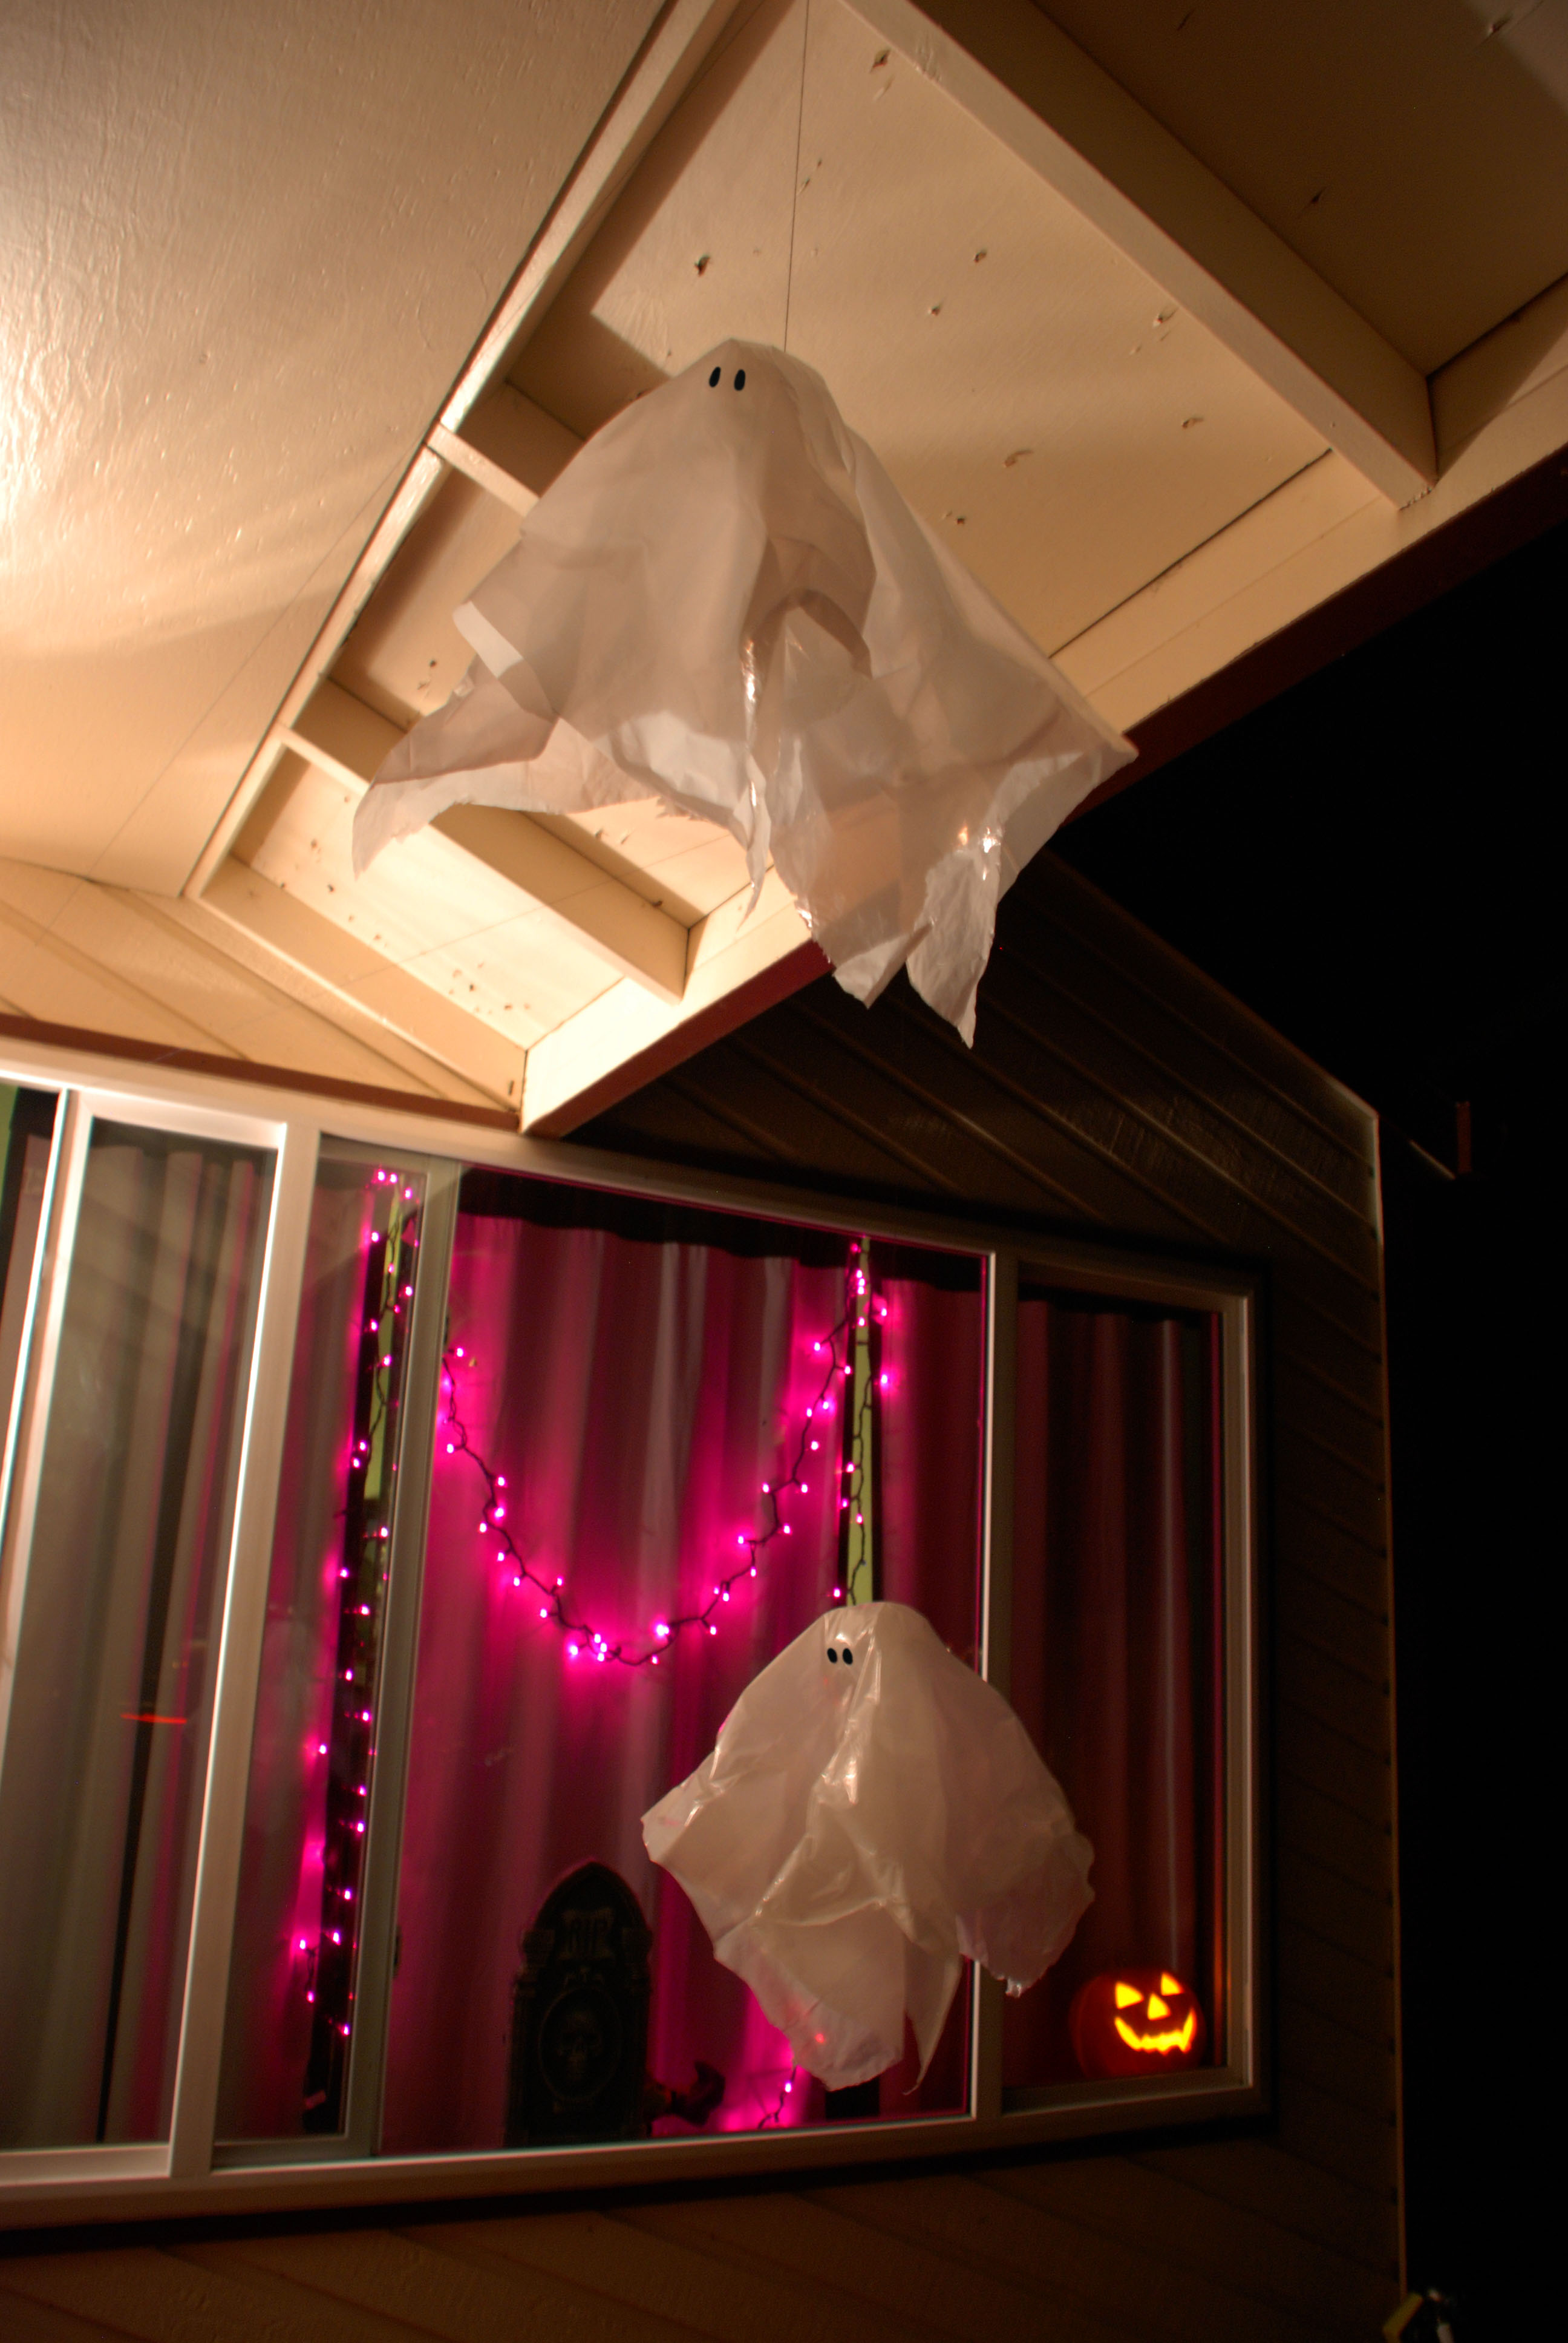
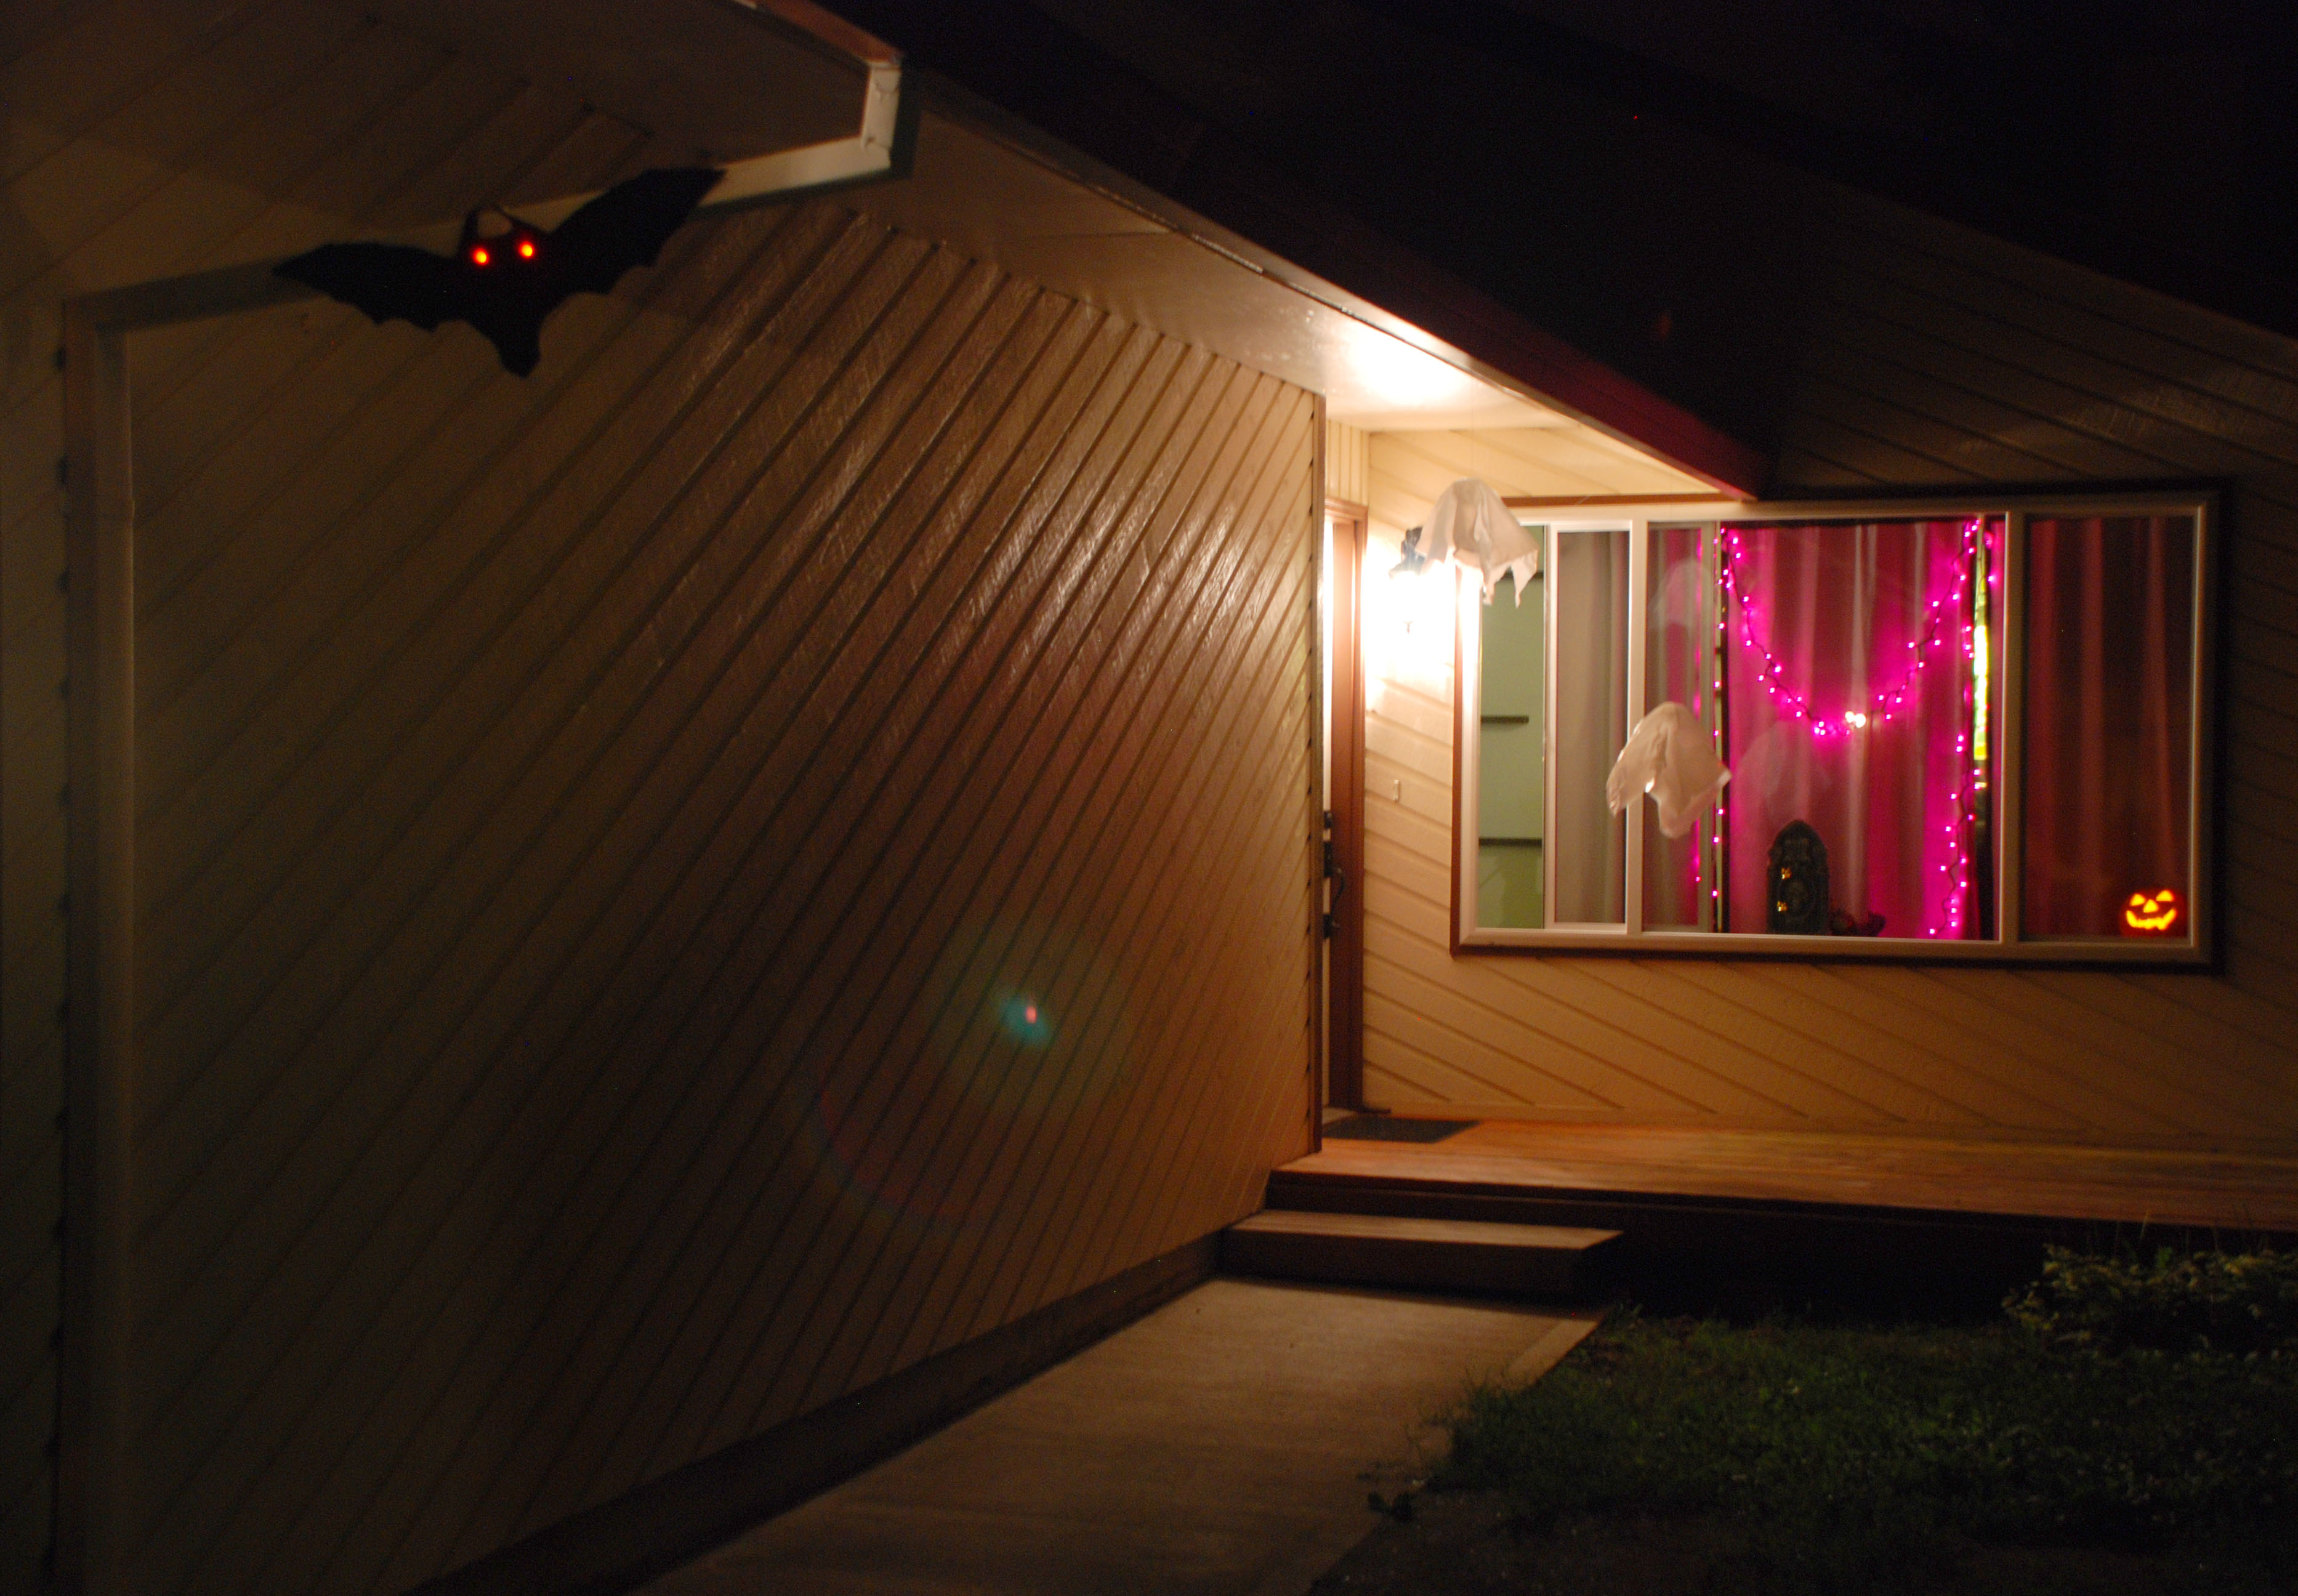
We hung the ghosts vertically on the underside of our overhang leading up to our porch. The thread was strung over some Christmas light mounts from the year before, and run through our window where they connected to the servo arms.
This presented a problem. In order to get linear motion out of rotational motion, you have to have the pulley move at the furthest out point from the center of rotation. The Servo arms were too short. Solution: More cardboard!
We taped on lengths of cardboard and then stuck a needle through the servo arm’s hole to secure it.
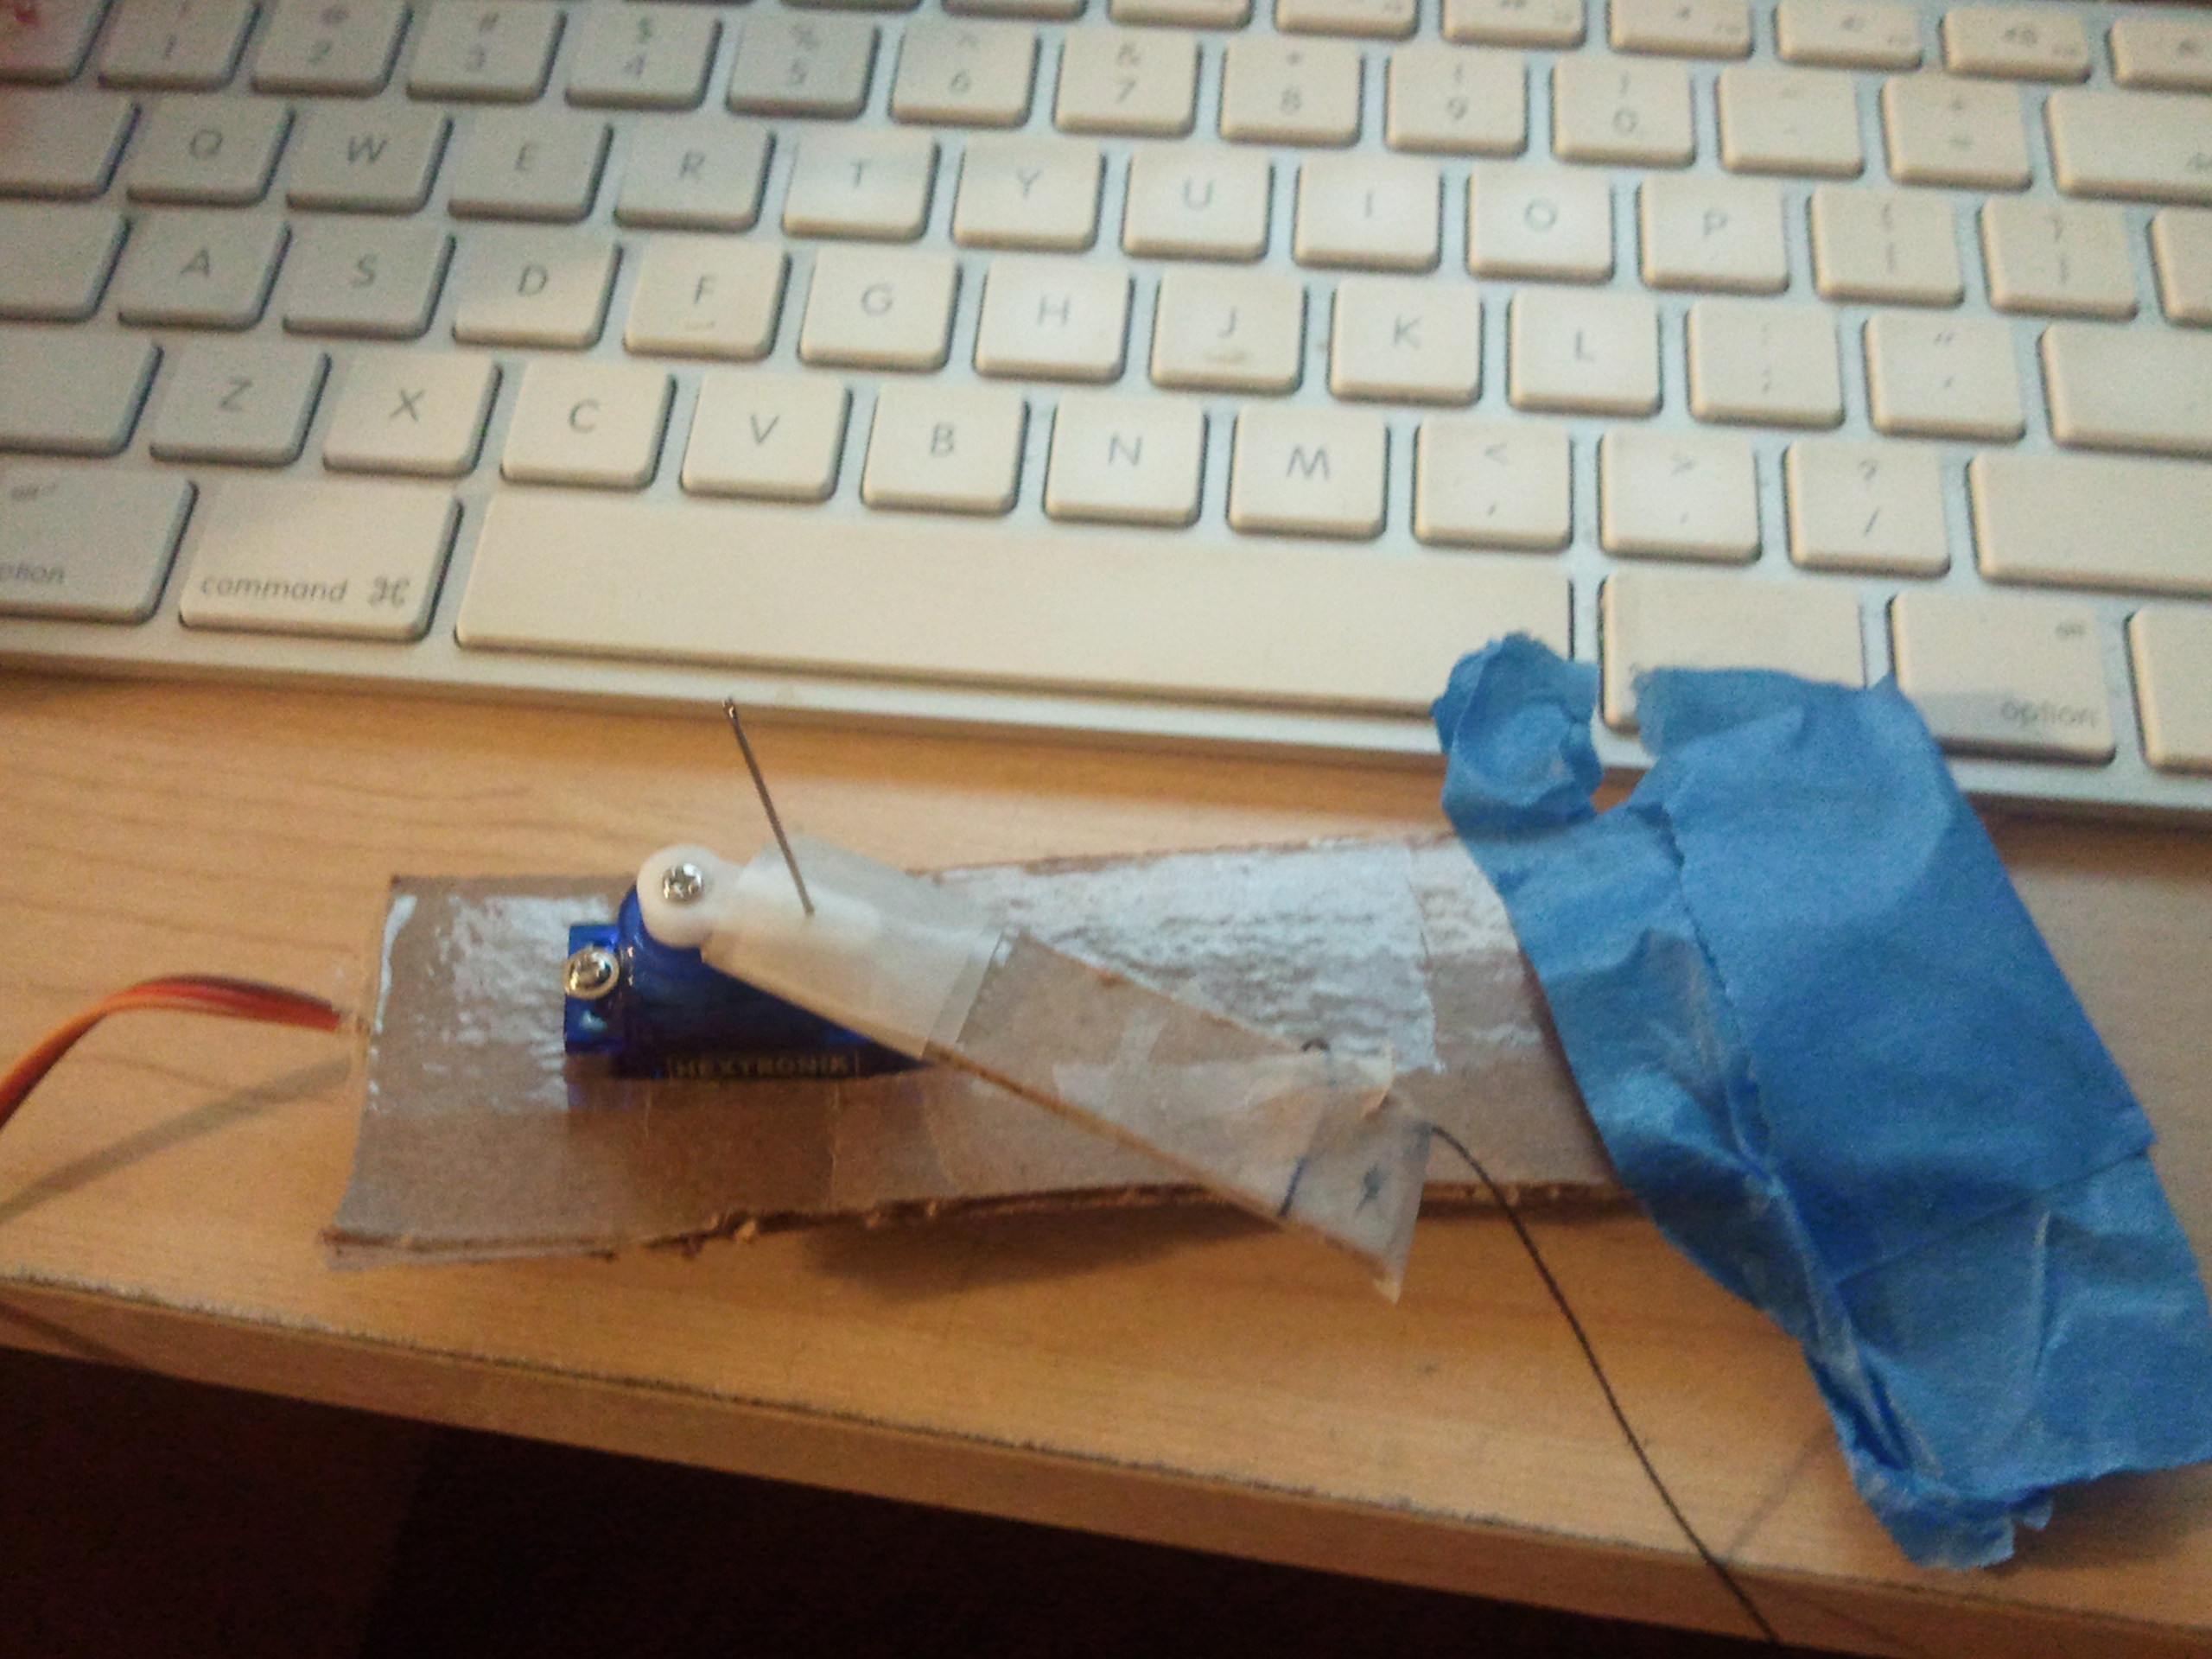
We mounted the whole thing on our wall with blue painter’s tape. It met my criterium for this project: Fast, Easy, and we already had it.
The Bat
This one was a little less last-minute-DIY. A couple of days before Halloween I’d released a product for new company, Conductive Resistance. The product, EerieEyes, was designed specifically for Halloween. It looks like a pair of Spooky Eyes peeking out from the darkness, blinking. I had a bunch of these boards and had just finished producing the board for the tutorial. I figured I’d take the opportunity to use it. The trouble was, I didn’t know where to put it.

Hykel (My wife) suggested that I make a Bat, and put the eyes in that. I couldn’t think of any way to make a bat, but she quickly grabbed some leftover black felt from another project. She gave me a design and I traced out half of a large bat on a piece of paper. Folded in half, I cut out the half-bat on the felt and we had a great symmetrical bat to hang up. A pair of Scissors made quick holes for the eyes. We mounted it on our gutter drain with some zip ties through the EerieEyes board, and more blue painters’ tape.
Not what I expected
I hadn’t thought I could do a Halloween setup in a couple of hours. Certainly, if I’d planned far ahead I could have done more, and perhaps done it more elegantly. I can tell you that I don’t think it would have been as fun. The experience of putting this together and trying to get it to work in such a short amount of time taught me an important lesson: It’s always always always more worthwhile to try than to simply excuse yourself.
In the end, I’m very happy with our setup. I hope I can spend more time on it next year, and flesh out some of the plans I had. Nevertheless, We got this done. It turned out great, and was done in just over 2 hours. We actually didn’t end up getting trick-or-treaters for a good hour and a half after that. It was nice to be able to relax and take in our accomplishment.
i have the 24 port version of the servo cotonrl board and cannot find any software or info on it so im guessing it cant be to different from the 32 port board made by the same people but i have so problems and a question help will be much appreciatedi need some help here i got the software from the link im on windows 7 OS and i cannot find how to tell it what port to use to assess the servo cotonrl board.also how do you connect this cotonrl board to an arduino i cant find an adapter i am trying to run 8 micro servos off of the board i currently have a 4.5v power supply linked to support themthank you for any help