I have come across laminar flow fountains a few times in my life. The earliest I can remember is the jumping fountains at Epcot when I was a kid. More recently I wanted to see if I could replicate the experience at home. I’ve had a couple of ideas for these kinds of fountains, and it turns out they’re not very difficult to make. What I have further found is that they can be (mostly) 3D Printed!
There are a couple dozen videos easily found that talk about laminar flow fountain construction and solutions. The short version of how you get the pretty, crystal clear arc is to push your water through a bunch of straws pointing a single direction, to remove turbulence, and out through a very clean edge output. Lots of people buy a pipe, drills some holes in it, pack it with straws and scouring pads and call it a day. I started going down this path, but it felt daunting – especially because I lacked a number of tools.
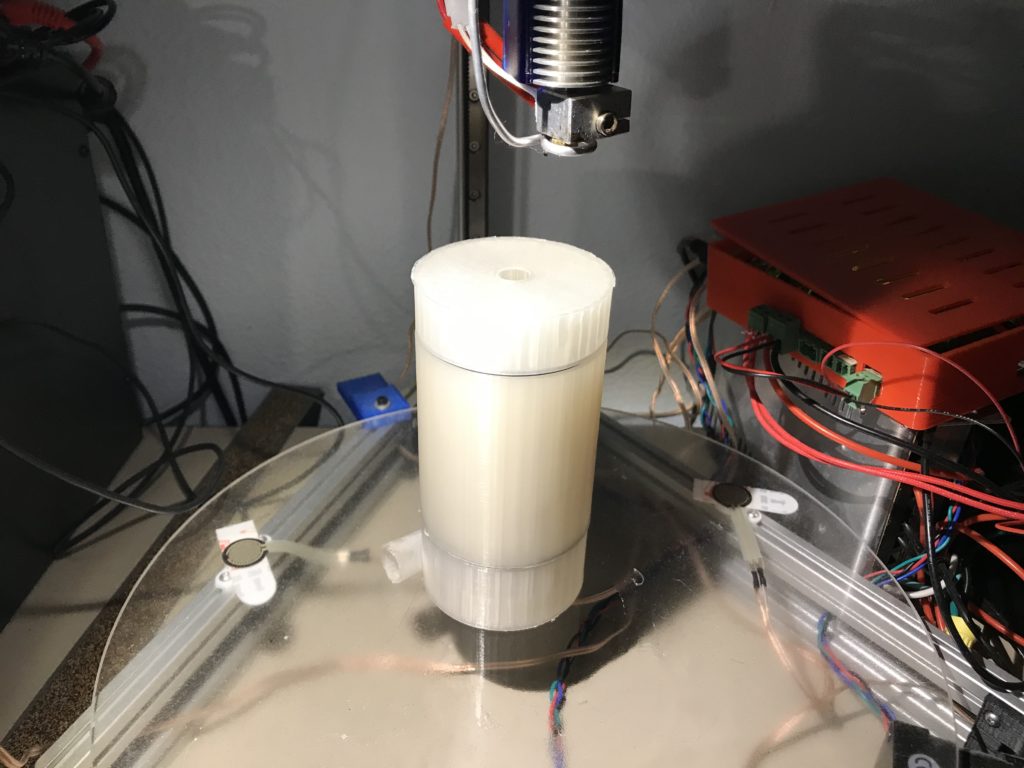
I had recently resurrected (or just ‘woken up’) my 3D Printer, really for the first time since we’d moved into our new house, and thought I’d try my hand at a design. My first go followed some pictures someone had posted about a 3D printed nozzle.
This design was okay, but printing it turned out to be a mess – the components all needed support structures which bonded better to the pieces than I would have liked. It was a pain to get them off, and I broke more than one item. More importantly, I hadn’t added any watertight seals into the design. I bought some o-rings that were kind of close to the diameter, but not close enough to work effectively.
I took some time off after the first version didn’t work out as well as I wanted. After having completed school and deciding to get really back into it, I took another pass at the design. I put the O-Rings I’d bought into the design to seal it, and tried to rely on as few supports as possible during printing. The other problem that I dealt with was that I really didn’t know how to get the water into the nozzle. My first couple of attempts used a 1/4 in coupler to half-inch screw, and I just melted the thing in place with my soldering iron. It mostly worked.
The Mark II had the space for o-rings, but no built in method for holding it all together. My first test with it would be just a matter of holding it tightly together while water tried to push through it. I did so, and it kind of worked. There was definitely a stream of water coming out, but it was hard to tell if the pressure was there to support it. At the end of the test I figured more than anything else, I needed a bigger pump. I jumped from a 180GPH pump to 800GPH. I put together a spreadsheet to calculate needed pump size, and you can find that here.
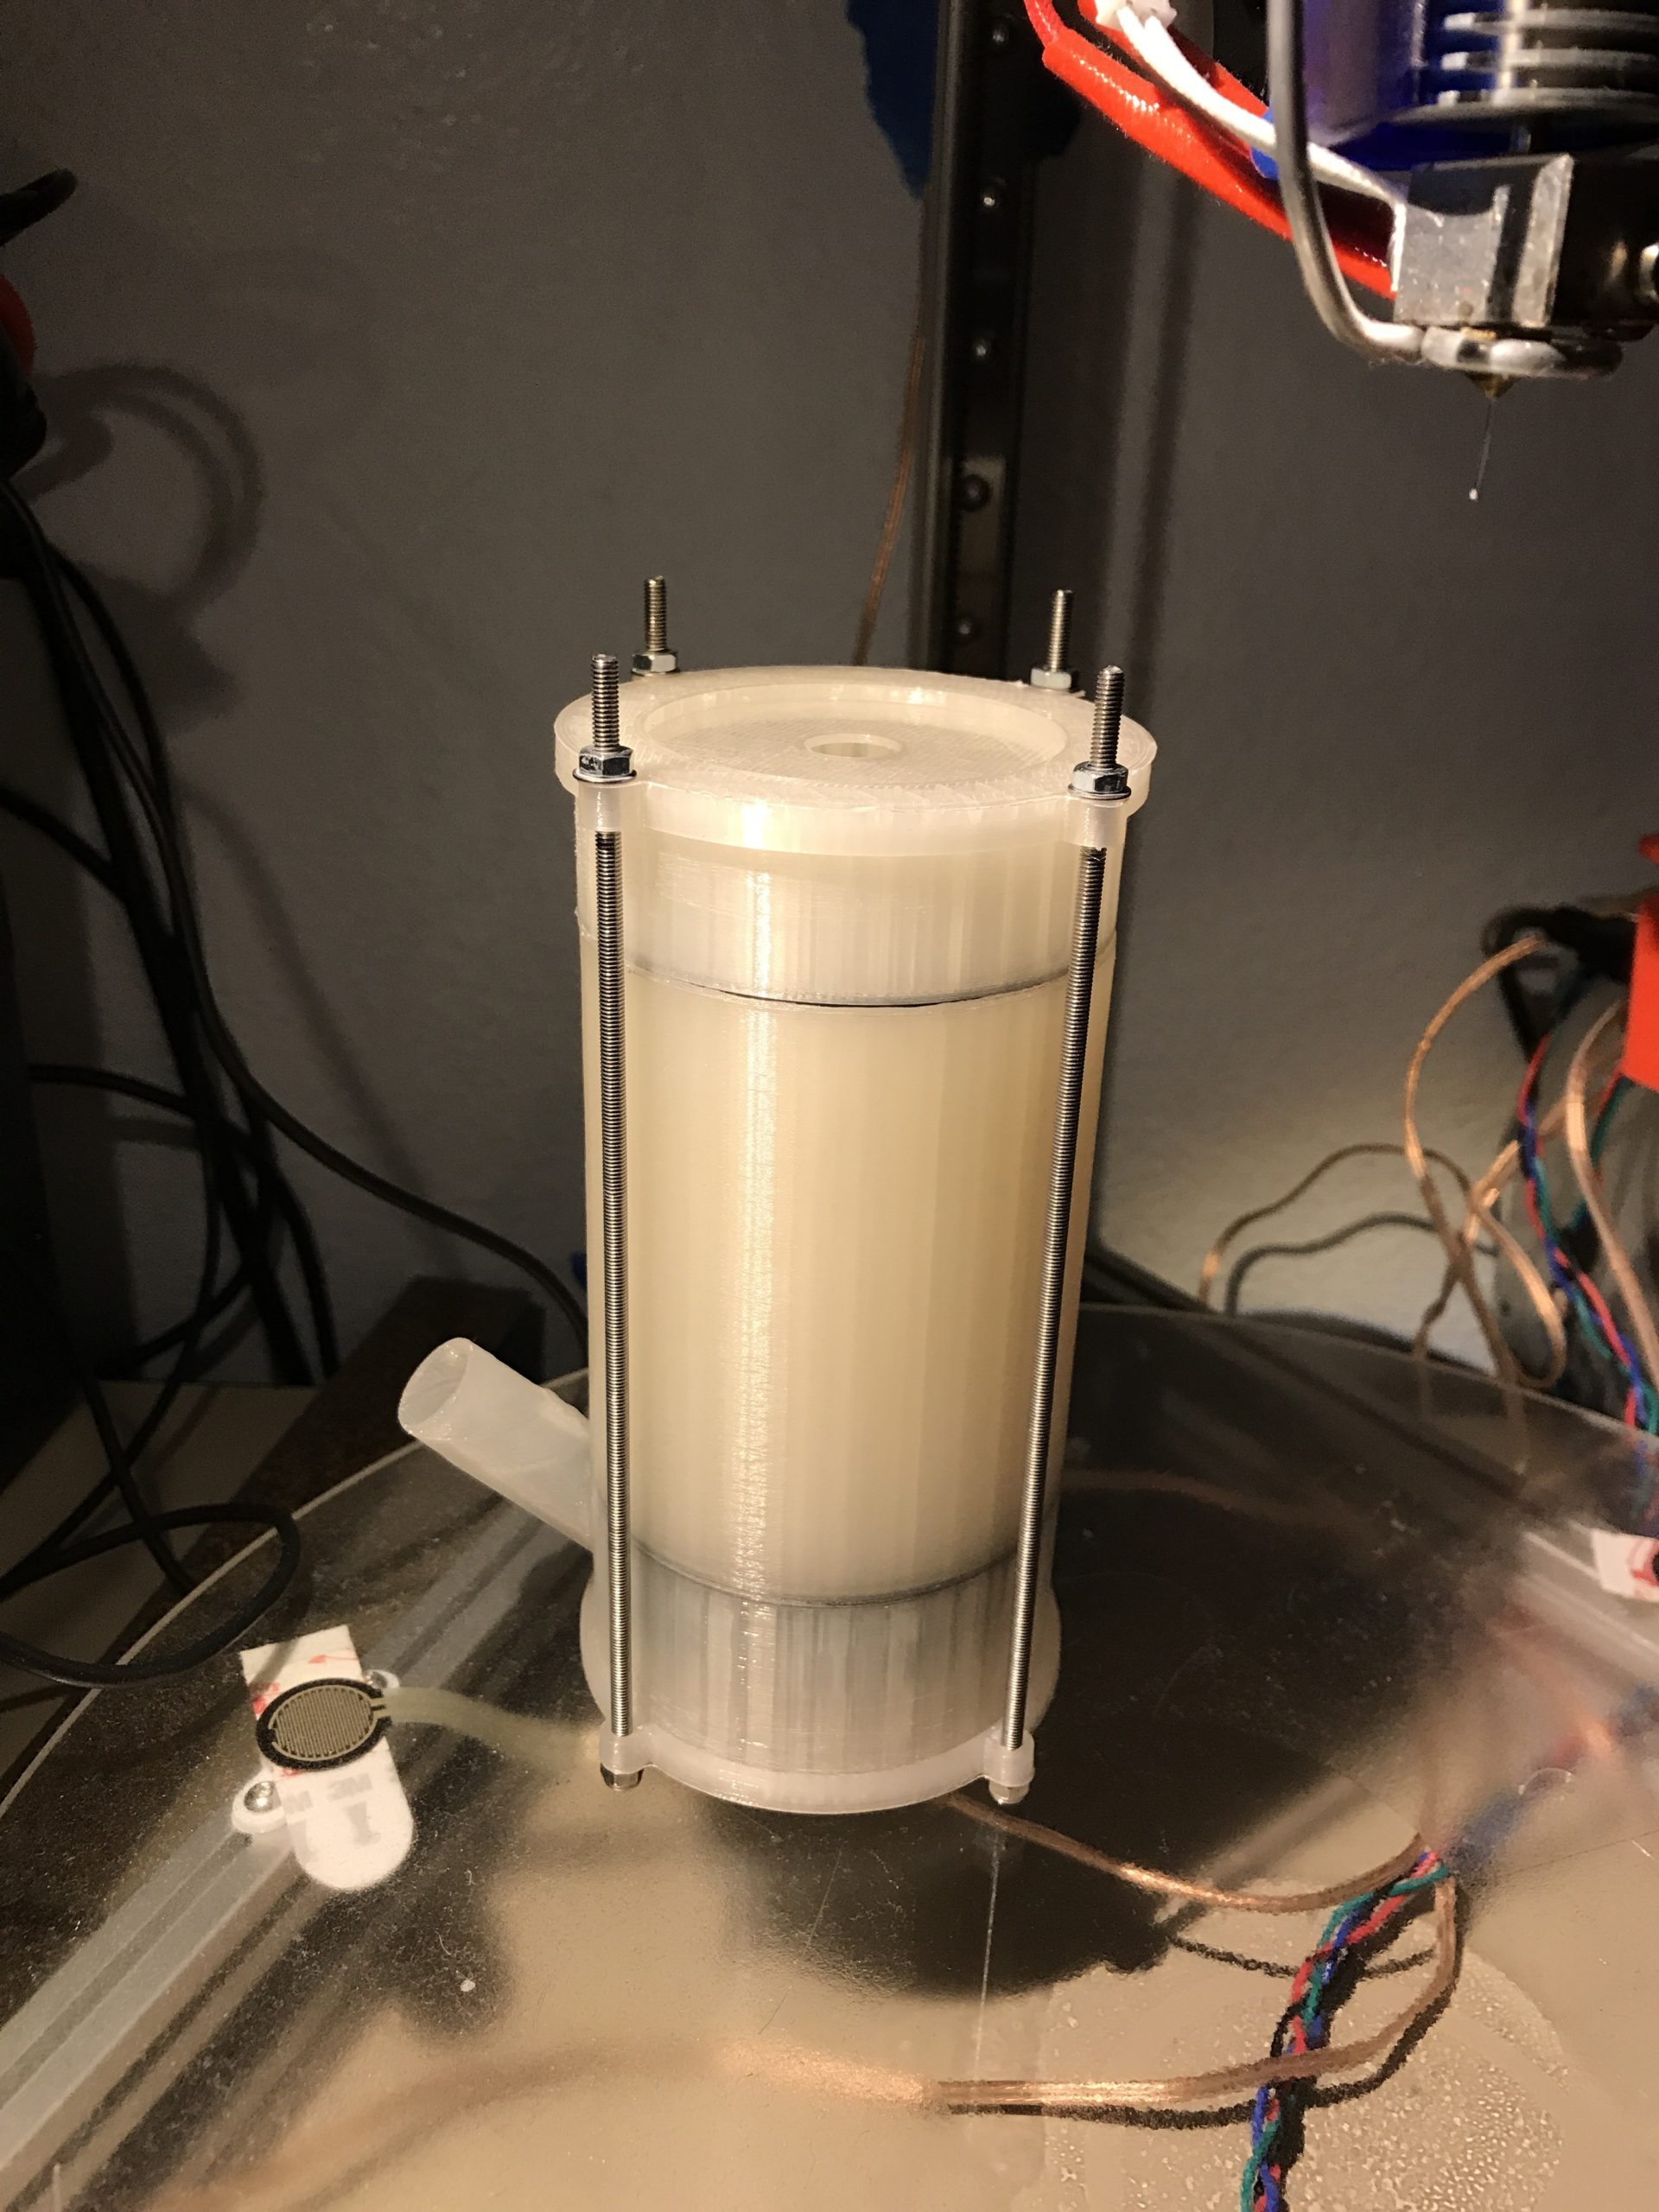
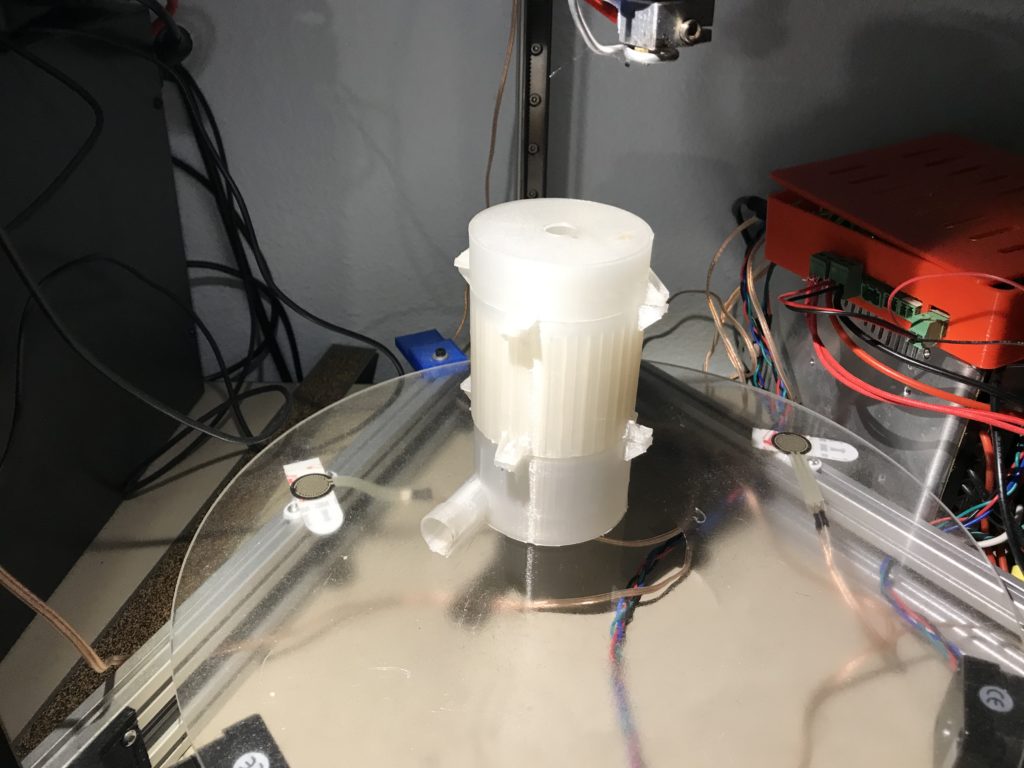
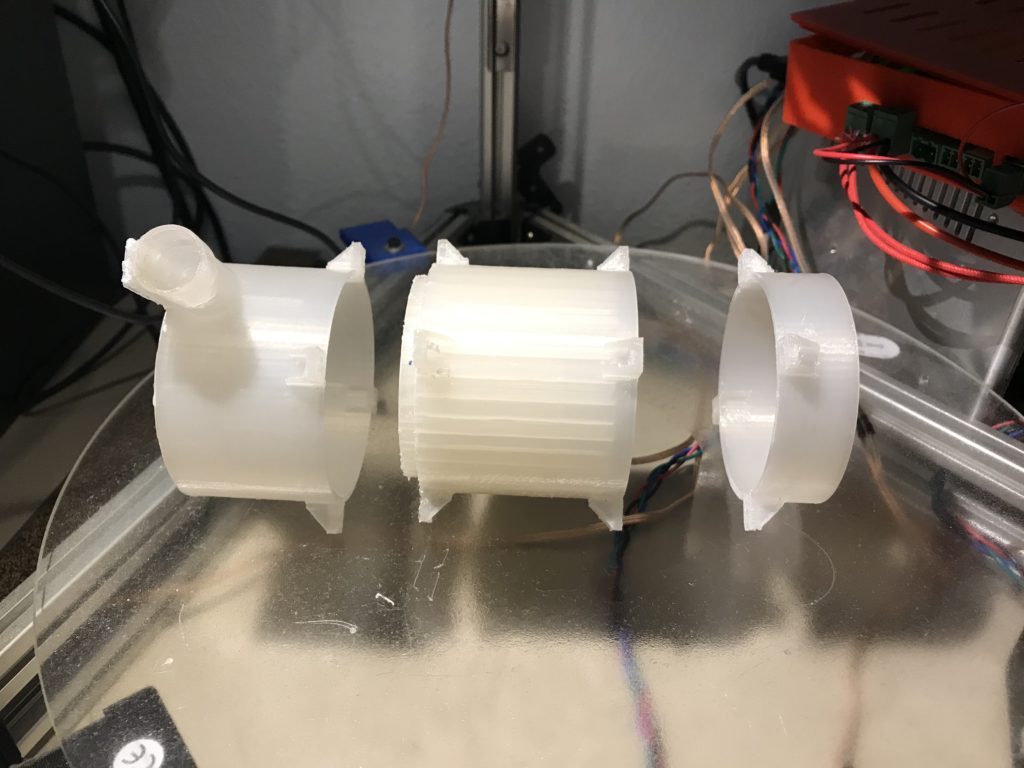
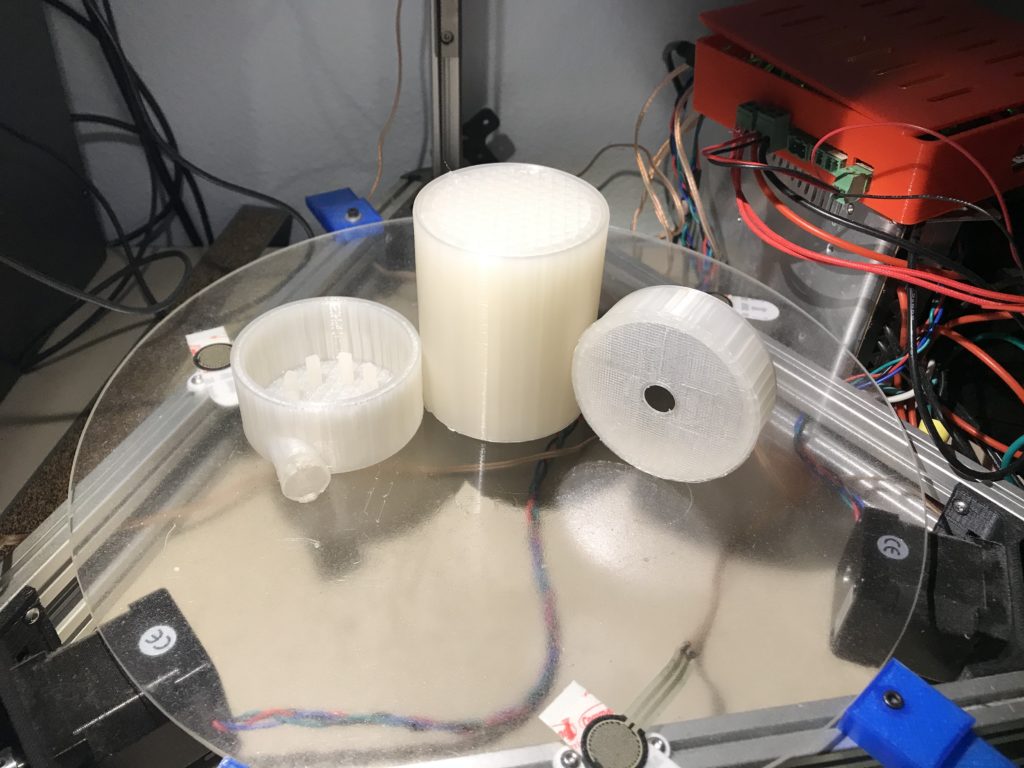
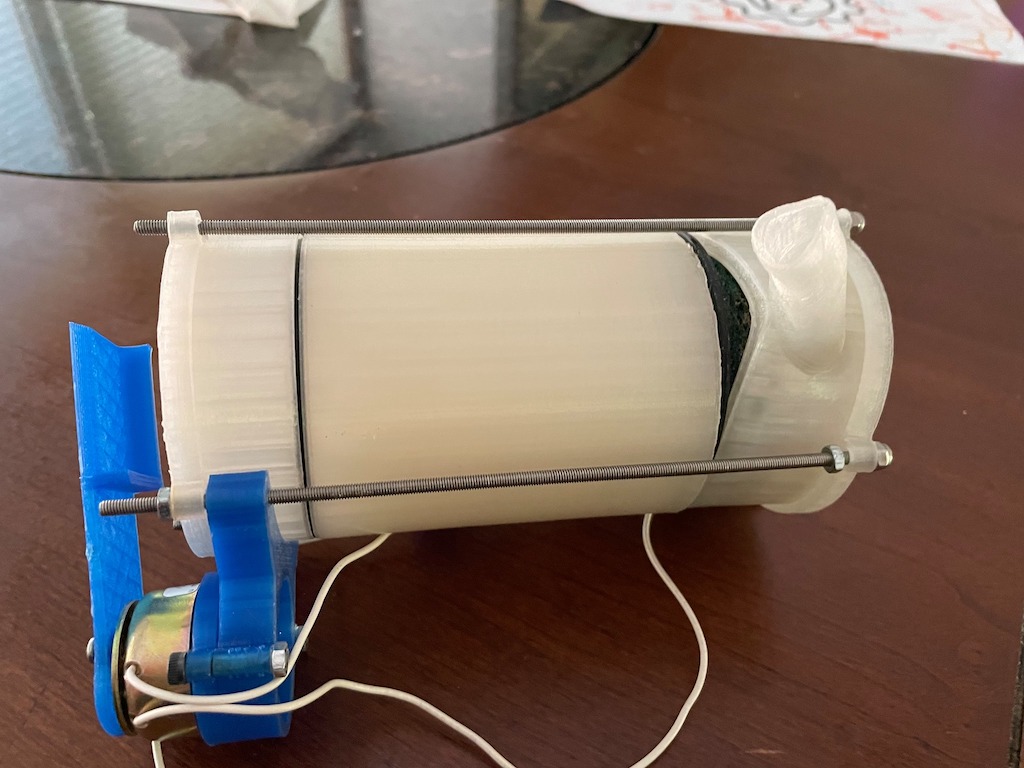
The Mark III swapped out the Entry section for one that had the input at a 45º angle – this allowed me to print it without supports – which meant less clean up. I left the hose adapter off, putting a 1/2 pump directly into the nozzle. I also made end caps that went over either end to pull the whole thing together. Barely visible through the wall of the entry cap are three layers of ScotchBrite heavy duty scrub pads. The purpose of these is to reduce the turbulence of the water coming into the nozzle.

I ran a test with the Mark III in my bathroom sink and my kitchen sink. These didn’t go very well, with lots of water ending up everywhere. One change I wanted to make before giving it another shot was replacing or updating the outlet point. For a good laminar jet stream, it’s very important to have a nice, clean exit hole in the nozzle. If you’re willing and able, the best solution is to get a machine shop to turn an outlet on a lathe. I’m not to that point yet, so I’m experimenting with solutions. One I’ve found is to drill a hole in some thin aluminum (a piece of soda can) and sand the edges.
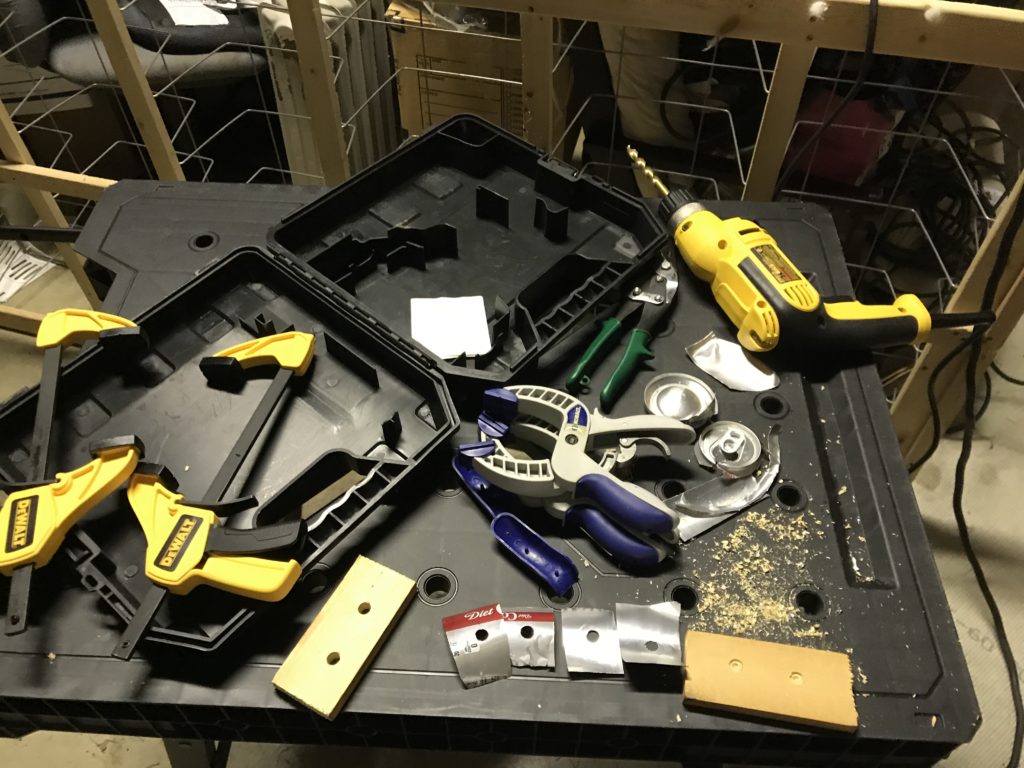
I clipped a couple down to smaller circles with a hole it them and put it all together to see what the output would be:
If you watch the video you can see that the stream is pretty decent until it gets about 4 feet out, then it really starts to just fall apart. Right now, I’m blaming that on the exit point. It’s just not clean enough, and I don’t think using a piece of aluminum can wall is going to do it. I’m looking at other options.
So where does that leave us, and what am I doing this all for anyway? I’ll explain that in due time (and a different post), but I wanted to capture some of the interesting challenges that I’ve come across while trying to build this fun little project.
If you’re interested in 3D printing my Mark III design, you can find it on the download page here: https://aaroneiche.com/laminar-flow-nozzle/
Nice work on your laminar. Did you ever try it with a larger pump?